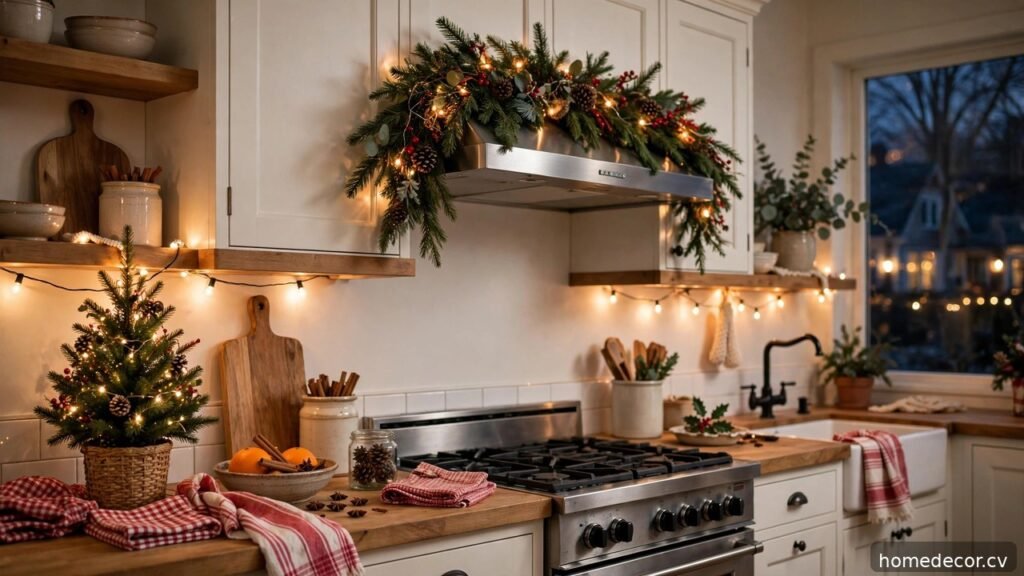
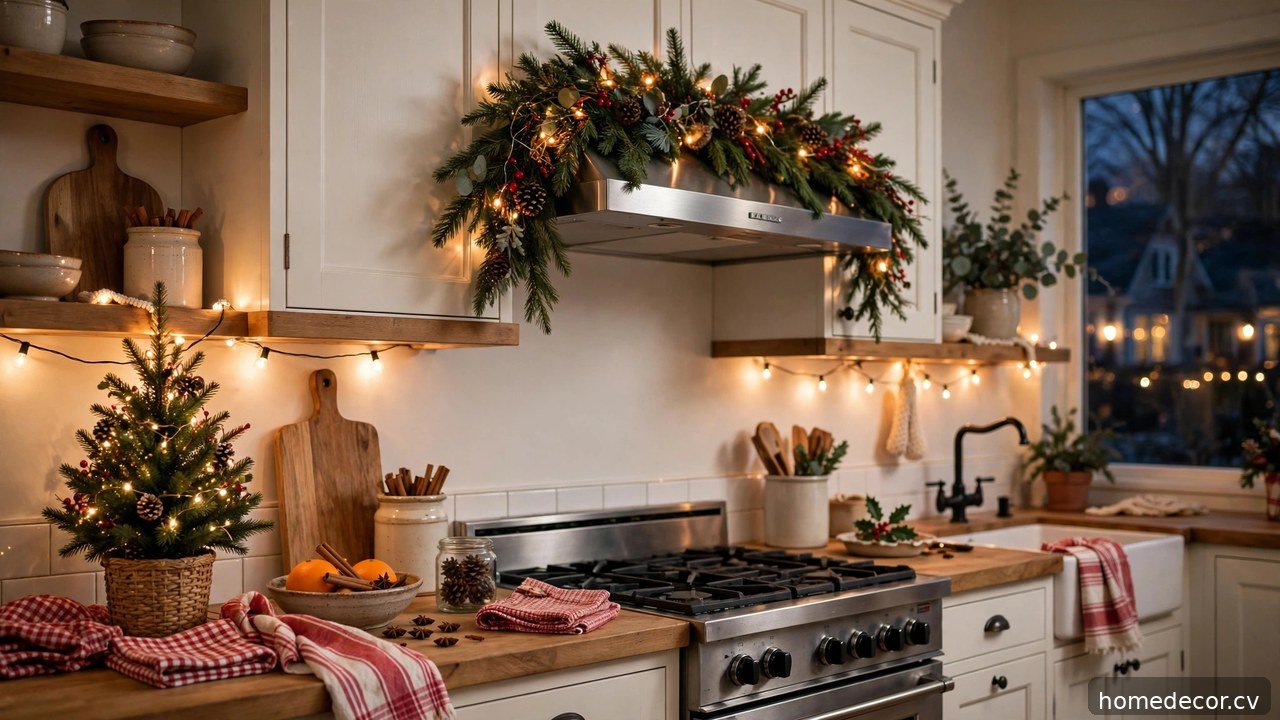
The kitchen is where holiday memories are baked, stirred, and shared. These Christmas kitchen decor ideas sprinkle festive cheer into the heart of your home without getting in the way of the cooking.
Idea 1: Garland Over the Range Hood
A lush garland draped over your range hood turns the hardest-working appliance in the kitchen into a holiday showpiece. Choose a full faux garland at least 9 feet long so it swags generously across the hood with elegant dips on each side. Fluff every branch tip before hanging to make inexpensive garland look twice as thick and realistic. Secure it with clear adhesive hooks rated for 5 pounds, placing one at each end and one in the center dip. Weave a 20-foot strand of warm-white fairy lights through the greenery, tucking the battery pack discreetly behind one end. Tuck in pinecones, red berry sprigs, and a few gold ornaments for that collected, designer look.
I spend far too much time saving home ideas.
If you'd like the best ones, I'll send a short email once or twice a month.
Keep the garland safely away from heat and cooking splatter. Hang the lowest swag at least 18 inches above the cooktop so rising heat never reaches the faux greenery. Choose a flame-retardant garland and keep all wiring and battery packs on the upper portion near the ceiling. Wipe the garland weekly with a damp cloth since kitchens collect a fine film of cooking grease. For a fresh scent, tuck a few real cedar or pine sprigs into the faux base and replace them every week. When the lights twinkle on above the stove, even weeknight dinners feel like part of the celebration.
Idea 2: Festive Dish Towels
Festive dish towels are the easiest Christmas decor you will ever hang, and they pull double duty as decoration and workhorses. Swap your everyday towels for a coordinated set in classic red and white stripes, playful reindeer prints, or elegant buffalo check. Hang one folded over the oven handle, one on a hook beside the sink, and drape a third over the edge of an open shelf for maximum visibility. Choose 100 percent cotton towels with a tight weave so they actually absorb water instead of just looking pretty. A set of four quality holiday towels costs under 20 dollars and instantly signals the season to anyone who walks in. Coordinate the towel colors with your other kitchen textiles for a pulled-together look.
Rotate and care for your holiday towels so they last for many Decembers. Keep one set for display and a second set for heavy-duty holiday cooking messes, swapping them before guests arrive. Wash new towels twice before first use to maximize absorbency and prevent dye transfer onto light counters. Fold them in crisp thirds so patterns show to their best advantage on hooks and handles. Store off-season towels in a labeled zip bag with a lavender sachet to keep them fresh. Small touches like these prove that Christmas decorating does not require a big budget, just a little intention in the details you touch every day.
Idea 3: Tiered Tray Hot Cocoa Station
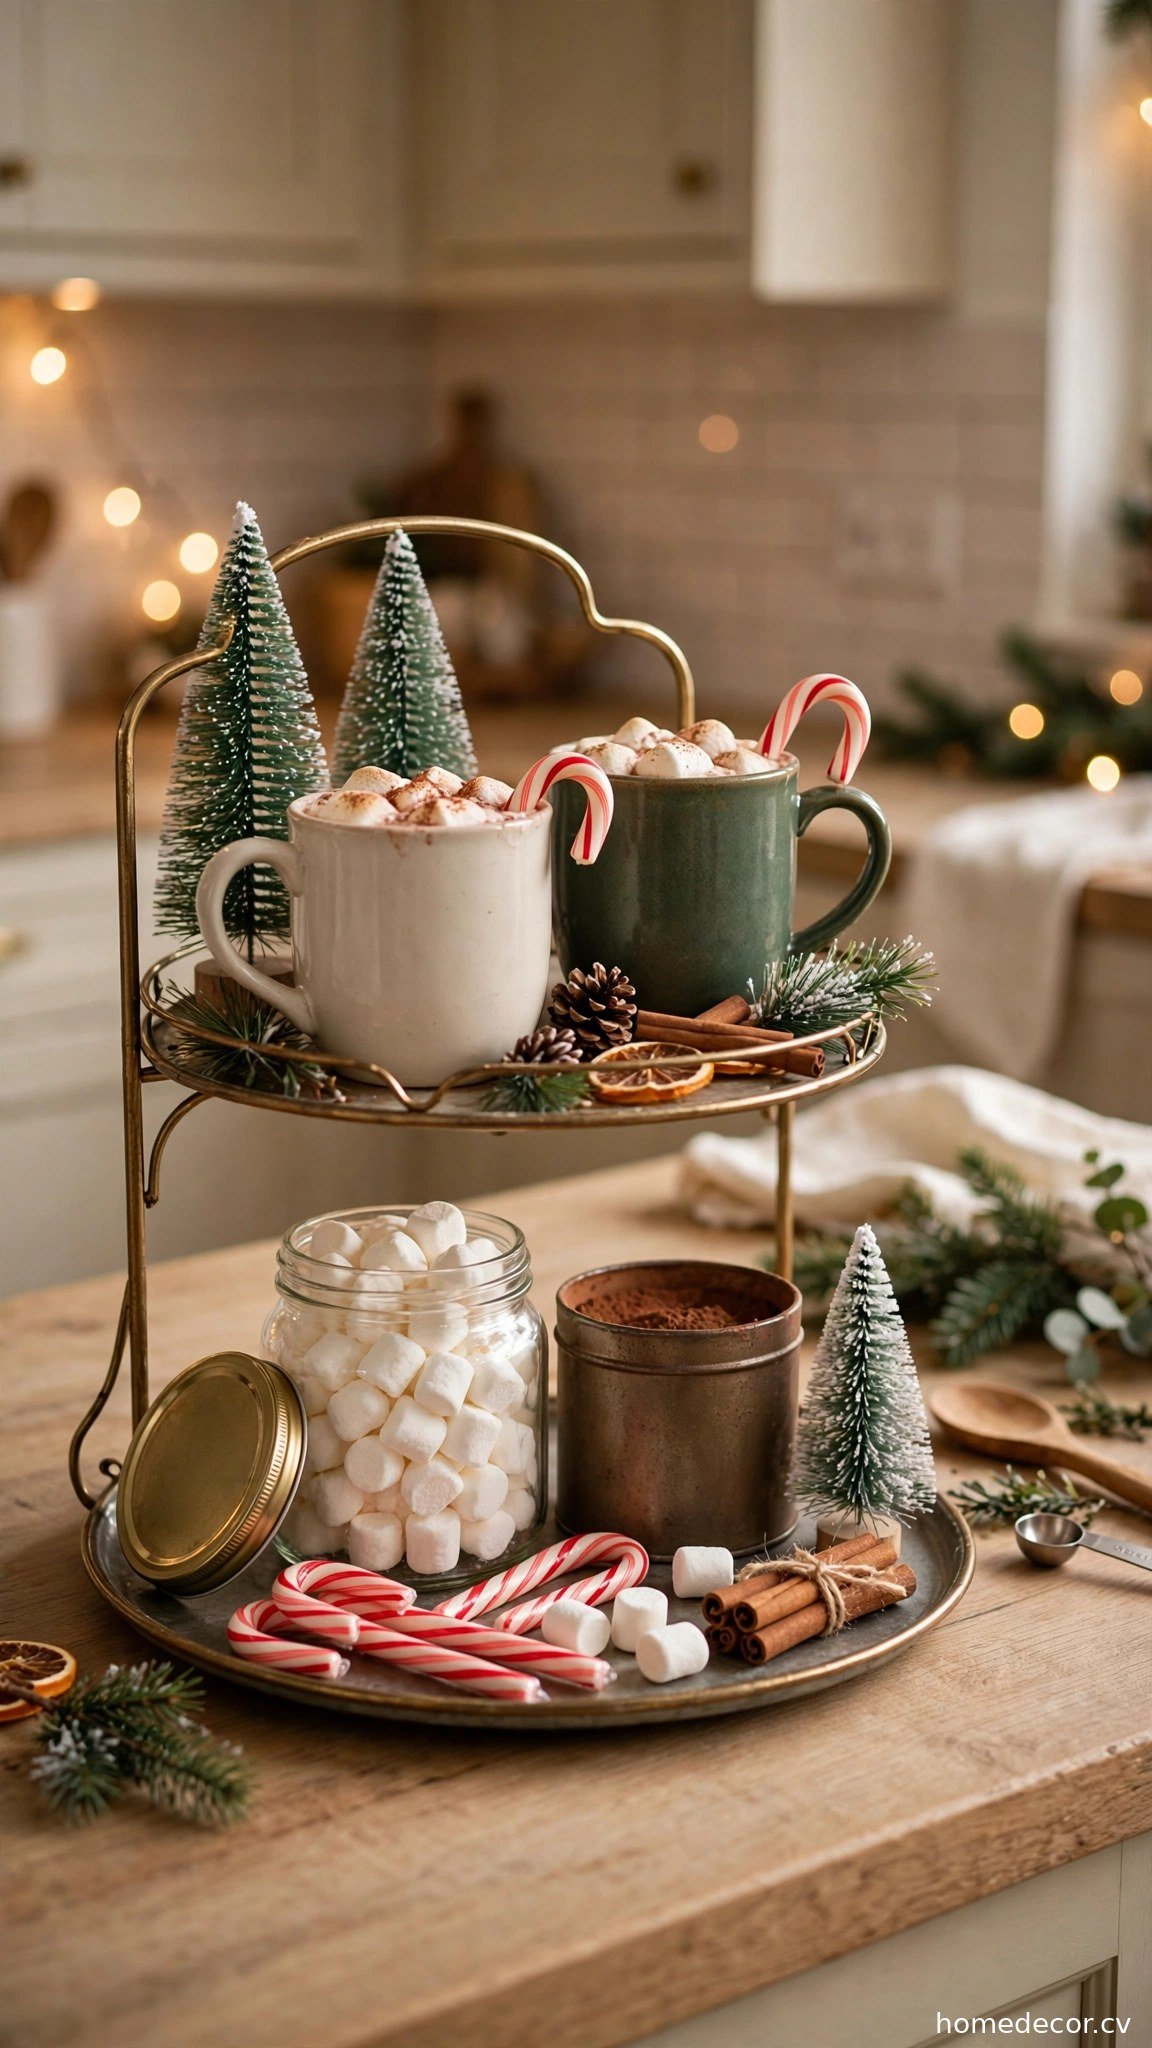
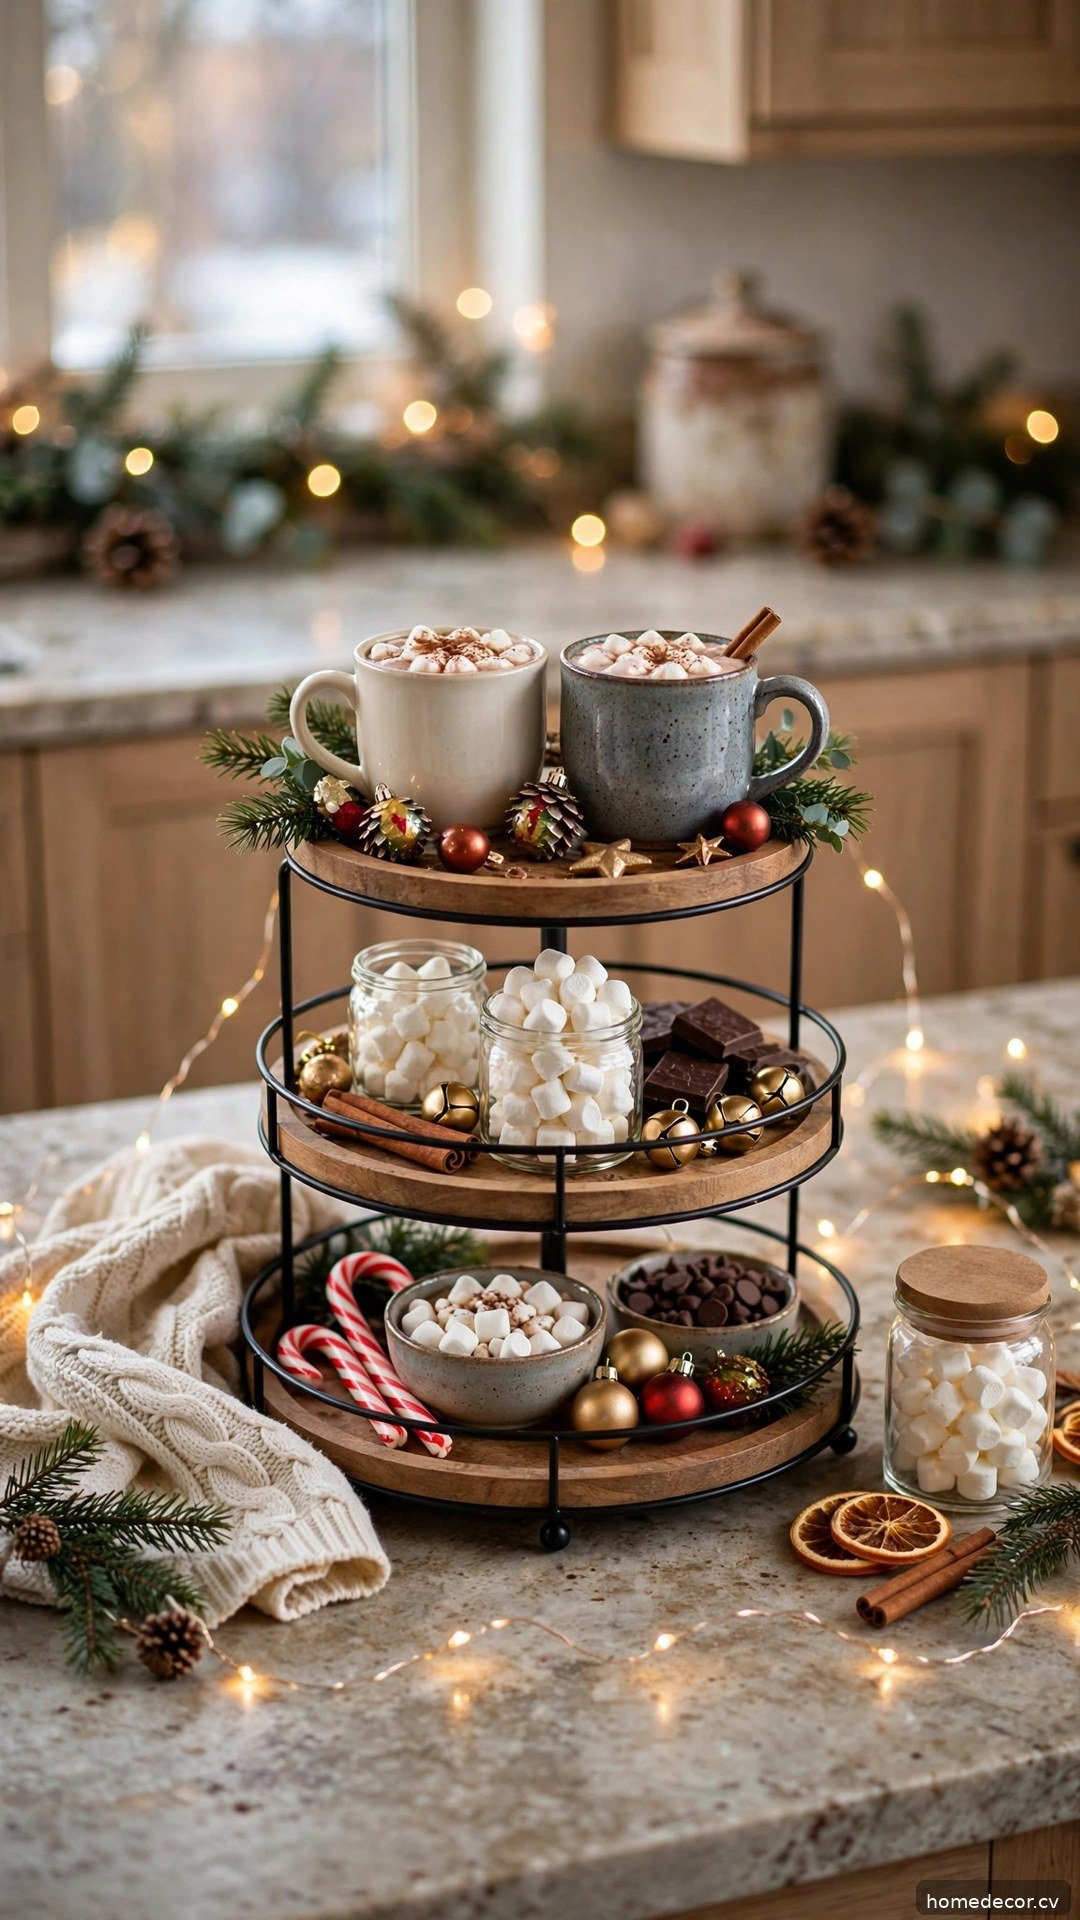
A tiered tray hot cocoa station turns a corner of your counter into the coziest spot in the house. Start with a two or three-tiered tray in wood, galvanized metal, or whitewashed finish, about 12 inches in diameter. Stock the bottom tier with the essentials: a tin of quality cocoa powder, a jar of mini marshmallows, and a small pitcher for milk. Fill the middle tier with mugs, candy canes in a mason jar, and chocolate stirrers tied with twine. Crown the top tier with miniature bottle-brush trees, a tiny string of fairy lights, and a small chalkboard sign reading cocoa bar. Everything guests need sits in one grab-and-go display that begs to be used.
Keep the station fresh and functional throughout the season. Refill marshmallows and candy canes weekly since little hands empty them fast. Wipe the trays down every few days because cocoa dust settles everywhere in a busy kitchen. Swap in peppermint sticks and crushed candy cane topping in mid-December for a second-wave refresh. Add a small lidded jar of whipped cream powder or cinnamon sticks for grown-up cocoa upgrades. Place the tray near the kettle or coffee maker so hot water is always within reach. This little station becomes a daily ritual your family will remember long after the decorations come down.
Idea 4: Mini Tree on the Counter
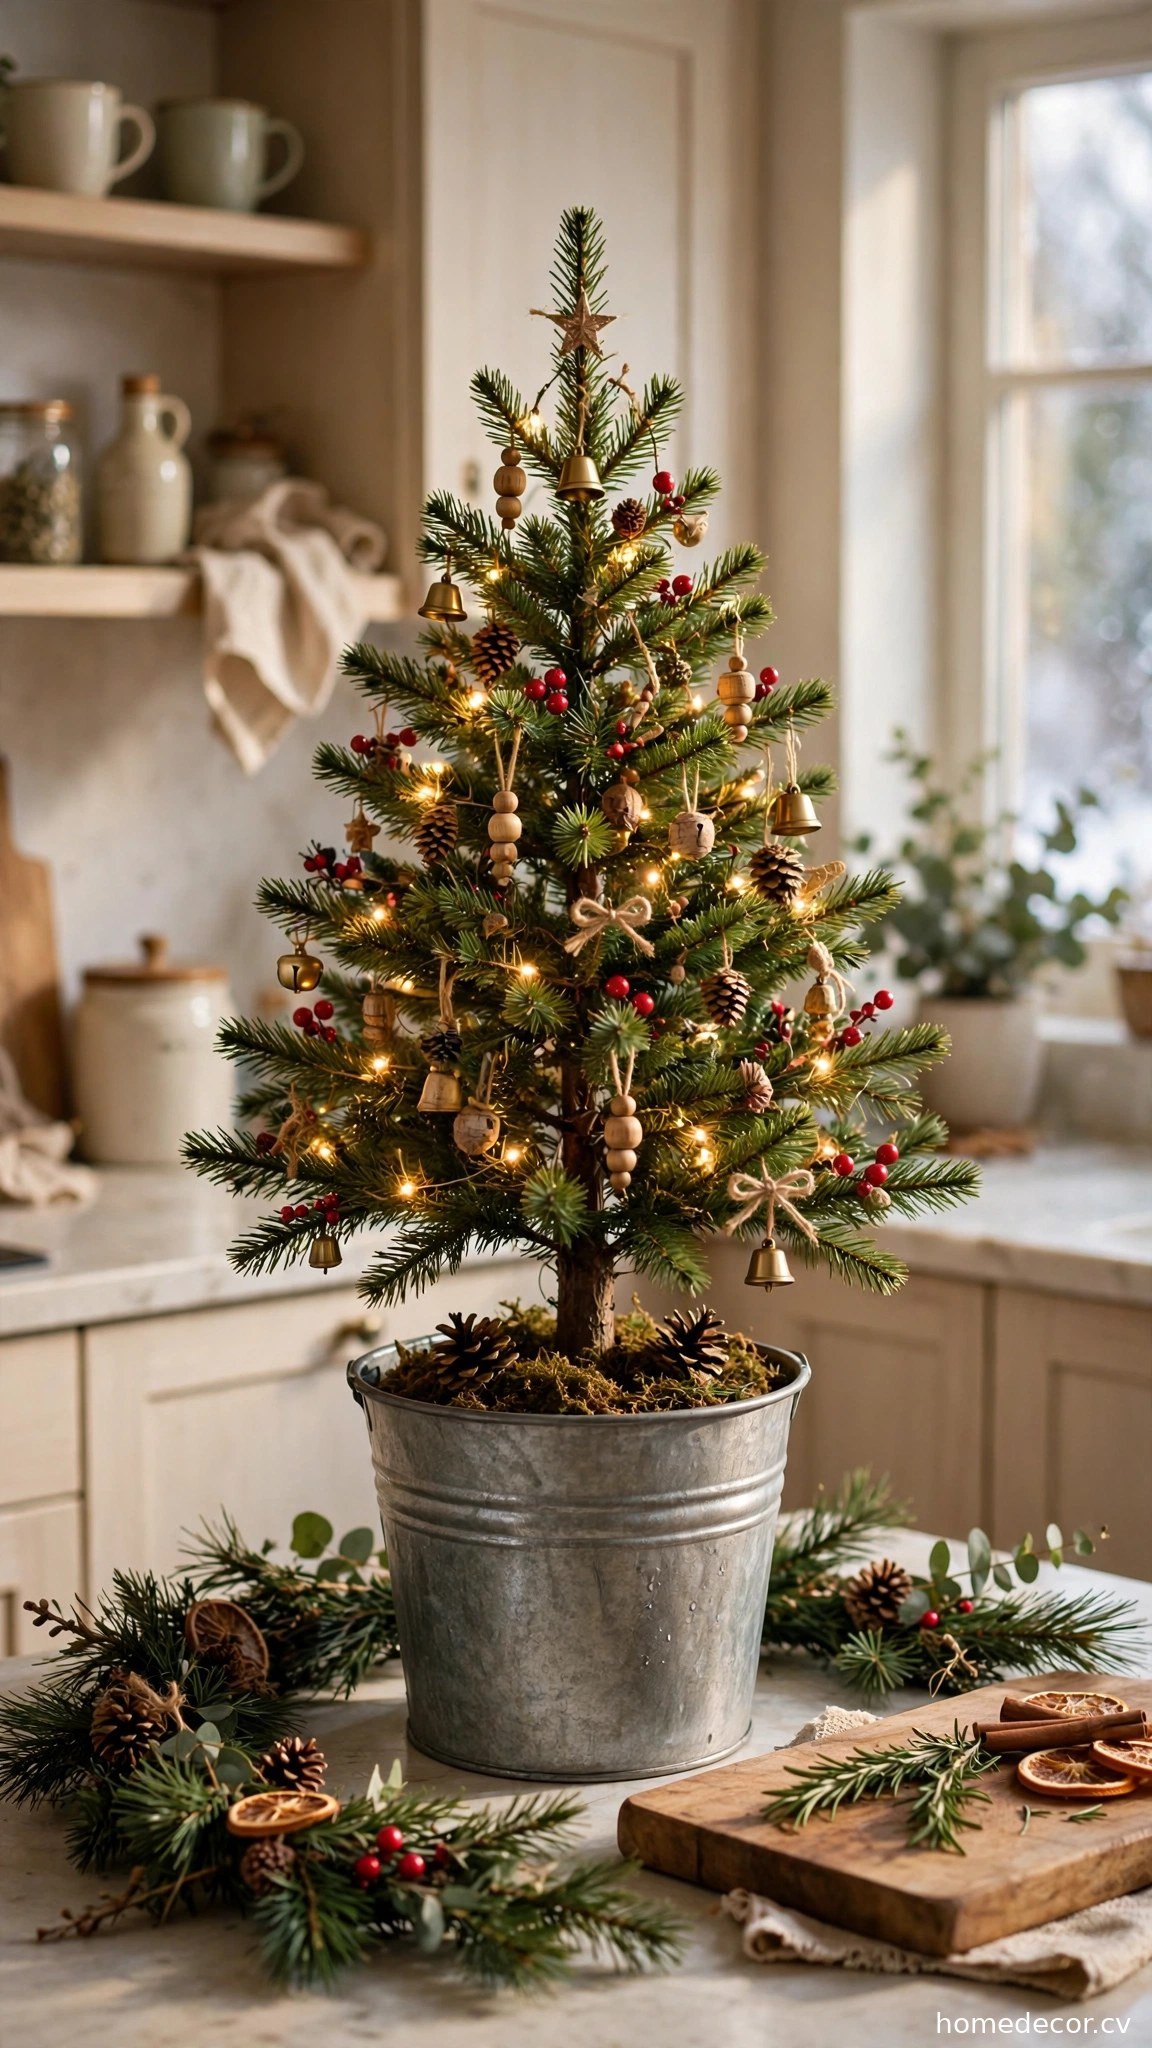
A mini tree on the kitchen counter brings the magic of the big tree into the room where everyone gathers. A tabletop tree between 18 and 24 inches tall fits perfectly on a counter corner without blocking prep space. Choose a pre-lit tree with warm-white lights to skip the fiddly job of stringing tiny branches. Decorate with miniature ornaments no larger than 1 inch, or go edible with candy canes, dried orange slices, and cinnamon stick bundles. Set the tree in a galvanized bucket, a small wooden crate, or a vintage crock for farmhouse charm. A simple burlap or plaid tree skirt cut to size finishes the base beautifully.
Style around the mini tree so it feels part of the kitchen, not an afterthought. Place a wooden cutting board or a folded linen runner underneath to define its zone on the counter. Tuck a few pine sprigs and eucalyptus stems around the base for extra greenery and scent. Keep the tree at least 12 inches from the stove and sink splash zones to protect the decorations. A battery-operated timer turns the lights on at dusk automatically. After the holidays, store the decorated tree in a tall gift bag or box so next year’s setup takes five minutes. This little tree makes dishwashing duty noticeably more cheerful.
Idea 5: Wreath on a Cabinet Door
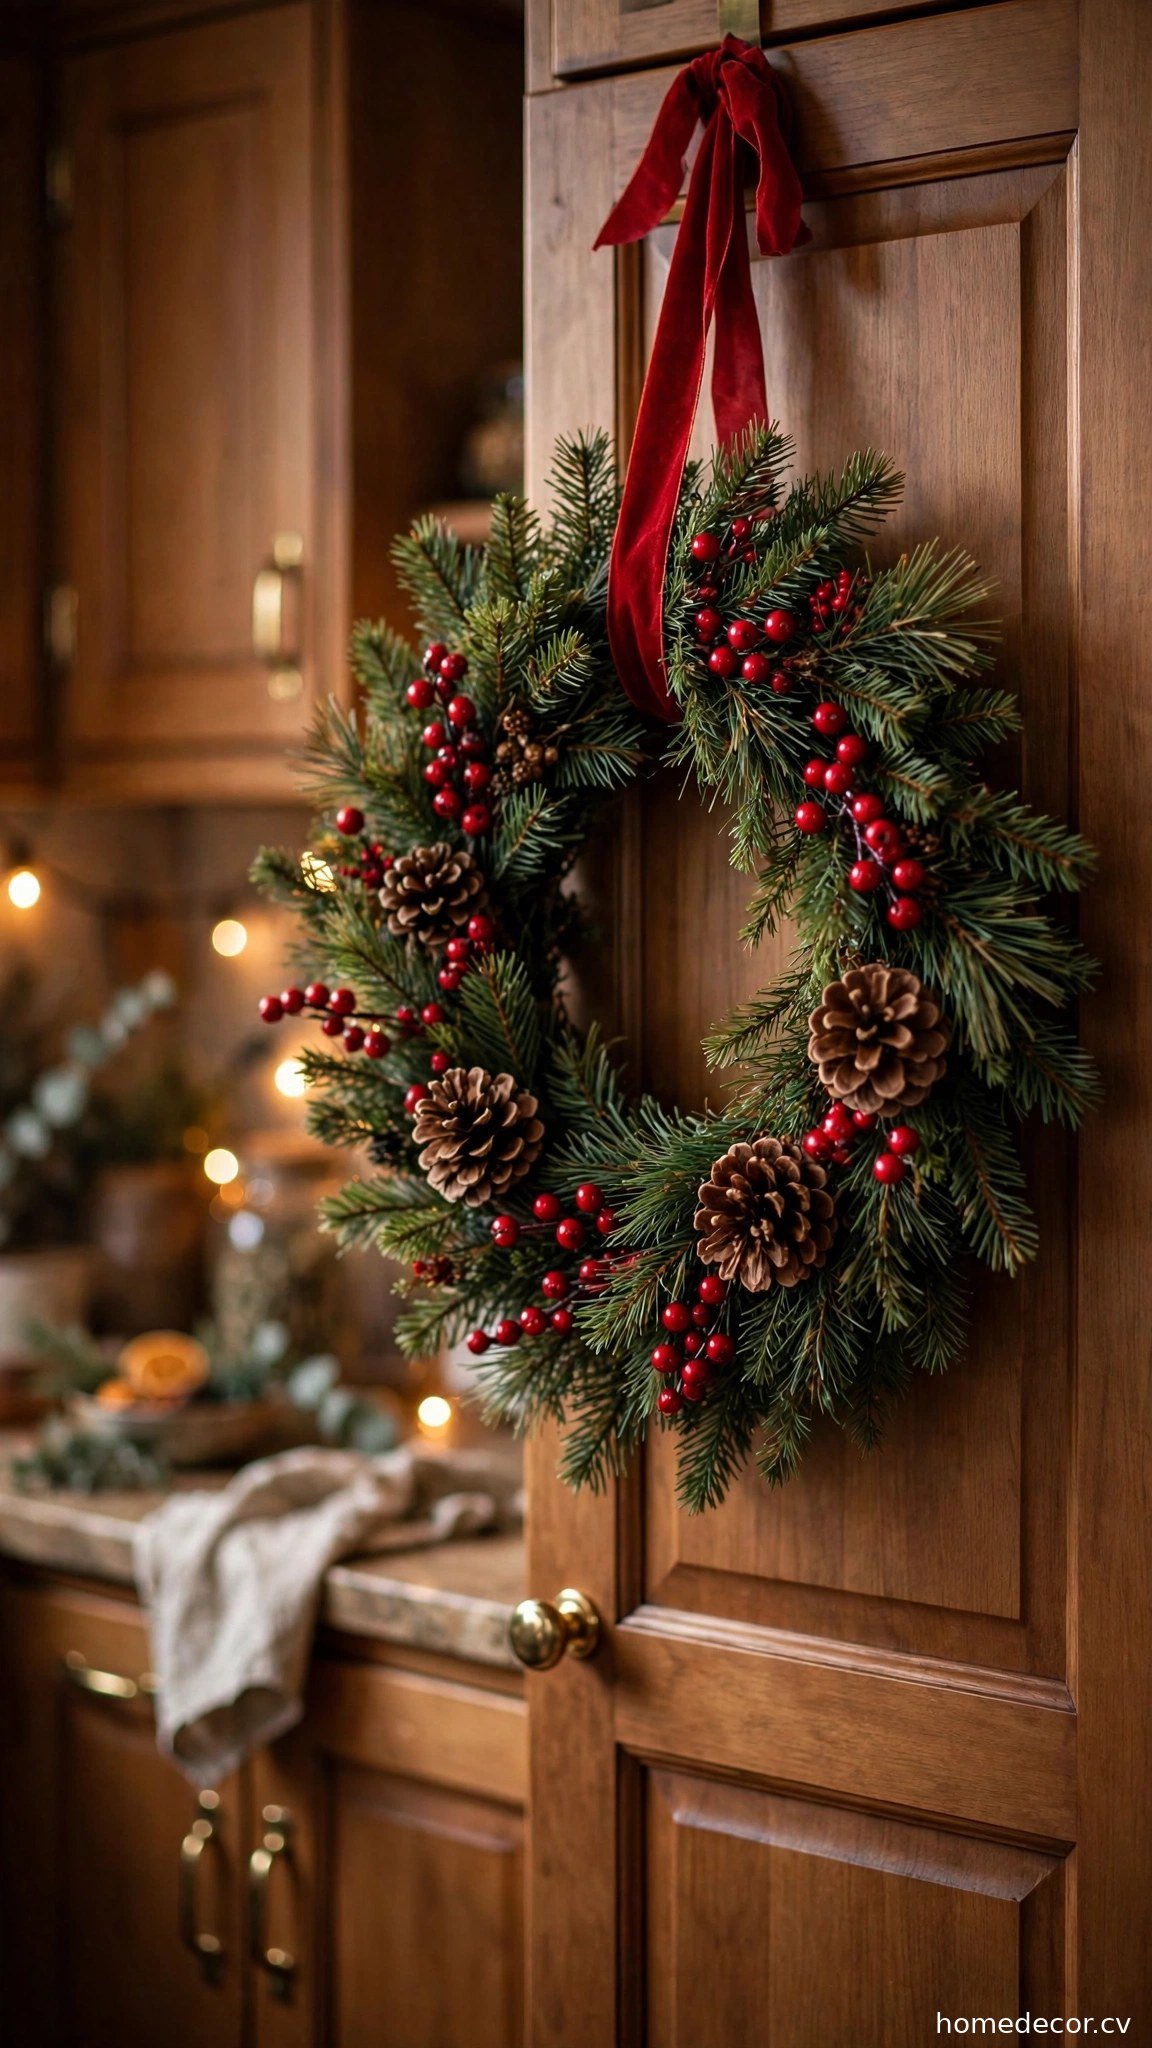
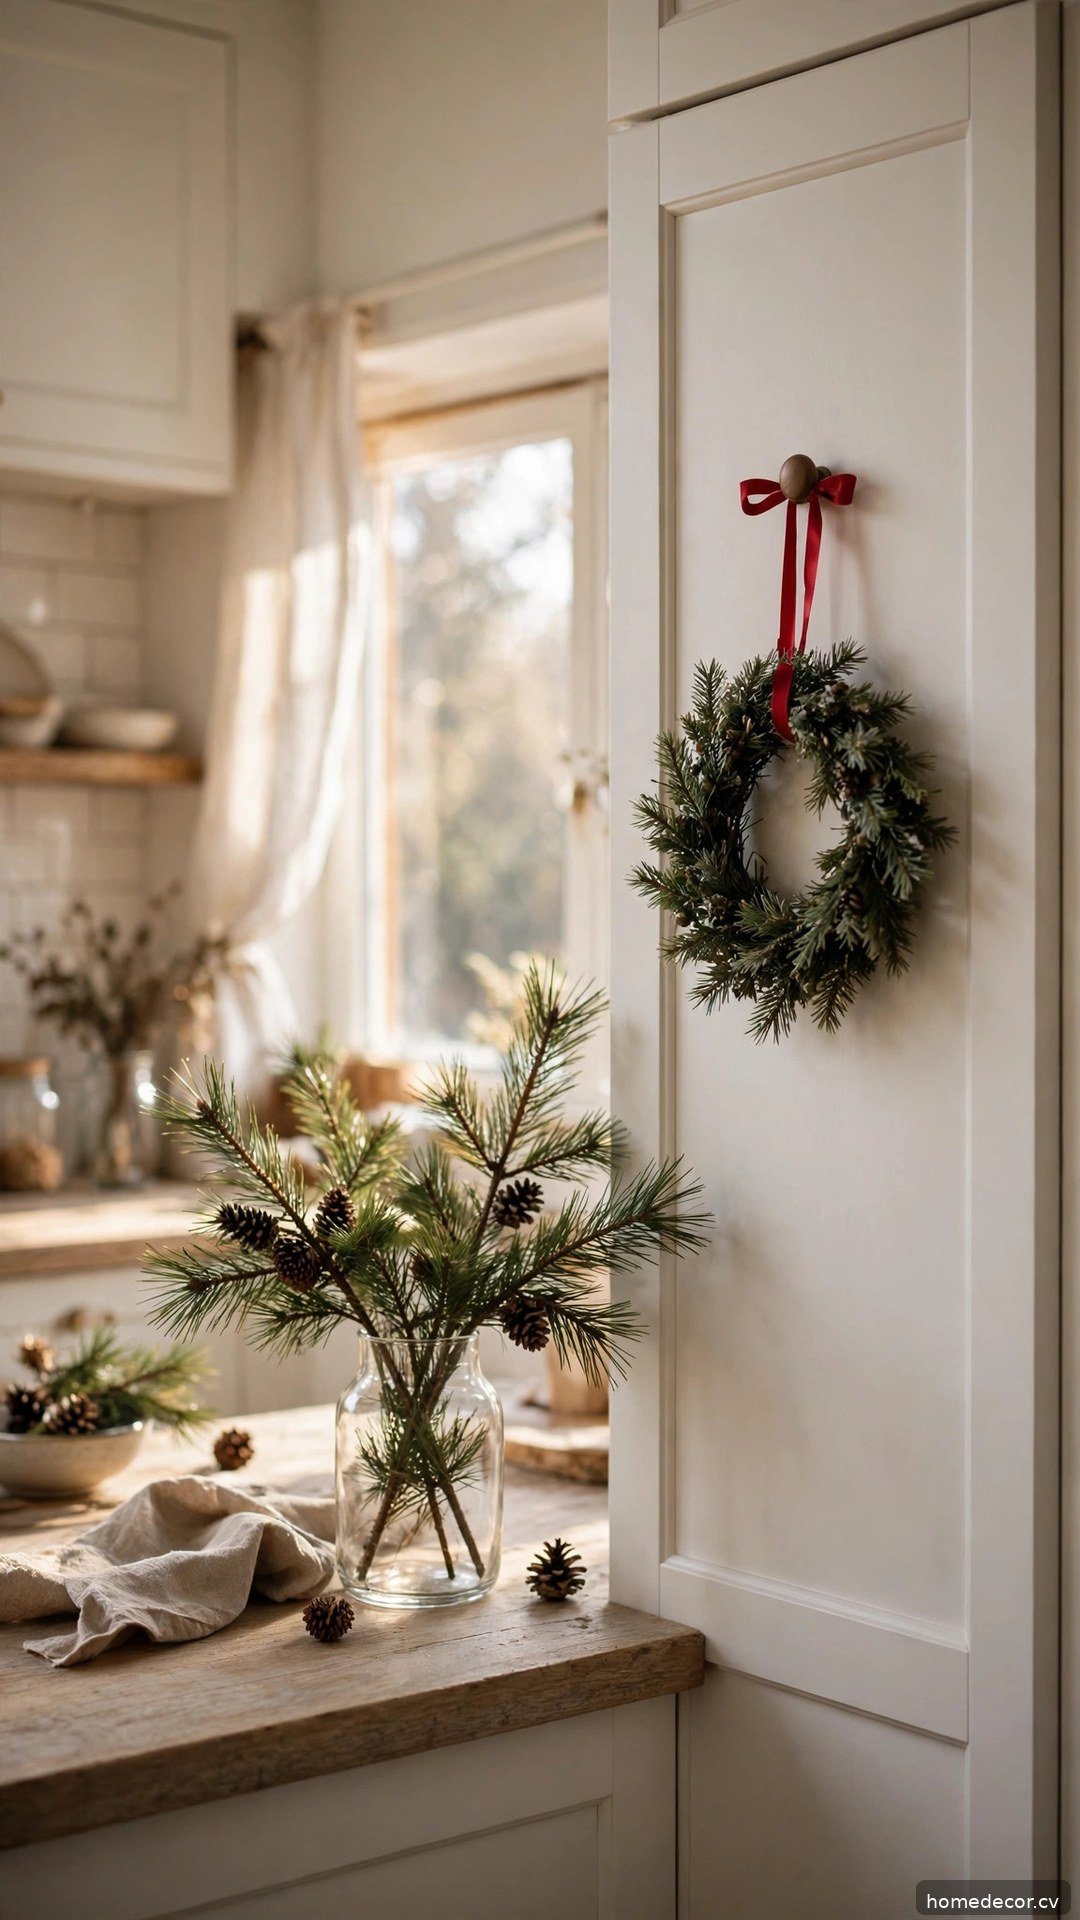
A wreath on a cabinet door is jewelry for your kitchen, and it takes five minutes to hang. Choose a wreath 12 to 16 inches in diameter so it suits standard cabinet doors without overwhelming them. Classic greenery with red berries and pinecones works with every kitchen style, from farmhouse to modern. Hang it with a wide satin or velvet ribbon looped over the top of the door, securing the ribbon inside with a small piece of tape or a clear adhesive hook. Position the wreath on an upper cabinet beside the sink or stove where it catches the eye but never interferes with cooking. A ribbon in deep red, forest green, or champagne gold ties the wreath to your overall holiday palette.
Make the wreath last all season with a few smart choices. Faux wreaths hold up best in kitchens where heat and steam wilt fresh greenery fast. If you love the scent of real pine, mist a fresh wreath with water every three days and keep it away from the oven’s direct heat. Add a small battery-operated light strand for evening sparkle without any cords. Check the ribbon weekly and re-secure it before holiday cooking marathons swing the door open and closed. Hang matching mini wreaths on two or three cabinet doors for a coordinated look, or let one statement wreath shine solo. Either way, this tiny touch delivers outsized festive impact.
Idea 6: Seasonal Mug Display
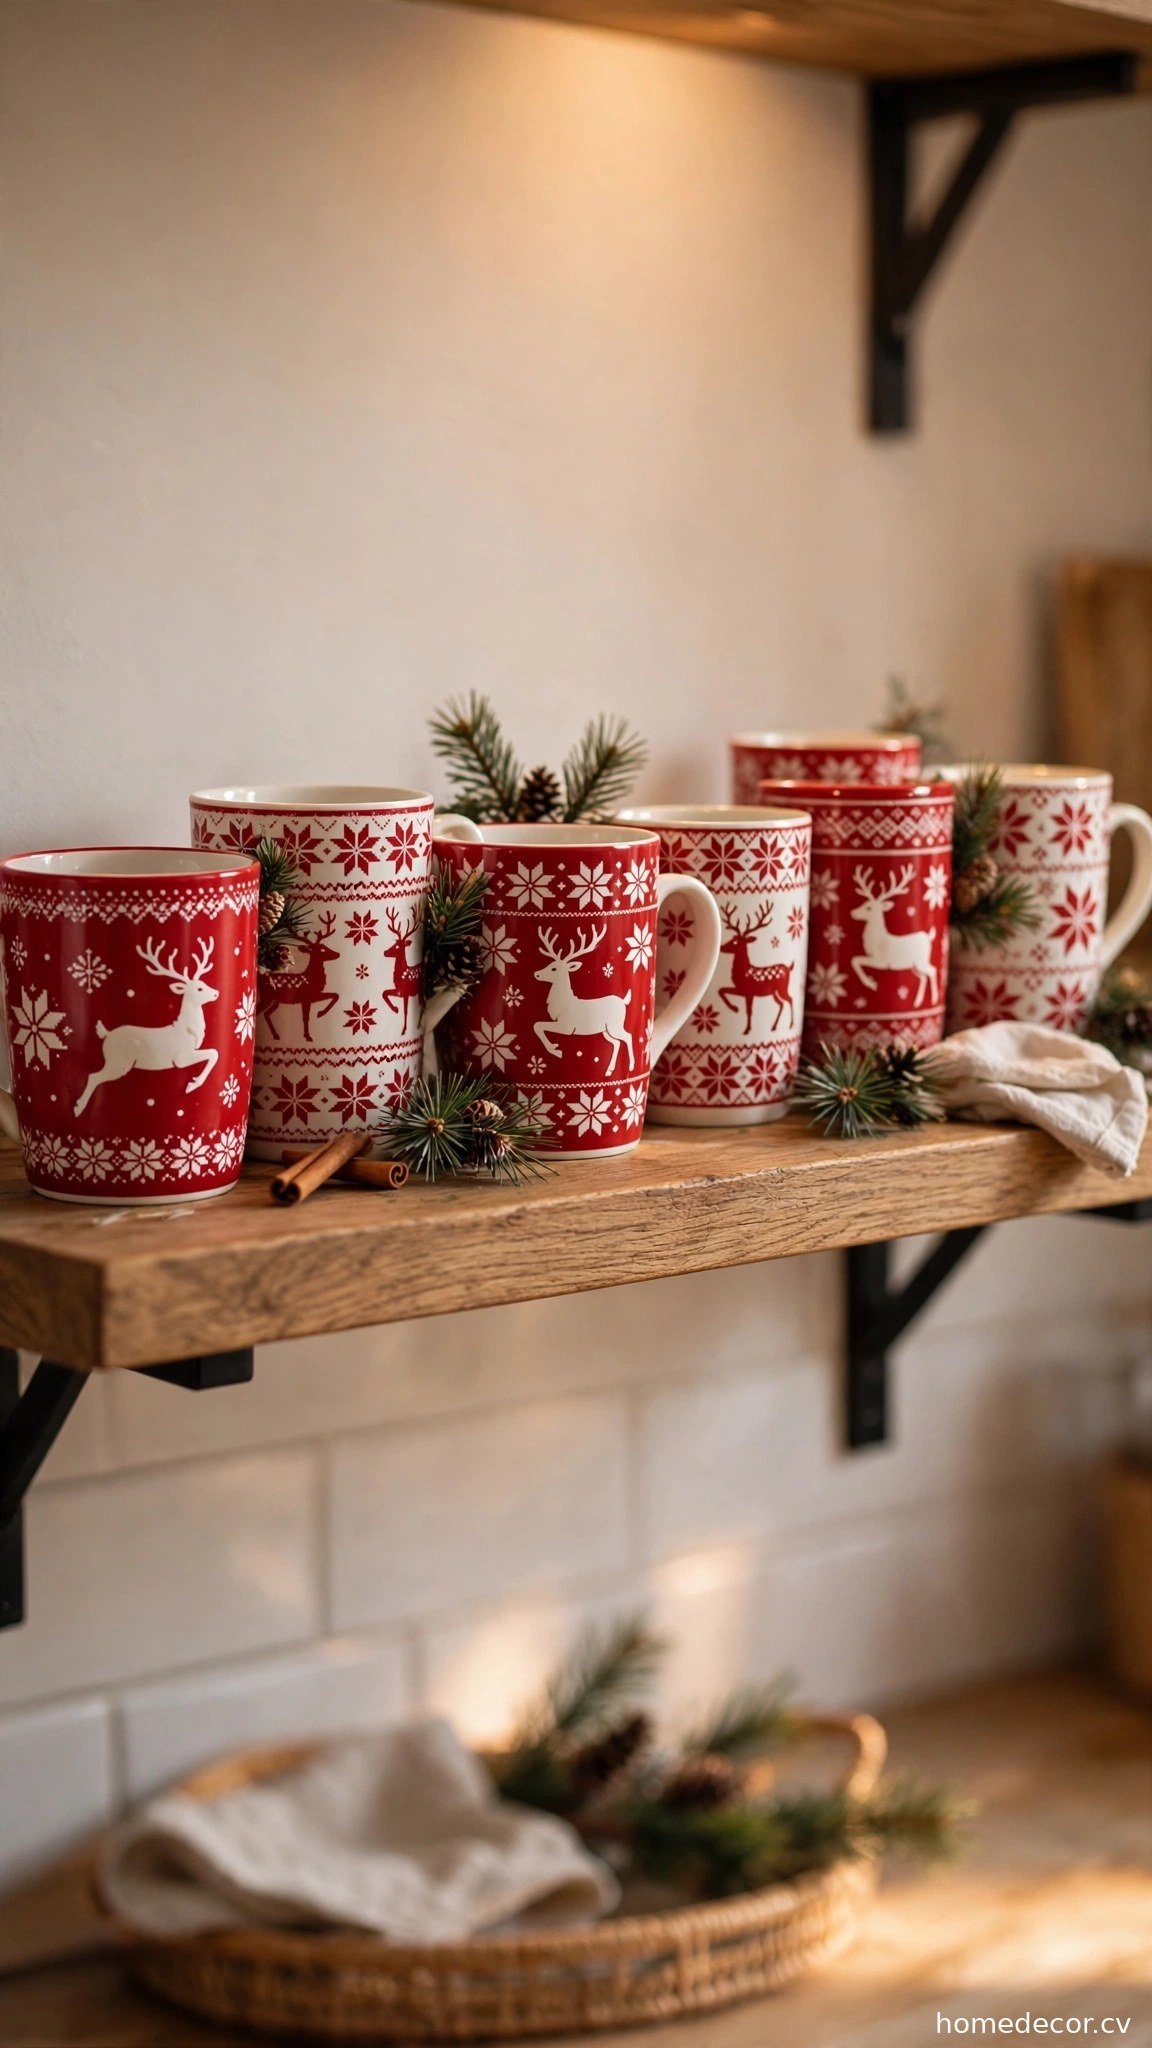
A seasonal mug display turns your everyday drinkware into Christmas decor worth showing off. Gather every holiday mug you own and arrange them on an open shelf, a mug tree, or wall-mounted hooks near the coffee maker. Mix patterns confidently: buffalo check beside reindeer scenes beside simple red and cream solids looks collected rather than chaotic when the color palette stays tight. Tuck small pine sprigs, cinnamon sticks, or tiny ornaments between the mugs for styling that smells as good as it looks. Hang favorite mugs on individual hooks at slightly different heights for a casual, curated feel. Limit the display to mugs you actually use so the shelf stays functional, not just decorative.
Build your mug collection thoughtfully over the years instead of buying a matching set all at once. Thrift stores and holiday markets hide wonderful vintage mugs for a dollar or two each. Choose one hero mug per person in the household, something with personality that makes morning coffee feel special. Store off-season mugs in their original boxes or wrapped in tissue inside a labeled bin. Hand-wash mugs with metallic or glitter details to protect the finish. When guests spot the mug wall, they inevitably choose their favorite, and that small moment of delight is exactly what holiday kitchens are for.
Idea 7: Christmas Table Runner
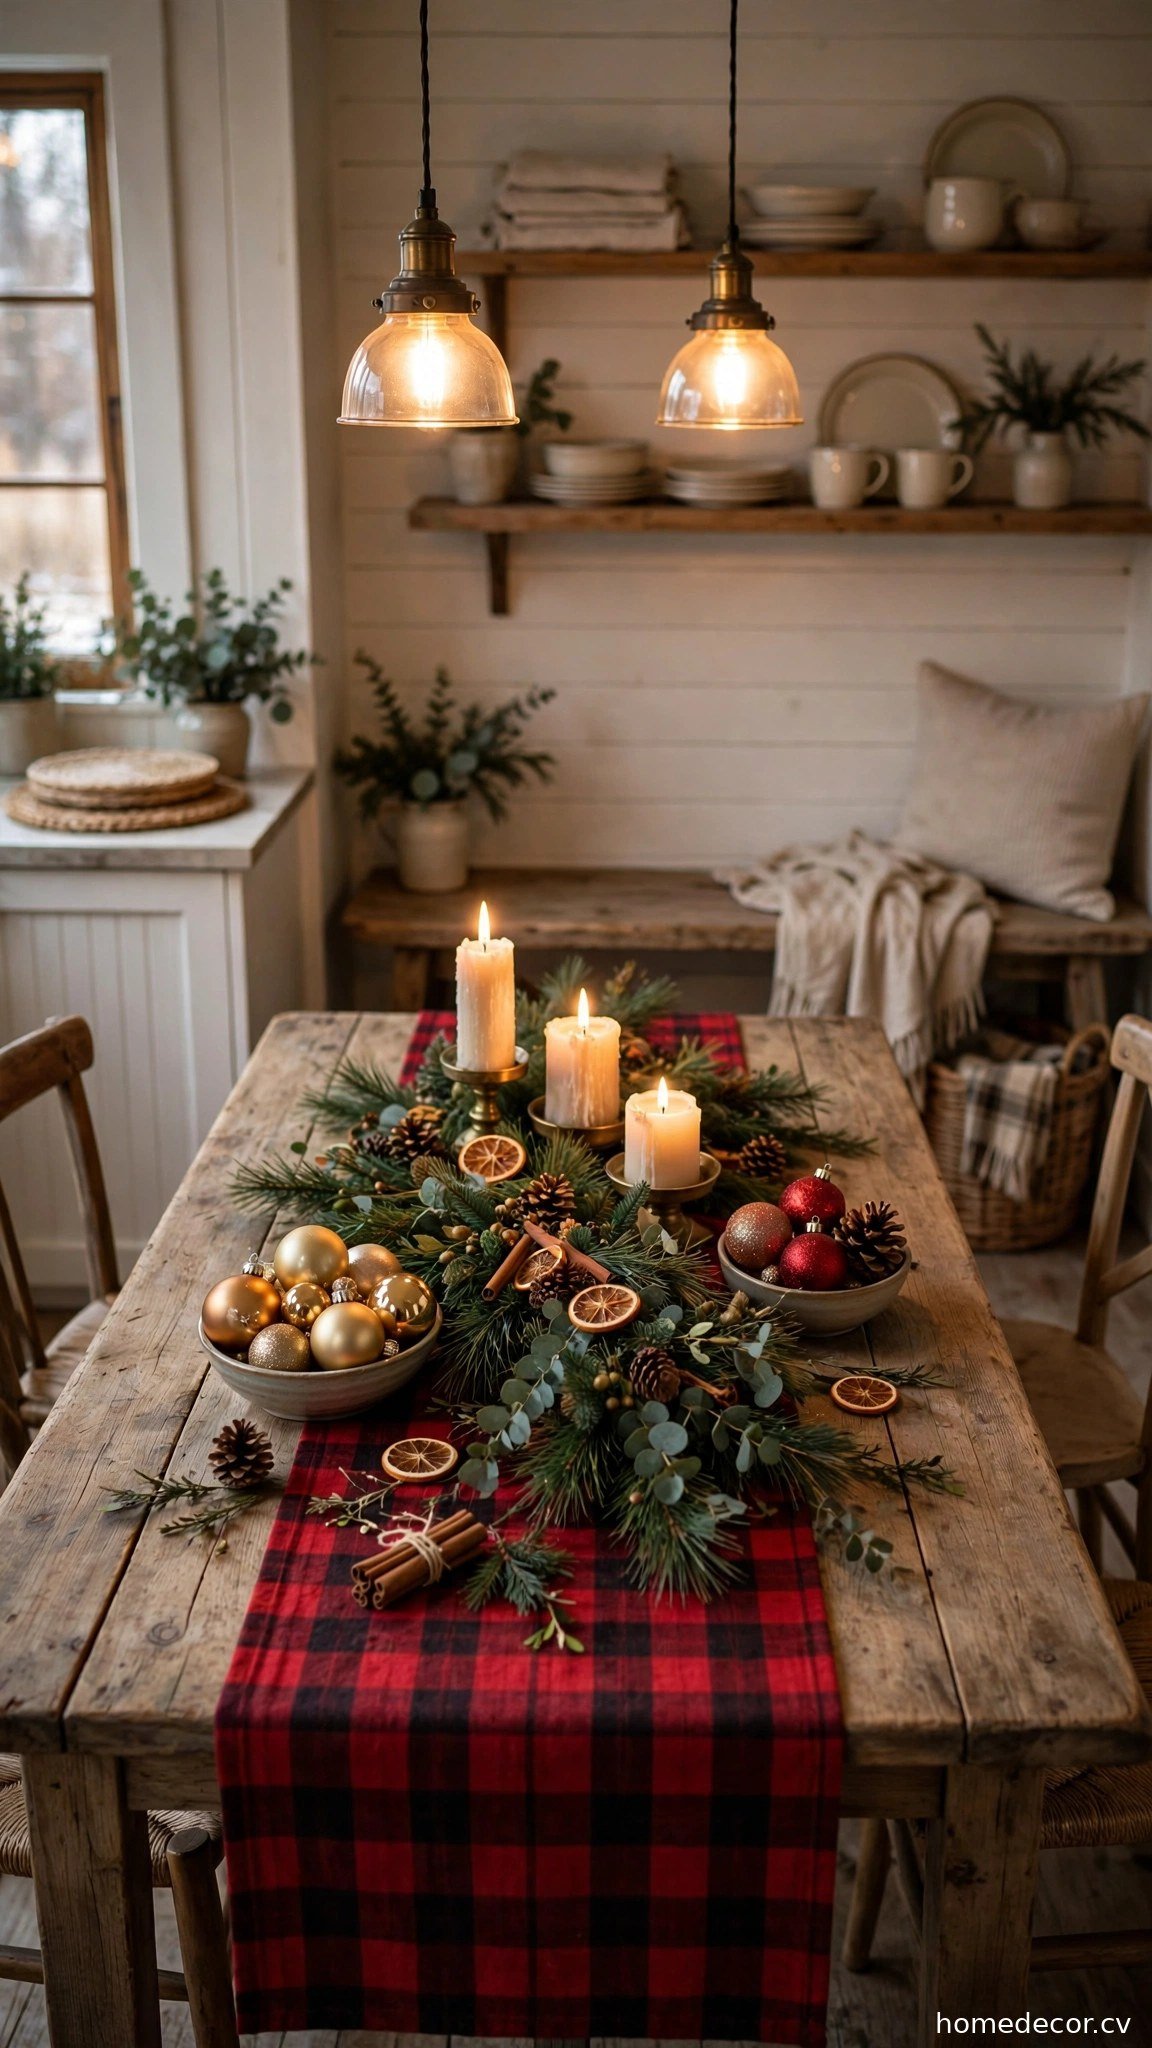
A Christmas table runner instantly dresses your kitchen table for the season with zero commitment. Choose a runner 12 to 16 inches wide and long enough to drape 8 to 12 inches over each end of the table. Classic red plaid, natural burlap with pine embroidery, or cream linen with subtle gold stitching all set a festive tone. Layer the runner over your everyday tablecloth or let it run bare on a beautiful wood table. Down the center, arrange a low garland, a row of pillar candles in varying heights, and small bowls of ornaments or pinecones. Keep the centerpiece under 12 inches tall so conversation flows easily across the table.
Keep the runner practical for a working kitchen table. Choose a machine-washable fabric since holiday meals guarantee spills. A runner with a stain-resistant finish wipes clean between washes during the busy season. Fold the runner in half lengthwise under the centerpiece if your table runs narrow, creating a lush layered look that adds depth and visual interest. Swap the centerpiece elements weekly: candles one week, a bowl of clementines and cloves the next, fresh pine sprigs after that. Store the runner rolled rather than folded to prevent crease lines. This single piece of fabric transforms everyday breakfasts into holiday occasions all December long.
Idea 8: Pine Sprigs in Vases
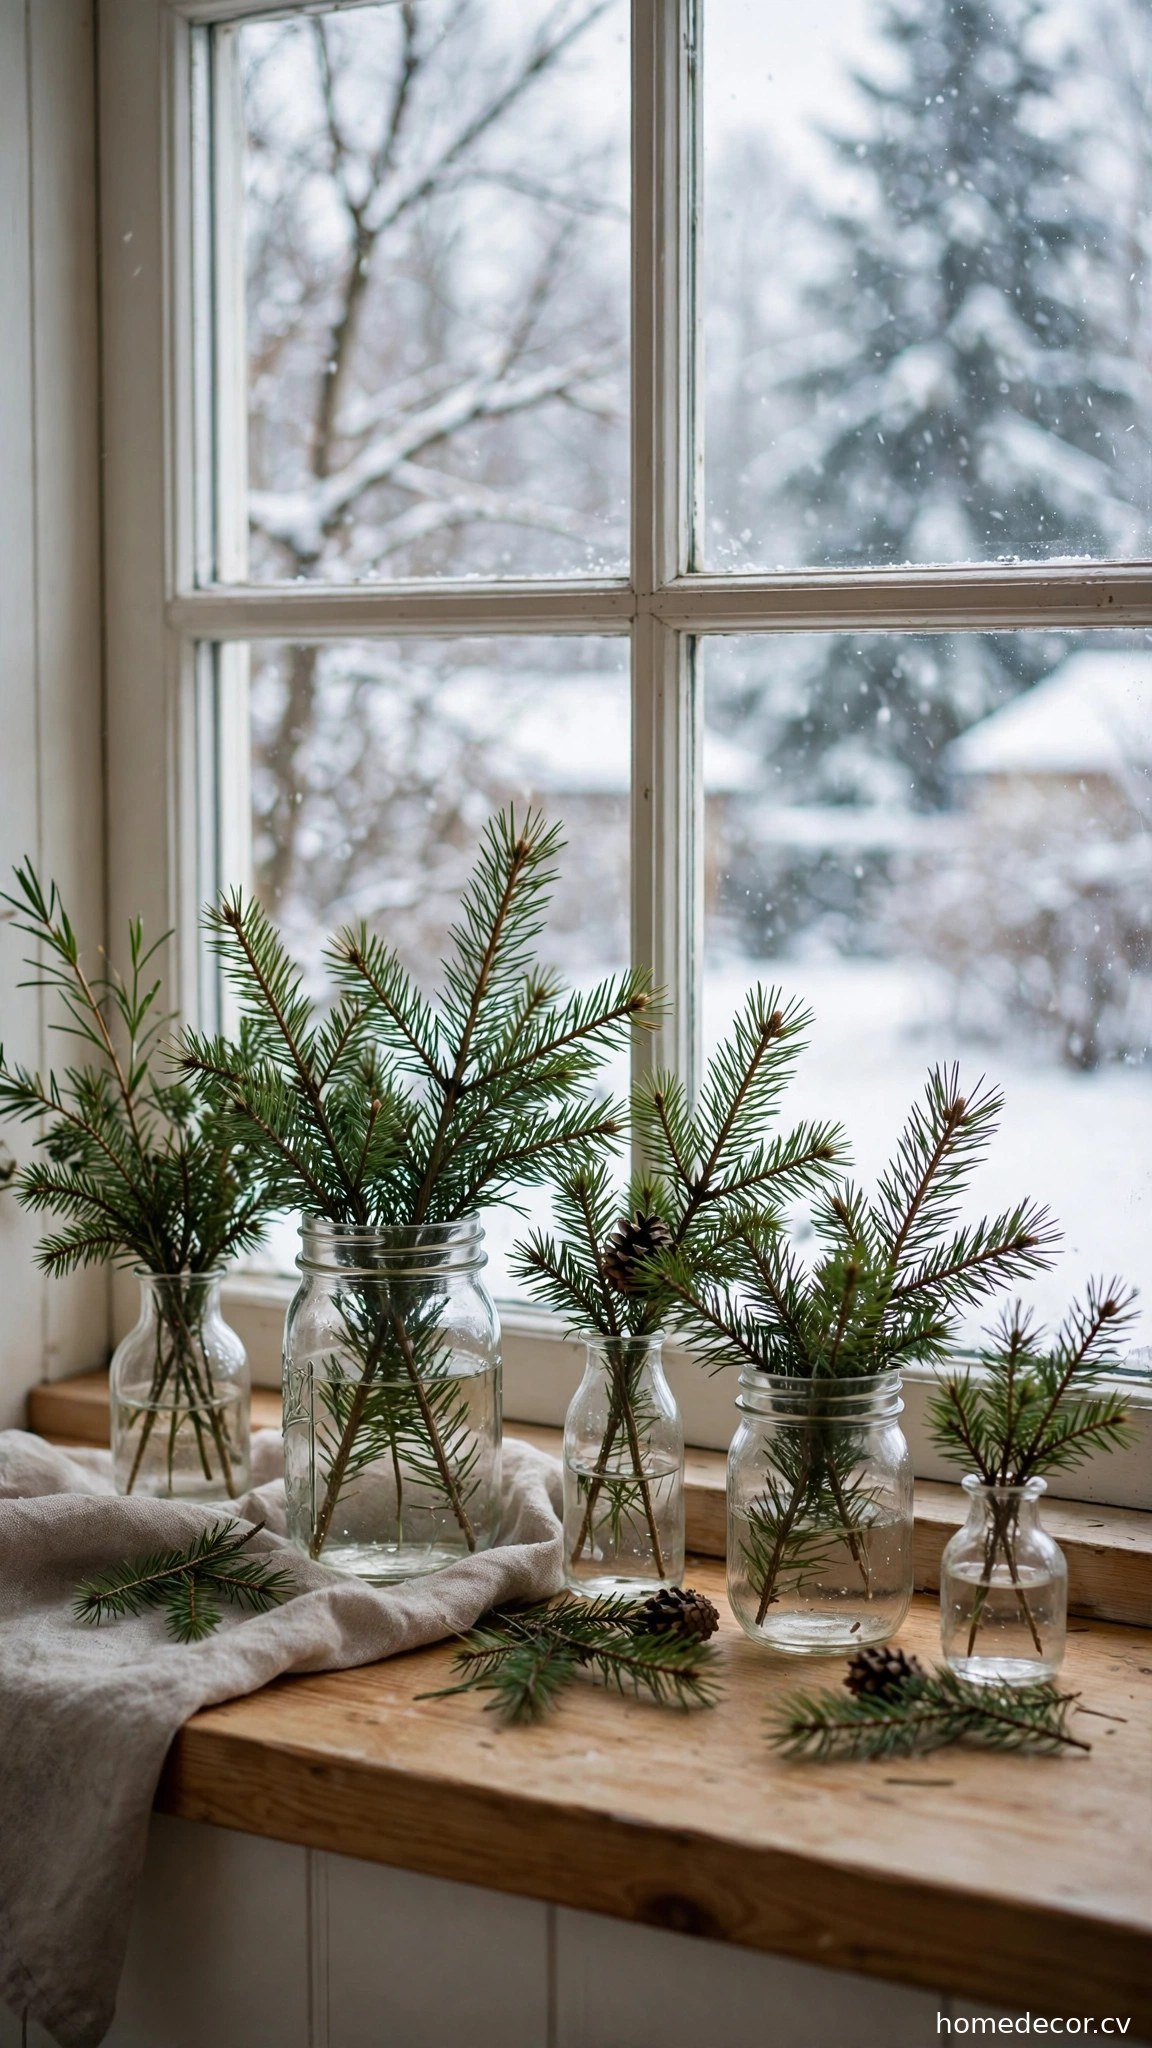
Fresh pine sprigs in simple vases are the most effortless Christmas decor nature ever designed. Clip branches from your Christmas tree trimmings or buy an inexpensive bunch of cedar, pine, or fir from any grocery store in December. Arrange three to five stems in small glass vases, mason jars, or even pretty drinking glasses, varying the heights for a natural look. Place one arrangement on the windowsill, one beside the sink, and one on an open shelf to spread fresh scent through the whole kitchen. Add a few red berries, a dried orange slice, or a cinnamon stick to each vase for color and fragrance. The whole project costs under 10 dollars and takes fifteen minutes.
Keep the greenery fresh and fragrant for weeks with simple care. Trim half an inch off each stem at an angle before placing them in water, and change the water every three days. Mist the needles lightly each morning to slow drying in heated kitchens. Keep arrangements away from direct stove heat and sunny windows that accelerate needle drop. Compost the sprigs when they fade and replace them with a fresh bunch mid-season for a second wave of scent. Save a few particularly pretty branches to tuck into gift wrapping. Nothing says Christmas like the smell of real pine greeting you every time you walk into the kitchen.
Idea 9: Gingerbread-Scented Candle
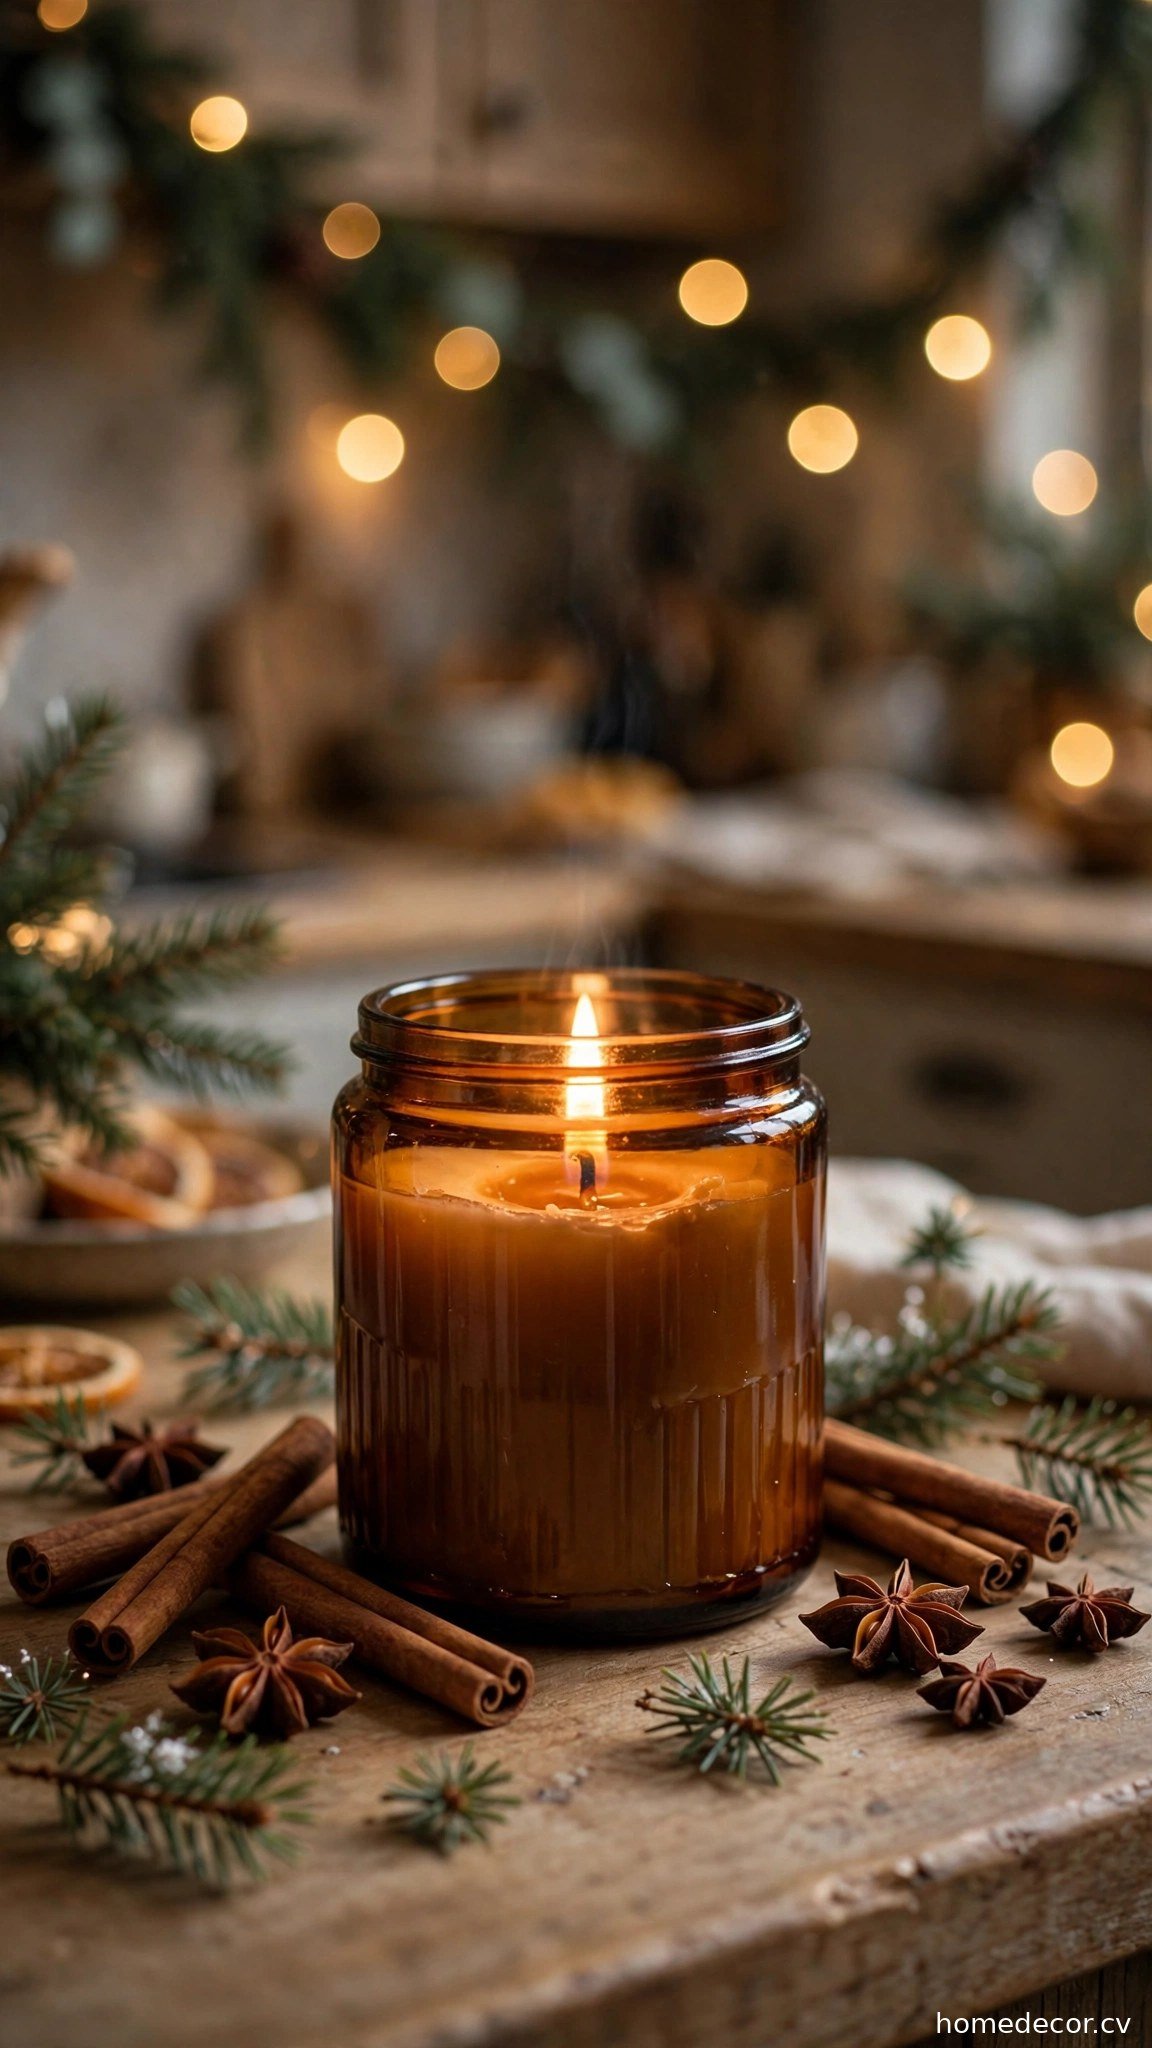
A gingerbread-scented candle makes your kitchen smell like the holidays even when the oven is off. Choose a soy or beeswax candle with notes of cinnamon, clove, vanilla, and warm ginger for that authentic fresh-baked aroma. An 8-ounce candle burns for 40 to 55 hours, easily covering the whole season with daily evening use. Place it on a heat-safe tray on the counter or kitchen island, surrounded by cinnamon sticks, star anise, and a few pine sprigs for a styled vignette. Trim the wick to a quarter inch before each lighting to prevent soot marks on your walls and cabinets. Never leave the candle burning unattended, especially in a busy cooking space.
Layer the scent experience for a kitchen that smells incredible from every corner. Simmer a pot of water with orange slices, cloves, and cinnamon sticks on low for real stovetop fragrance during gatherings. Keep a matching room spray for quick refreshes before guests arrive. Store the candle with its lid on between uses to preserve the fragrance oils. Choose a reusable vessel like amber glass or a ceramic jar that becomes decor on its own after the wax is gone. When someone walks into your kitchen and asks what is baking, you will know the candle is doing its delicious job.
Idea 10: Cookie Jar Display
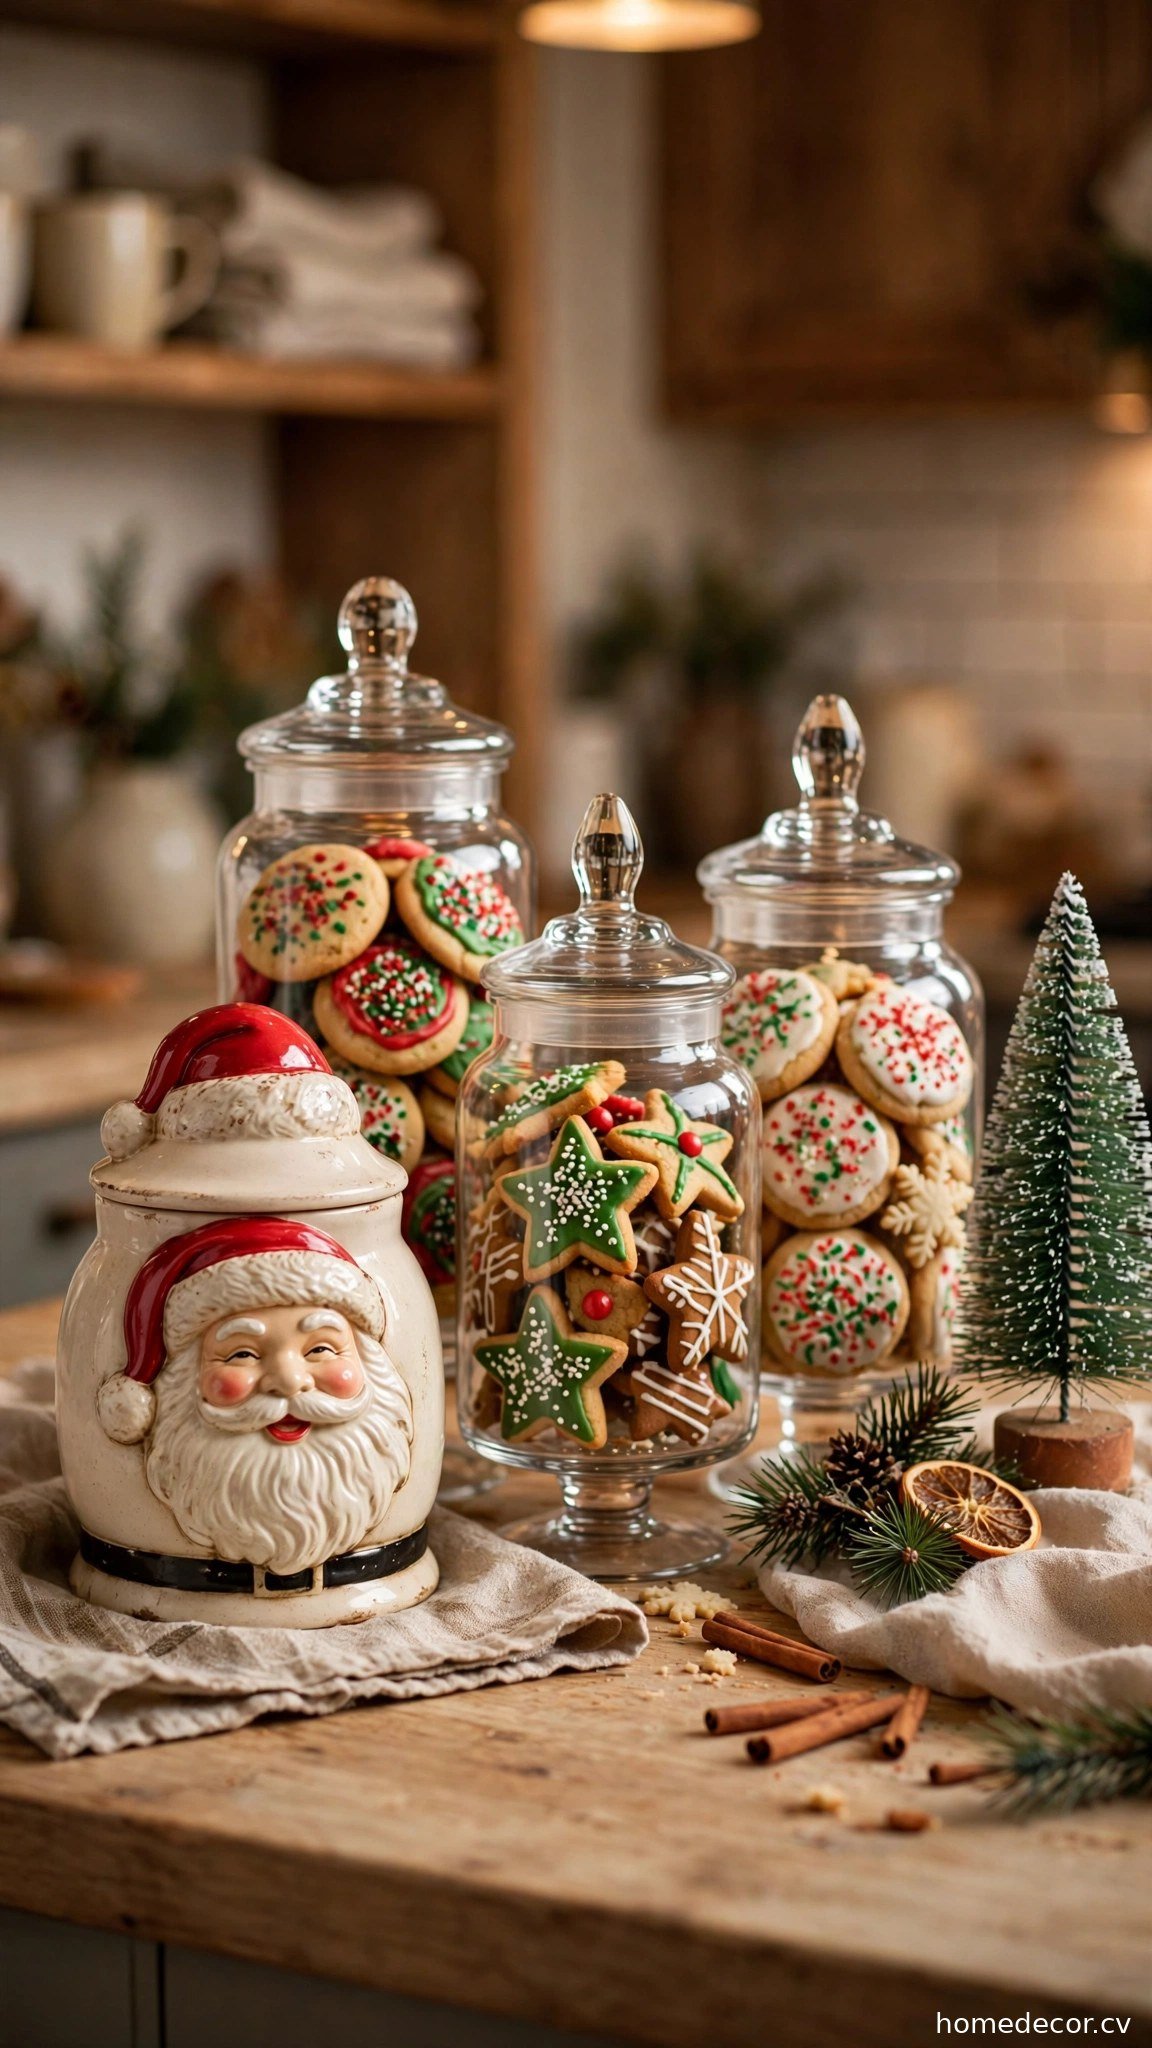
A cookie jar display turns your holiday baking into edible Christmas decor. Choose a statement cookie jar with vintage charm, perhaps a ceramic Santa, a snowman, or a classic red truck design, as the centerpiece. Flank it with two or three glass apothecary jars filled with colorful cookies: gingerbread men, iced sugar cookies, and chocolate crinkles create a beautiful variety. Stack the cookies neatly in the jars so their decorated tops face outward like edible ornaments. Add a small bottle-brush tree and a string of fairy lights behind the jars for a styled backdrop. Keep a pair of tongs nearby so little hands grab cookies without touching the rest.
Keep the display fresh and food-safe throughout the season. Bake sturdy cookies like gingerbread and shortbread that stay fresh for two to three weeks in airtight jars. Wash and thoroughly dry all jars before filling to prevent moisture from softening the cookies. Refill the jars weekly, or whenever the level drops below half, so the display always looks abundant. Store backup batches in the freezer and thaw them overnight for instant refills. Place the display away from the stove’s heat to protect icing and chocolate. This sweet station delights kids, impresses guests, and makes your kitchen feel like the heart of the holidays.
Idea 11: Dress Open Shelves with Mini Garland and Ornaments
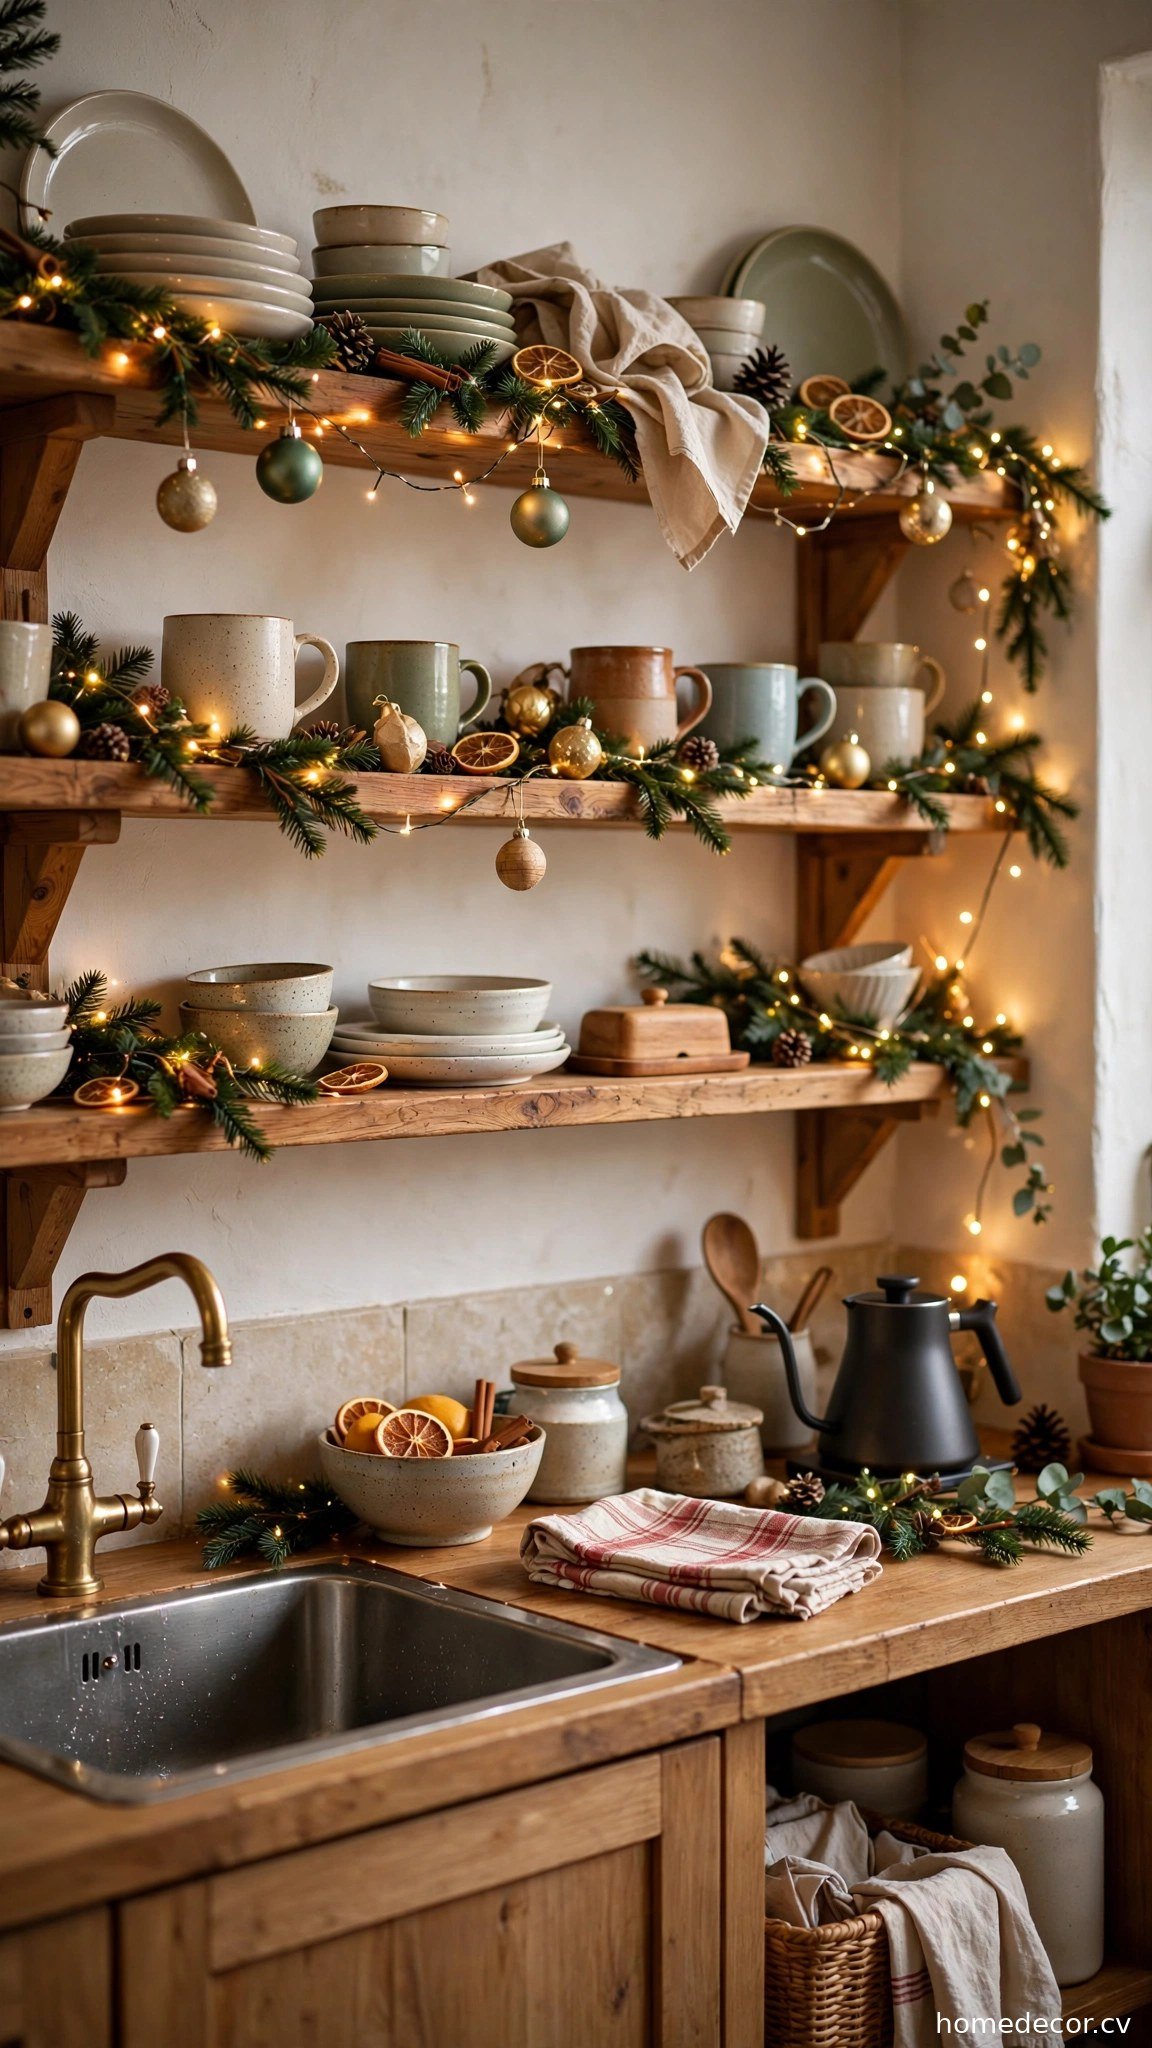
Open kitchen shelves are practically begging for Christmas treatment, and a mini garland is all it takes to transform them. Drape a slim faux pine garland along the front edge of each shelf, letting it swag gently between small clear hooks, then tuck in a few shatterproof ornaments and a strand of battery fairy lights. The key is restraint — you still need your everyday dishes and glasses, so style the decor around them rather than replacing them. Weave the garland behind your stacked white bowls and let ornaments peek between mugs; the mix of functional and festive is exactly what makes a styled shelf feel alive.
What makes shelf styling so satisfying is that you see it constantly while cooking, so it delivers daily joy all December. Keep ornaments small and shatterproof since kitchen shelves see a lot of action, and choose a slim garland profile that doesn’t steal plate space. Battery-operated lights with a built-in timer are essential here — set them to glow during evening hours and you’ll get a magical kitchen without ever touching a switch. If your shelves hold colorful dishes, pick ornament tones that complement them; if everything is white and neutral, this is your chance to add that pop of red or gold. The whole project takes under an hour but makes the kitchen feel dressed for the season every single day.
Idea 12: Swap in Festive Cabinet Knobs for December
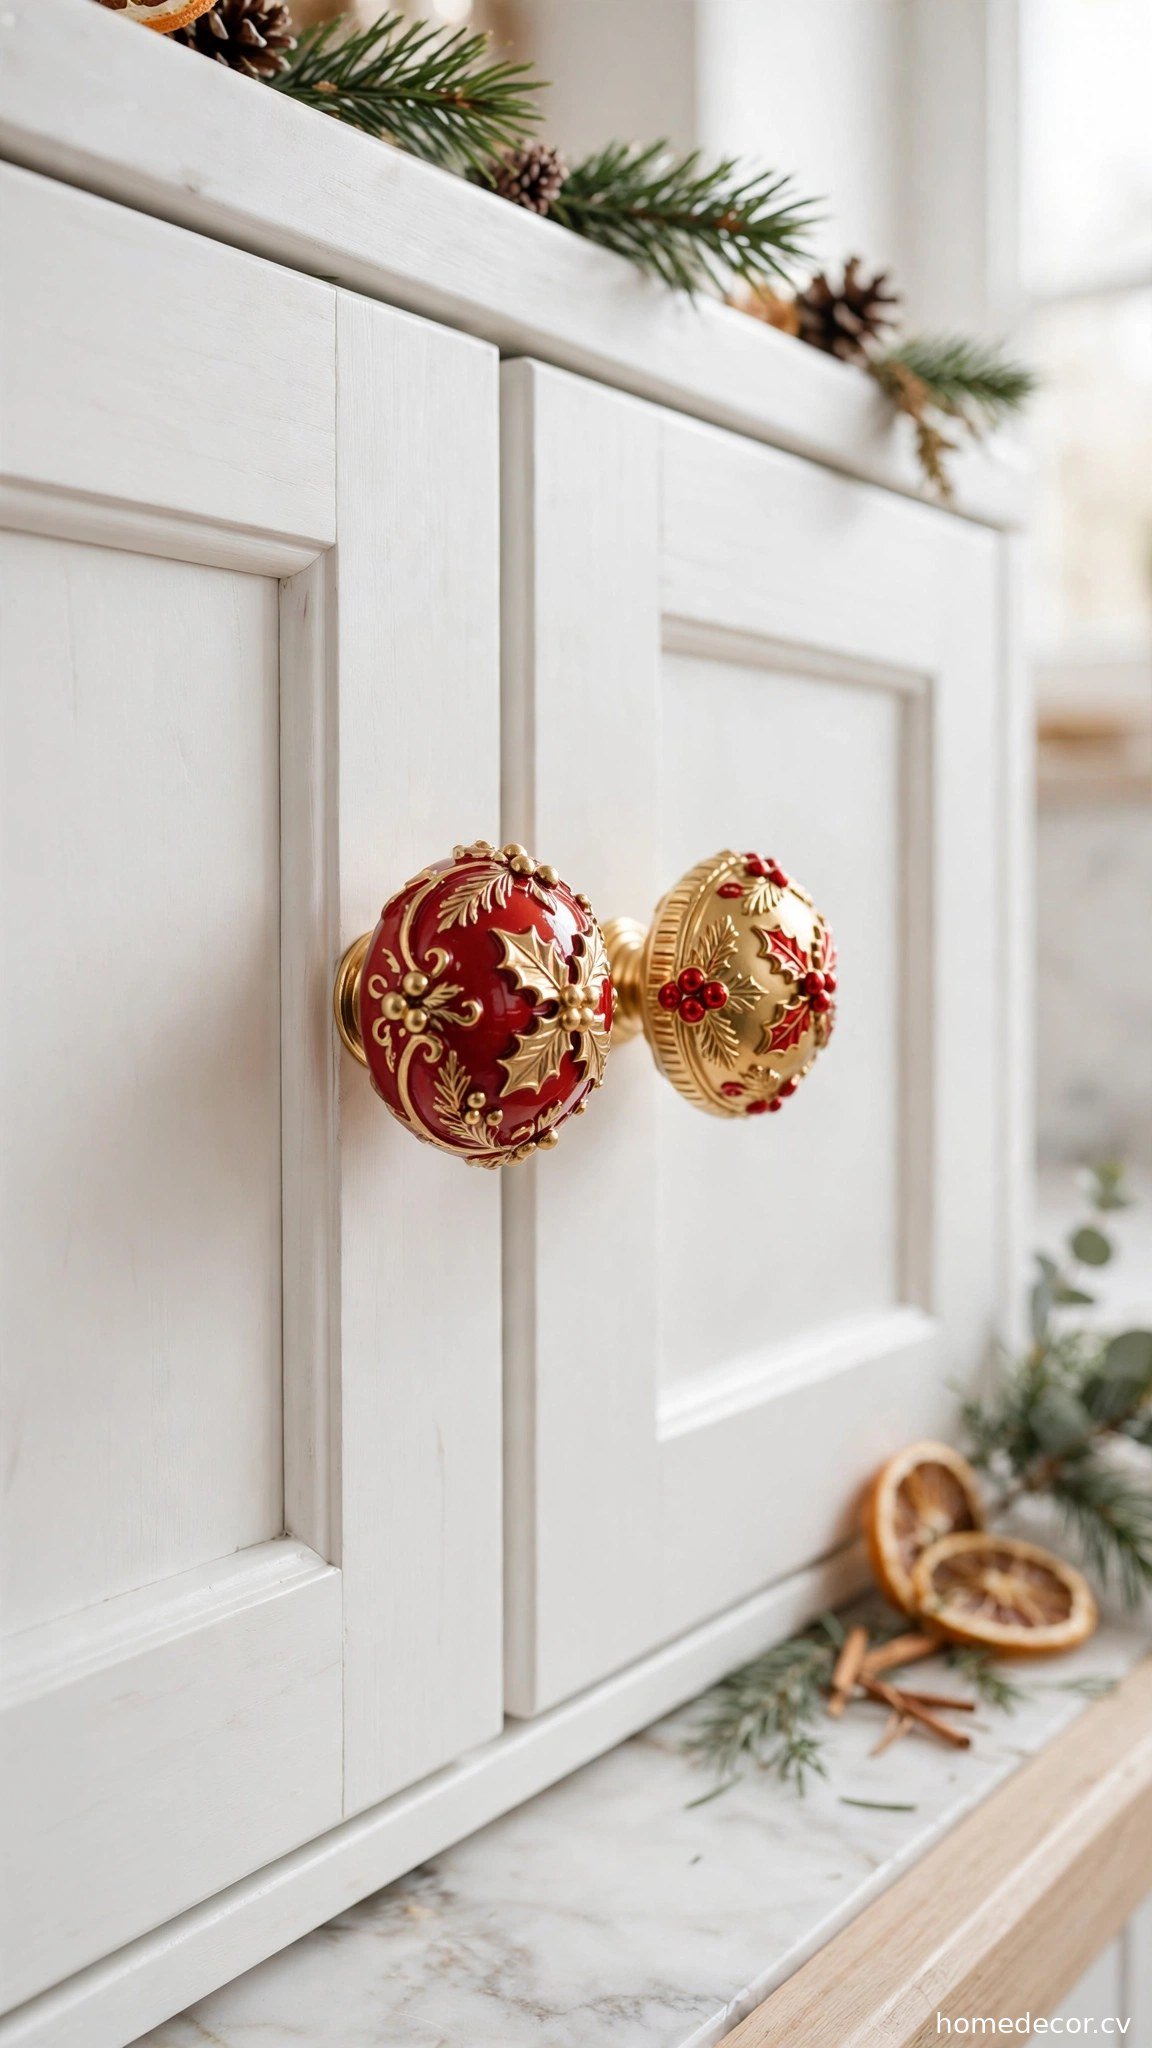
Here’s a five-minute transformation with outsized impact: temporarily swap your everyday cabinet knobs for festive ones throughout December. Miniature brass bells, red ceramic knobs, tiny wreath-shaped pulls, or simple wooden knobs painted Christmas red — whatever suits your style — replace the standard hardware on your most visible cabinets. Every time you reach for a mug or a plate, the little festive detail greets you, sprinkling Christmas spirit into the most ordinary kitchen moments. The change is subtle from across the room but utterly delightful up close, like a secret the kitchen shares with whoever’s cooking. Store the regular knobs in a labeled bag and the swap-back in January takes minutes.
This idea is pure genius for renters and commitment-phobes because it changes nothing permanently yet makes the kitchen feel genuinely dressed for the holidays. It also photographs beautifully for anyone sharing their kitchen on Pinterest or Instagram — those little details are what make people stop scrolling. Buy knobs with a standard single-screw fitting so they install with just a screwdriver, and choose a set of six to ten for the eye-level cabinets where they’ll be noticed most. After the season, festive knobs pack flat into a tiny box, earning their keep in minimal storage space. It’s the lowest-effort, highest-charm Christmas kitchen upgrade there is.
Idea 13: Build a Gingerbread House Centerpiece
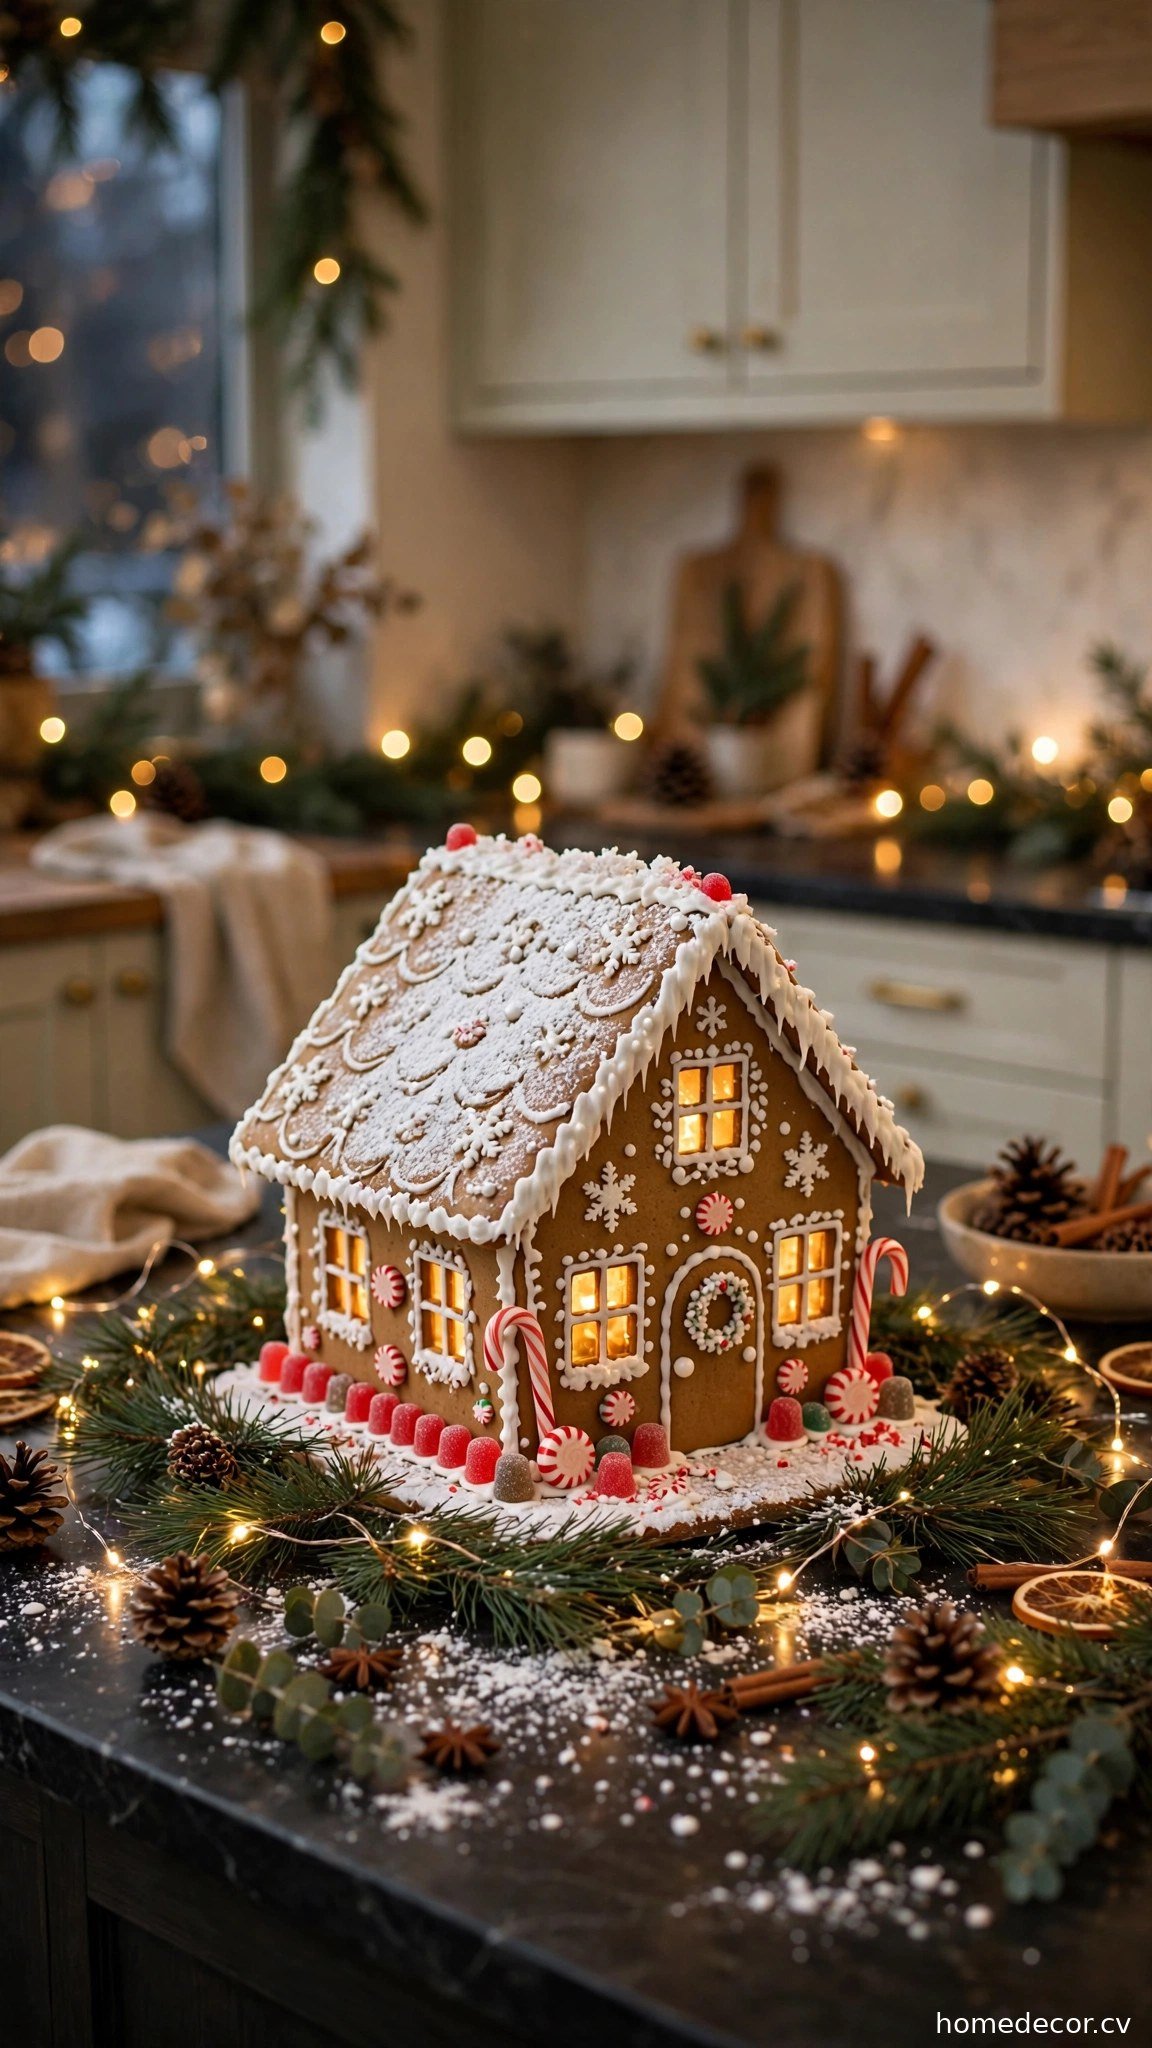
Nothing says Christmas kitchen quite like a gingerbread house taking pride of place on the island or table. Whether you bake from scratch, assemble a kit, or go the graham-cracker-and-royal-icing route with kids, the finished house becomes edible art that anchors your whole kitchen’s holiday look. Its handcrafted imperfection is precisely the point — no two gingerbread houses ever look alike, which makes yours uniquely yours. Display it on a cake stand or wooden board dusted with powdered sugar “snow,” surround the base with pine sprigs and a few fairy lights, and suddenly your kitchen has a centerpiece with more charm than anything store-bought. The spicy-sweet smell of gingerbread doubles as natural holiday fragrance.
The real magic of a gingerbread house is that it’s decor and activity in one — building it becomes a December tradition, and admiring it lasts for weeks. If baking isn’t your strength, undecorated kits from craft stores assemble in under an hour and look impressive once iced. Protect your creation from humidity by displaying it away from the stove’s steam, and accept that it will slowly become more decoration than dessert — that’s part of its charm. Surround it with a few gingerbread cookies on a nearby plate to complete the vignette. Years from now, the slightly lopsided house in old photos will be the decoration everyone remembers most fondly.
Idea 14: Hang Mini Stockings from Cabinet Knobs
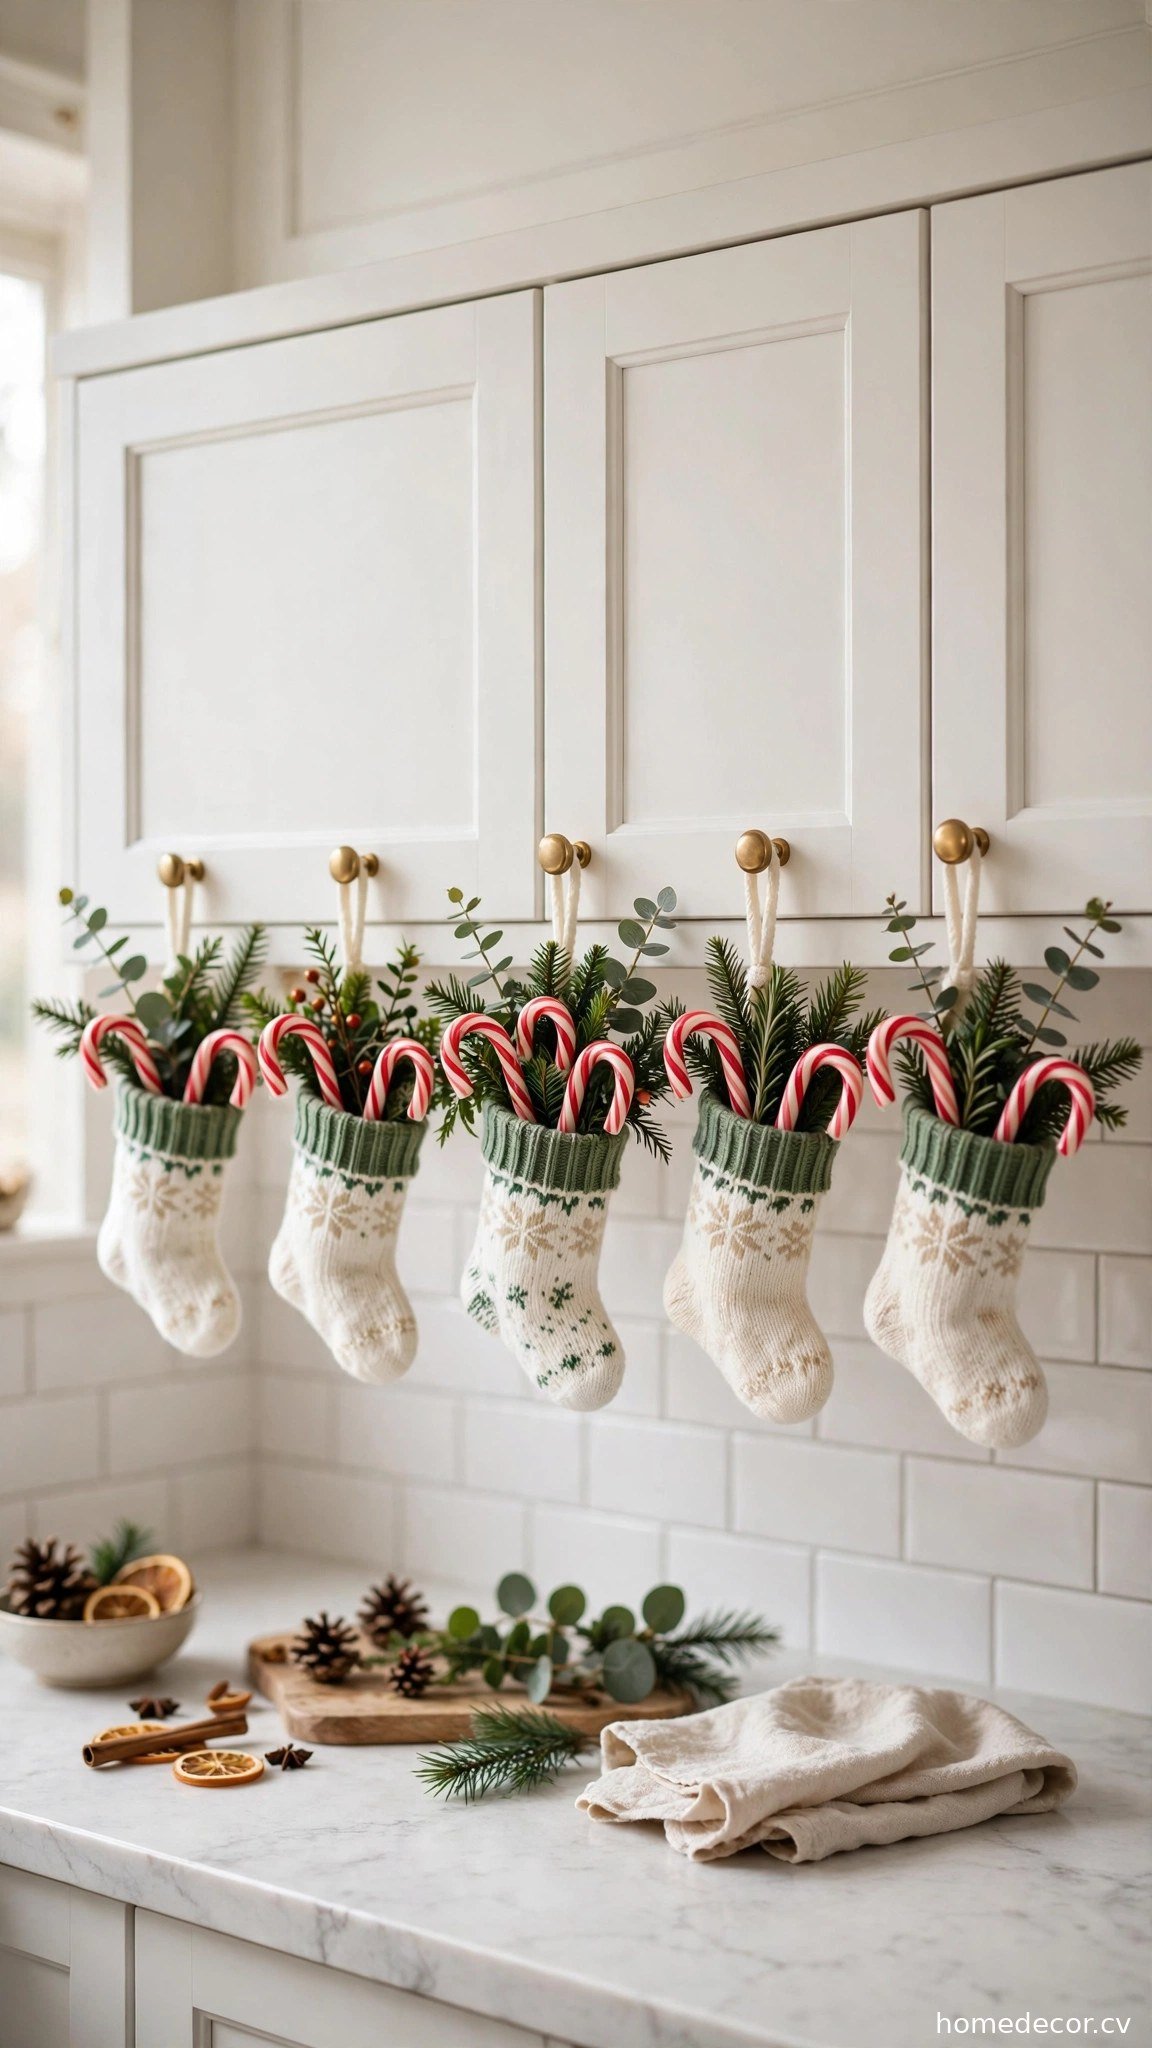
Tiny stockings dangling from cabinet knobs might be the most joyful small detail in Christmas kitchen decorating. Hang miniature knit, felt, or burlap stockings — four to six inches long — from the knobs of your upper cabinets using simple ribbon loops, filling a few with candy canes, cinnamon sticks, or small sprigs of greenery. The effect is pure storybook charm, like something from a holiday film set, yet it costs almost nothing to create. The repetition of little stockings marching along a row of cabinets creates a rhythm that’s visually delightful, and their small scale is perfectly proportioned to kitchen cabinetry in a way full-size stockings never could be.
This idea wins on charm-per-dollar like nothing else — a pack of mini stockings costs very little yet transforms an entire wall of plain cabinets. Let kids each “adopt” a stocking to fill with treats, turning the decor into an advent-calendar-style surprise. Keep the color story tight: all red, all natural burlap, or a coordinated mix that matches your kitchen’s palette. Because they’re so light, even a simple loop of ribbon holds them securely without damaging knobs or finishes. It’s a renter-friendly, kid-approved, budget-friendly detail that makes the kitchen feel like the North Pole’s coziest outpost — proof that the smallest decorations often bring the biggest smiles.
Idea 15: Style a Holiday Breakfast Nook Vignette
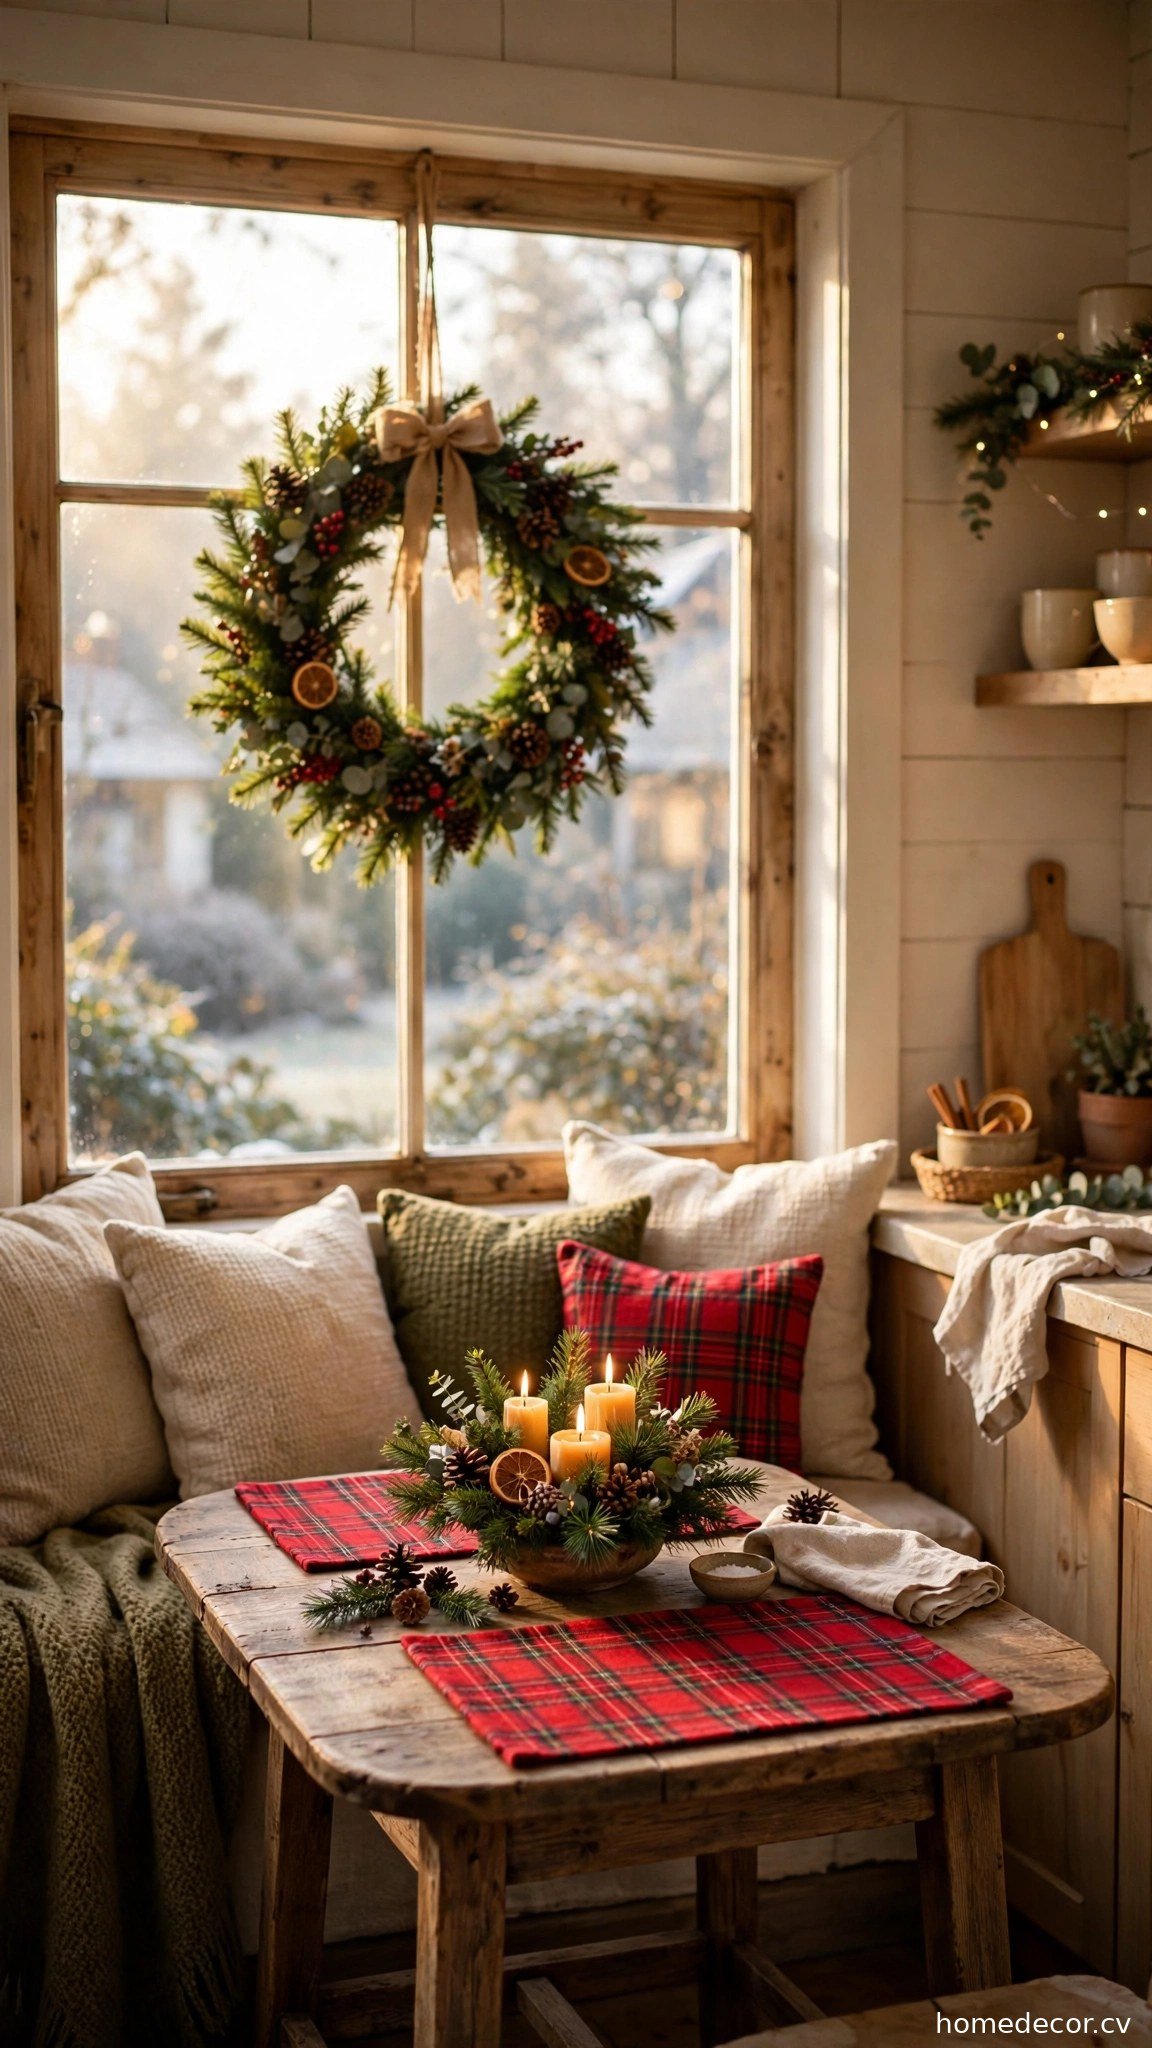
If your kitchen has even the smallest eat-in corner, styling it as a holiday breakfast nook creates a vignette you’ll enjoy every single morning of December. Start with the table: layer a simple runner or a few plaid placemats, add a low centerpiece of pine sprigs in a bowl with a couple of taper candles, and finish with a small stack of festive plates waiting at one or two places. Hang a wreath in the window behind the table and drape a strand of fairy lights along the windowsill. The whole scene takes twenty minutes to assemble but makes coffee taste better all month — there’s real psychology in starting the day inside a beautiful seasonal moment.
The secret to a nook that stays styled rather than sliding into clutter is keeping the centerpiece low and the surfaces mostly clear — this is a working breakfast spot, not a museum. Choose washable placemats and a wipeable runner since real life involves crumbs and coffee rings. A small potted rosemary “tree” or Norfolk pine on the table doubles as decor and a living plant you’ll keep past January. If the nook has bench seating, toss on one or two Christmas pillows in washable covers. Photograph it on a bright morning and you have Pinterest-ready content that practically pins itself, driving the exact seasonal traffic a growing decor site needs.
Idea 16: Display Vintage Christmas Tins and Canisters
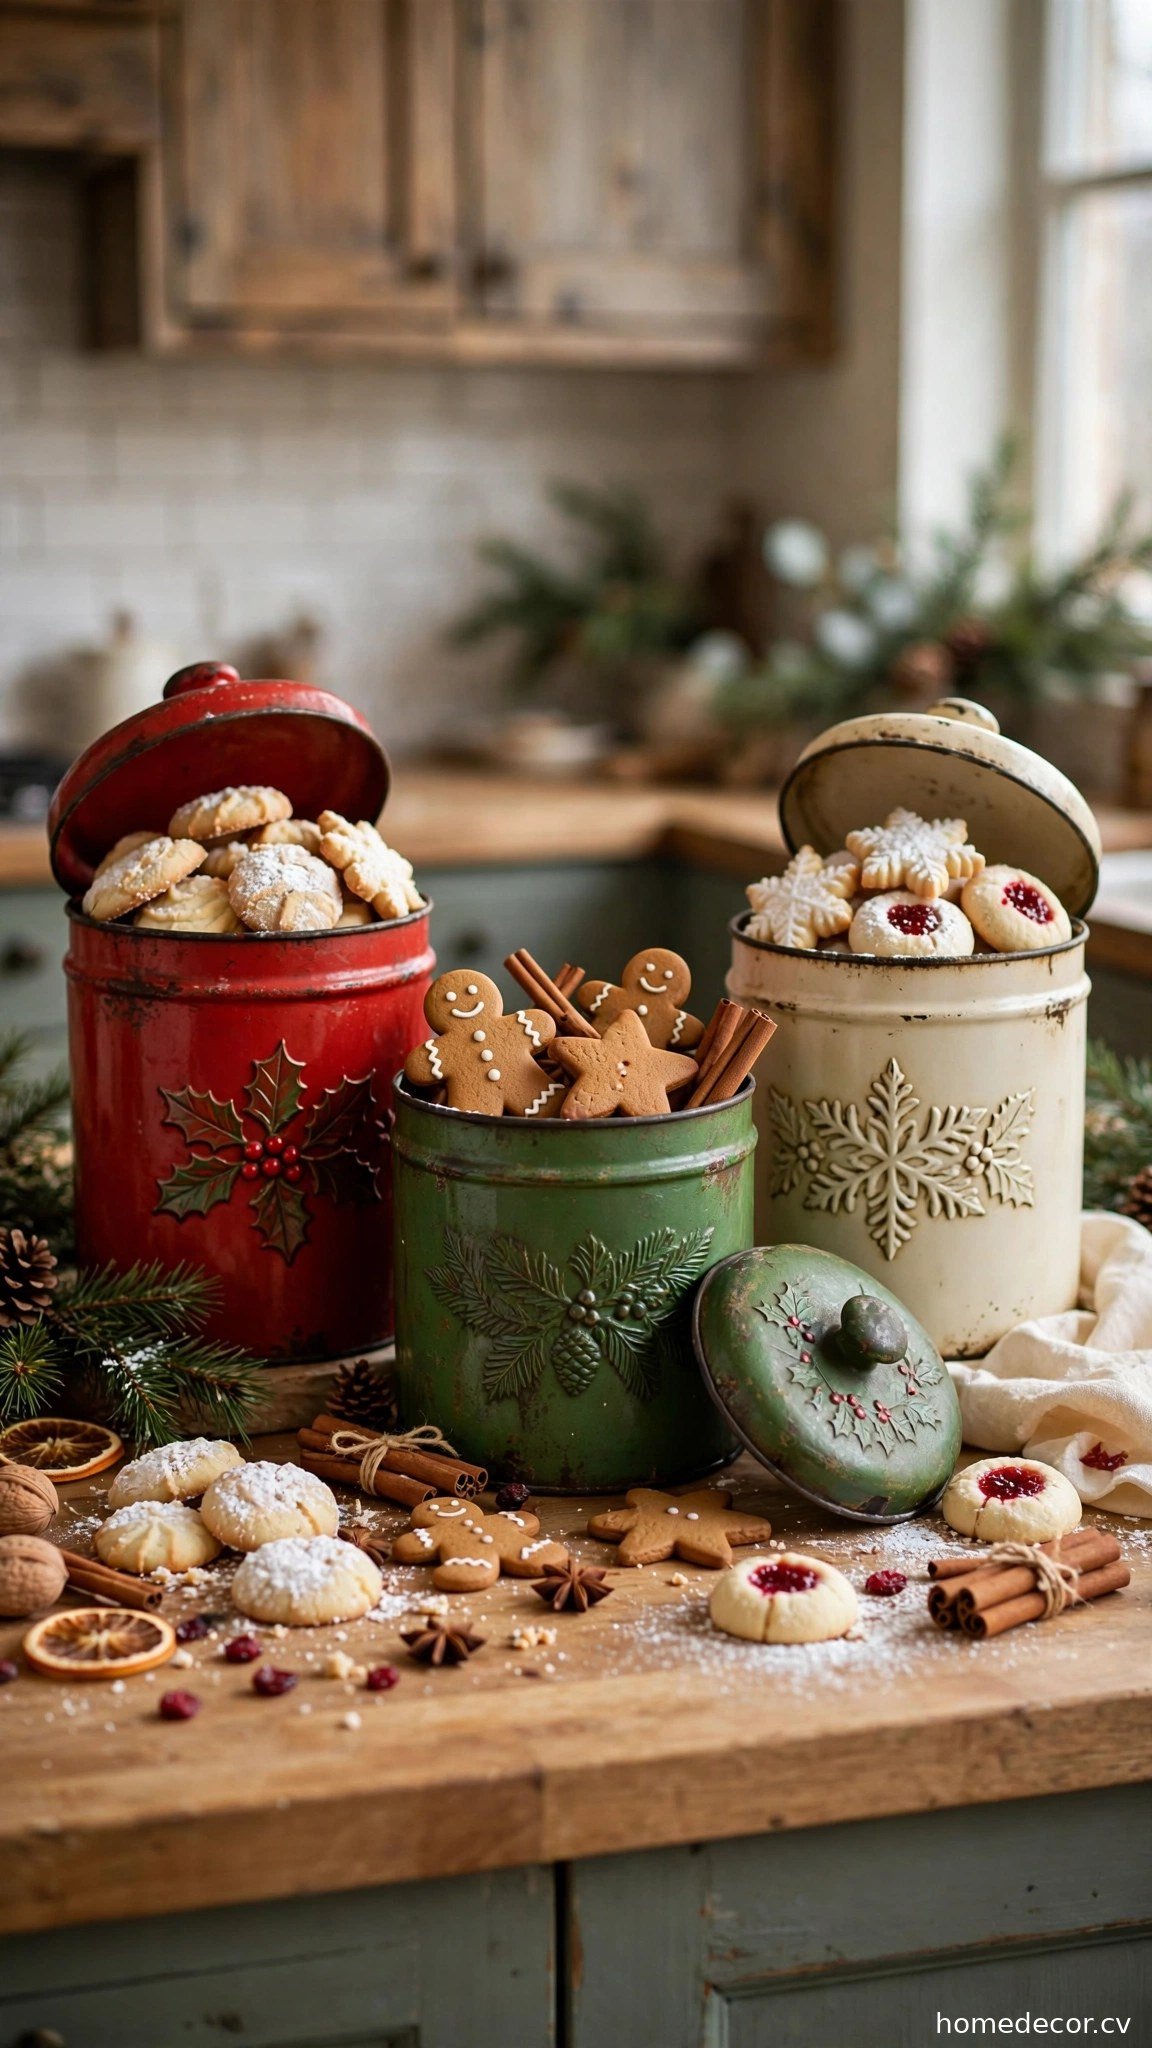
Vintage Christmas tins are nostalgia you can stack, and a grouped display of them brings instant old-fashioned warmth to kitchen counters. Hunt down embossed cookie tins, vintage canisters, and holiday biscuit tins in reds, greens, and creams from thrift stores, flea markets, or even your own attic — the slightly worn edges and retro graphics are exactly what give them charm. Arrange three to seven tins of varying heights on one section of counter, tallest at the back, and fill one or two with actual cookies or candy so the display is as functional as it is pretty. The collection reads as curated holiday styling while secretly being brilliant seasonal storage.
What makes tins such smart Christmas kitchen decor is that they solve the eternal December counter problem: where to put all the baked goods. Instead of plastic containers or clutter, treats live inside beautiful vintage vessels that earn their counter space. Mix genuine vintage finds with a few new reproduction tins — nobody can tell the difference in a group, and reproductions are perfect for the pieces that get daily use. Keep the color palette to two or three tones so the grouping looks intentional rather than garage-sale. When the season ends, the tins nest inside each other for compact storage, and the cookies they held become the memory everyone talks about until next Christmas.
For more festive inspiration, check out our [small entryway organization ideas](https://homedecor.cv/small-entryway-organization-ideas/) and browse our [christmas decor ideas for small homes](https://homedecor.cv/christmas-decor-ideas-small-homes/) for holiday styling throughout the house.