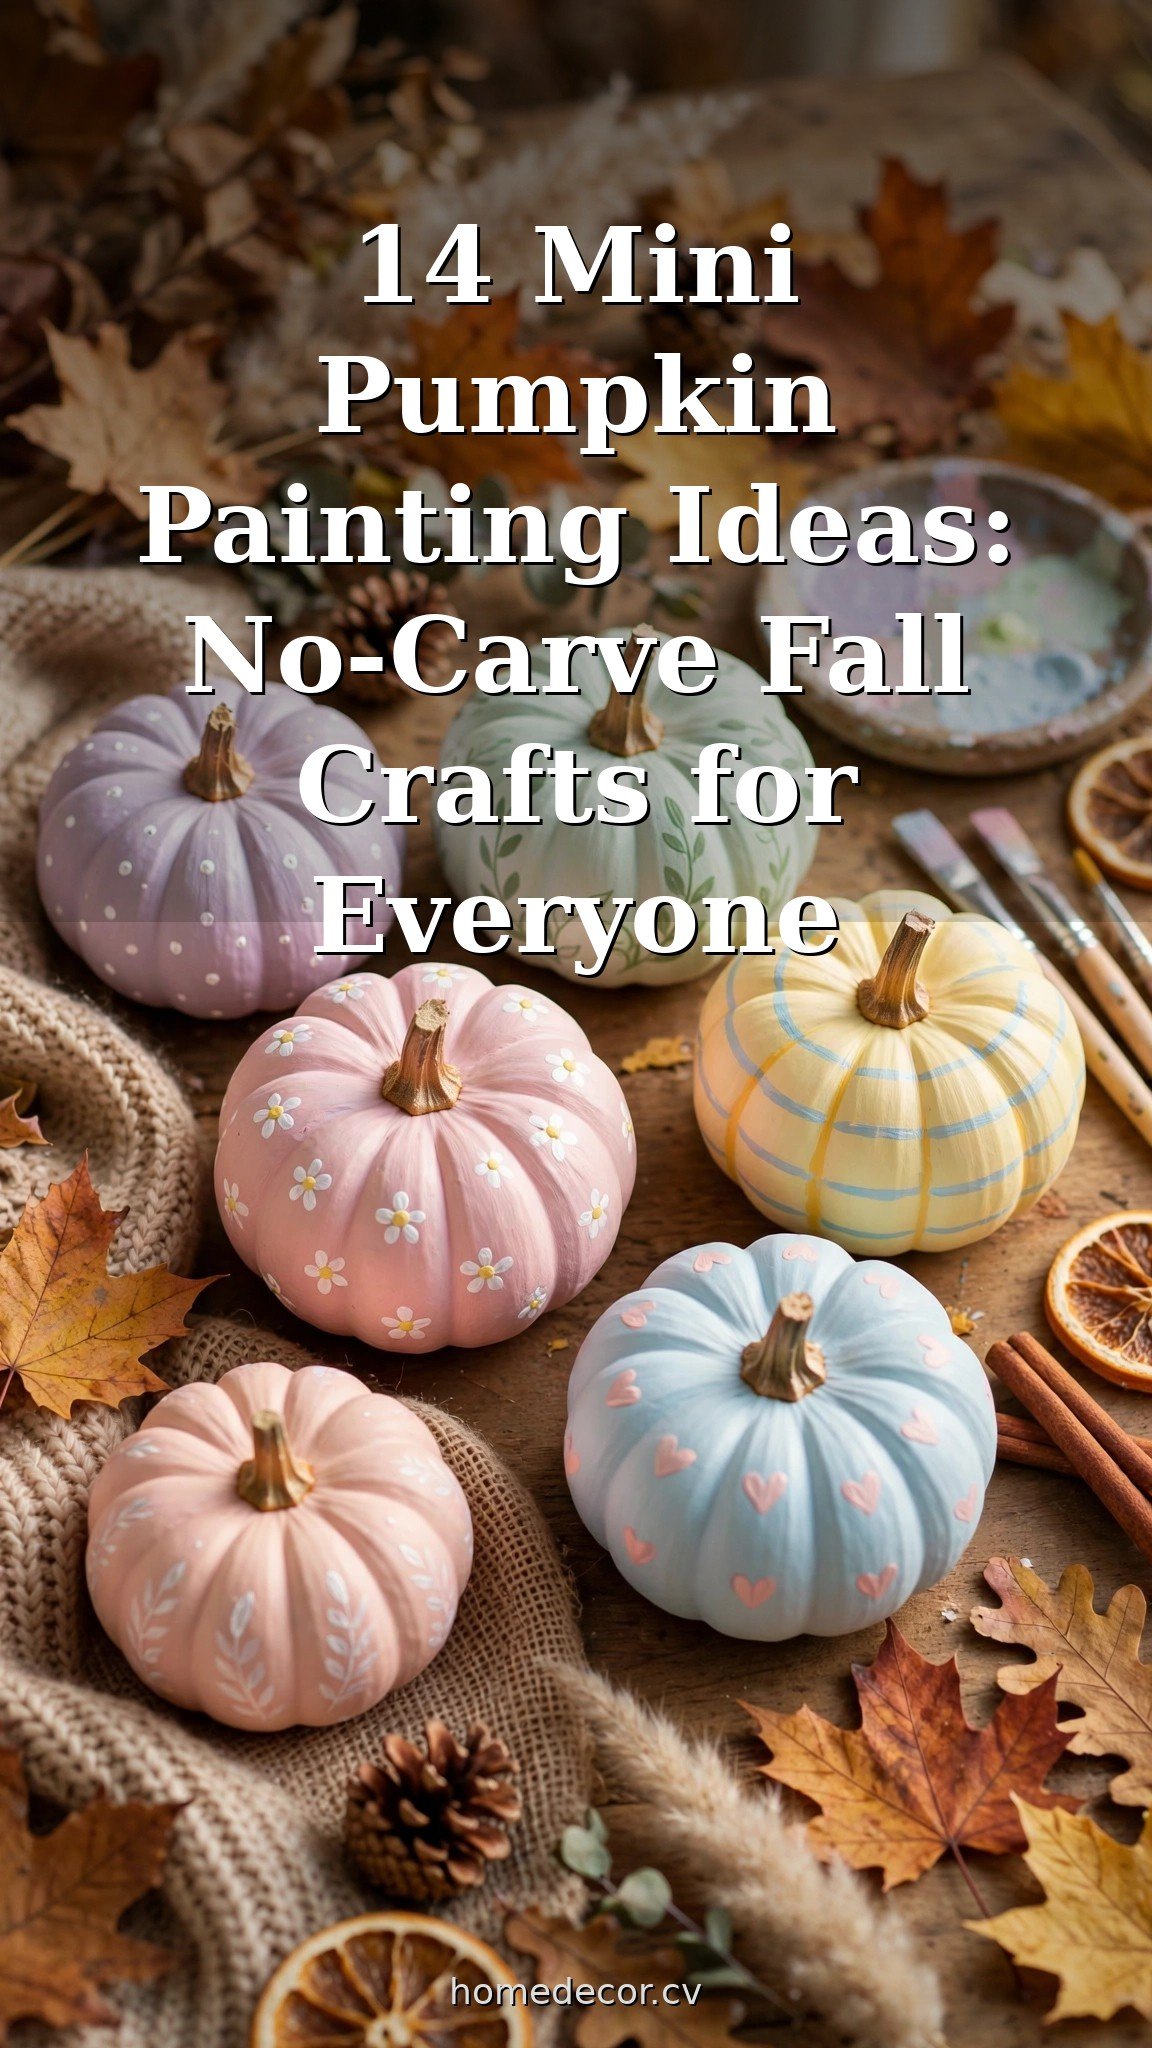
Carving pumpkins is fun, but let’s be honest — it’s messy, the pumpkins rot in a week, and sharp tools plus small kids don’t mix. That’s why mini pumpkin painting ideas have taken over fall decorating: all of the charm, none of the cleanup, and your pumpkins last the entire season instead of collapsing by October 15th.
These 14 mini pumpkin painting ideas are genuinely easy — most take under twenty minutes and need nothing fancier than acrylic craft paint and a few brushes. They’re perfect for a rainy weekend with the kids, a craft night with friends, or a quiet autumn afternoon. No carving, no seeds, no mess.
Looking for more fall inspiration? Style your finished pumpkins with these 15 Fall Table Centerpiece Ideas Under $30 or tuck them into your 10 Cozy Fall Living Room Ideas on a Budget.
Easy Mini Pumpkin Painting Ideas for Beginners
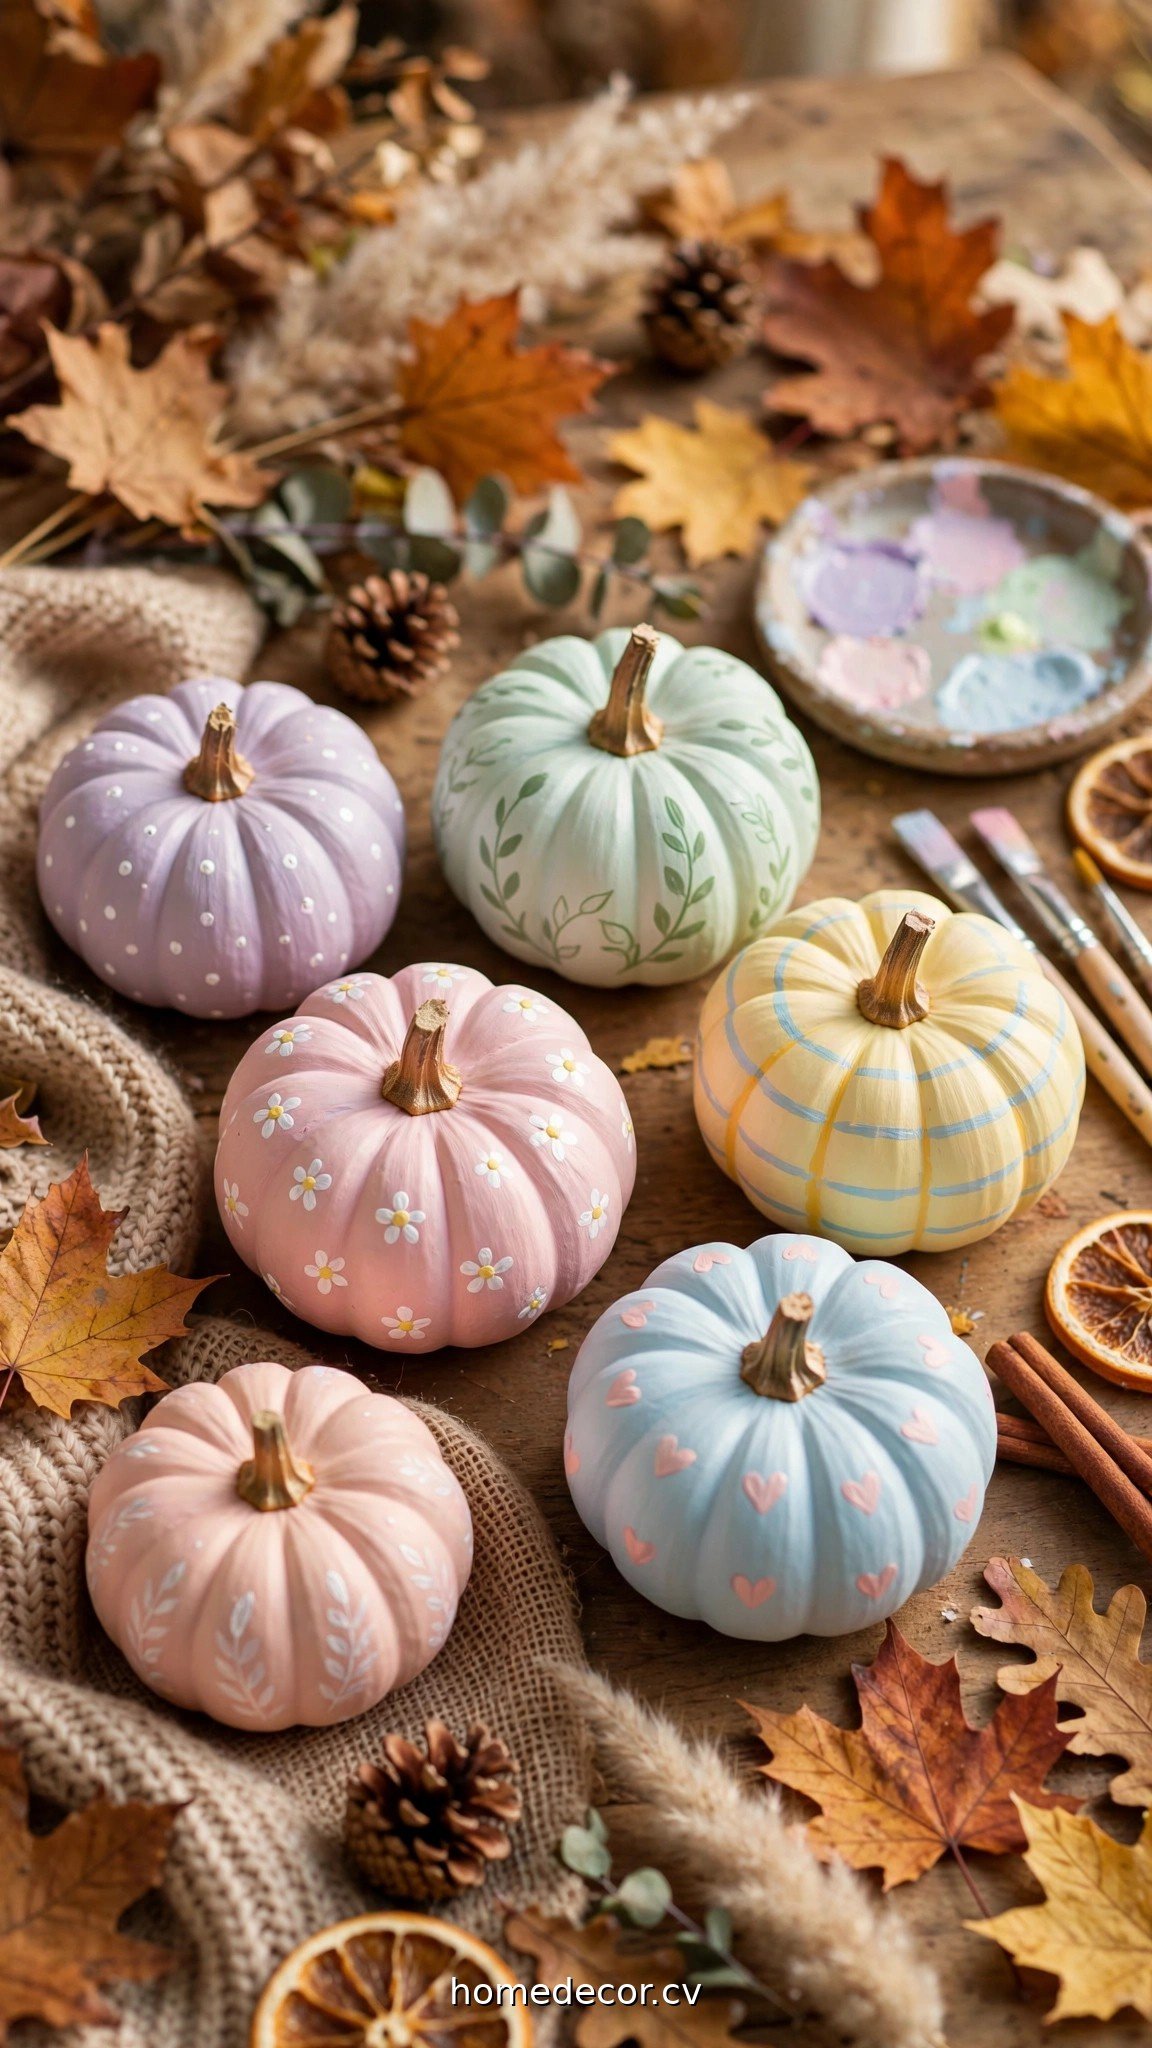
These beginner-friendly mini pumpkin painting ideas need zero artistic talent — just a steady-ish hand and a willingness to try.
1. Two-tone dipped mini pumpkins
Dip the bottom half of a mini pumpkin in paint and let the top stay natural orange. Hold the pumpkin by the stem, dip it about halfway into a cup of acrylic paint thinned with a splash of water, and let the excess drip off over newspaper. Cream, sage green, and dusty blue all look beautiful against the natural orange ridges.
Practical tip: Thin the paint just enough that it self-levels — too thick and you’ll get drips frozen mid-run; too thin and it won’t cover. One thin coat, one thick coat, done.
2. Classic polka dots in metallic gold
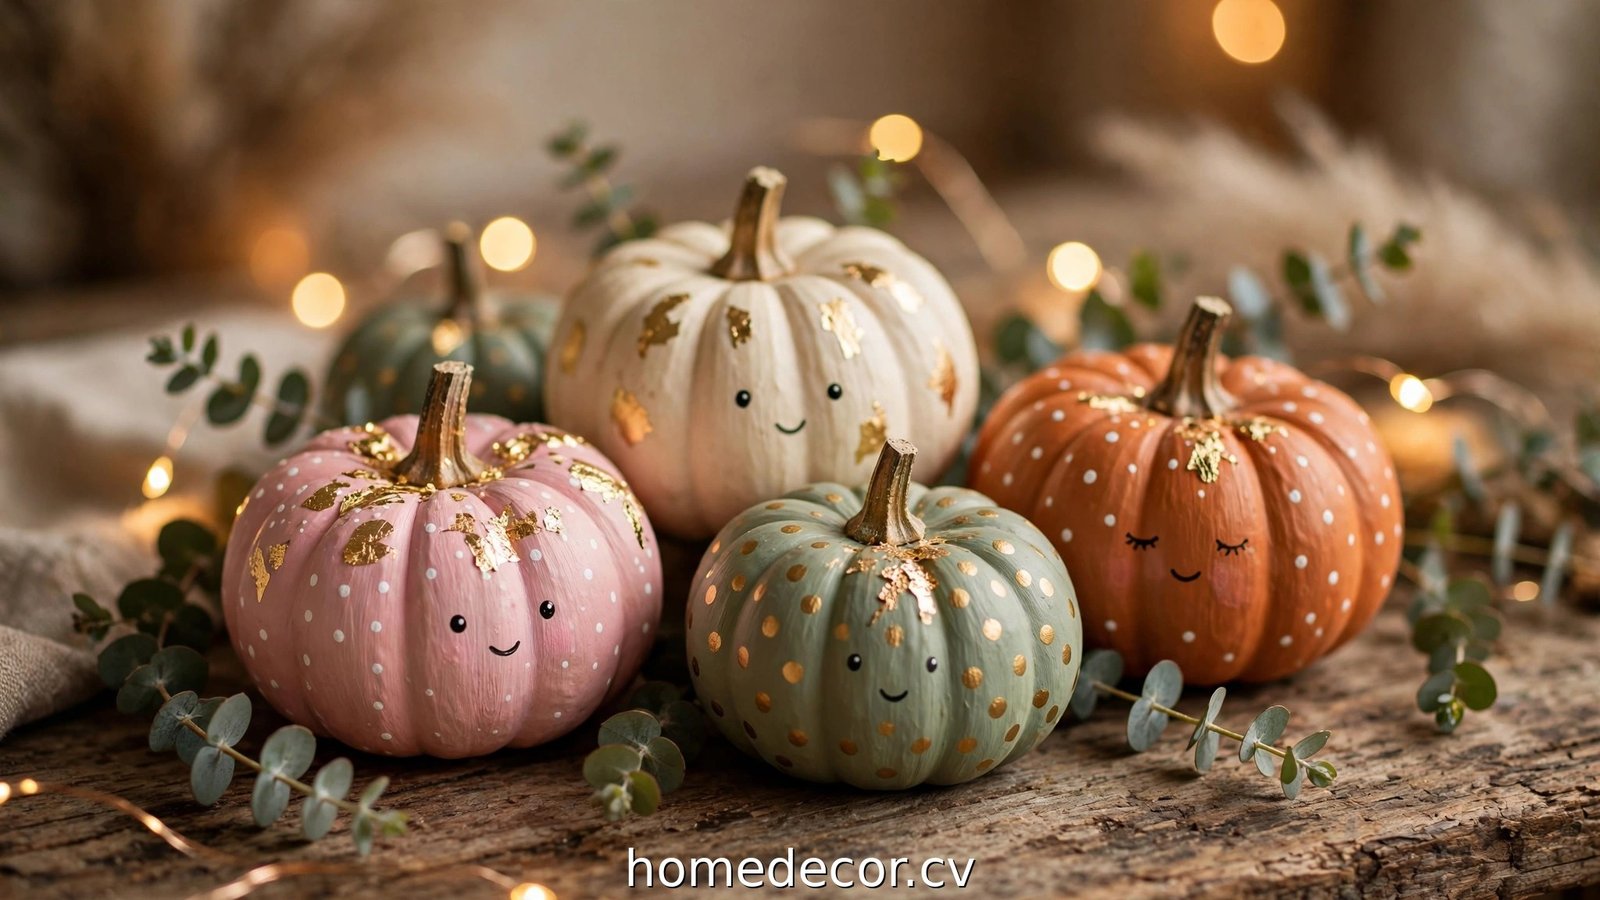
Paint your mini pumpkin a solid matte color (cream or charcoal are stunning), let it dry, then dot it with gold paint using the eraser end of a pencil. Cluster the dots at the top and space them out toward the bottom for a modern fade effect.
Practical tip: Apply metallic paint only over a fully dried base coat, or the shimmer muddies.
3. Simple painted jack-o’-lantern faces
Who says painted pumpkins can’t be spooky? Paint your mini pumpkin black or deep purple, then add a classic jack-o’-lantern face in white or orange: triangle eyes, a jagged smile. It’s carving-free Halloween that survives the whole month.
Practical tip: Sketch the face first with a white chalk pencil — it wipes off with a damp cloth if you don’t like it, giving you a free practice round before the real paint.
4. Buffalo check pattern for farmhouse fall
Paint the pumpkin cream, then add a simple buffalo check with two shades: wide black stripes in one direction, then the same stripes in dark grey crossing the other way. The overlap naturally creates the check. It looks fussy and complicated but is literally just straight lines.
Practical tip: Use painter’s tape strips as guides for the straight lines — press them firmly along the pumpkin’s ridges so paint doesn’t bleed underneath.
5. Chalkboard message pumpkins
Coat mini pumpkins with two layers of chalkboard paint, let them cure overnight, then write fall messages with chalk markers: “hello fall,” “grateful,” “boo.” You can change the message all season — a quick wipe and you’ve got a fresh pumpkin for Thanksgiving.
Practical tip: Condition new chalkboard paint by rubbing chalk all over it and wiping it off before writing — this prevents ghosting of your first design.
Painted Mini Pumpkin Display Ideas
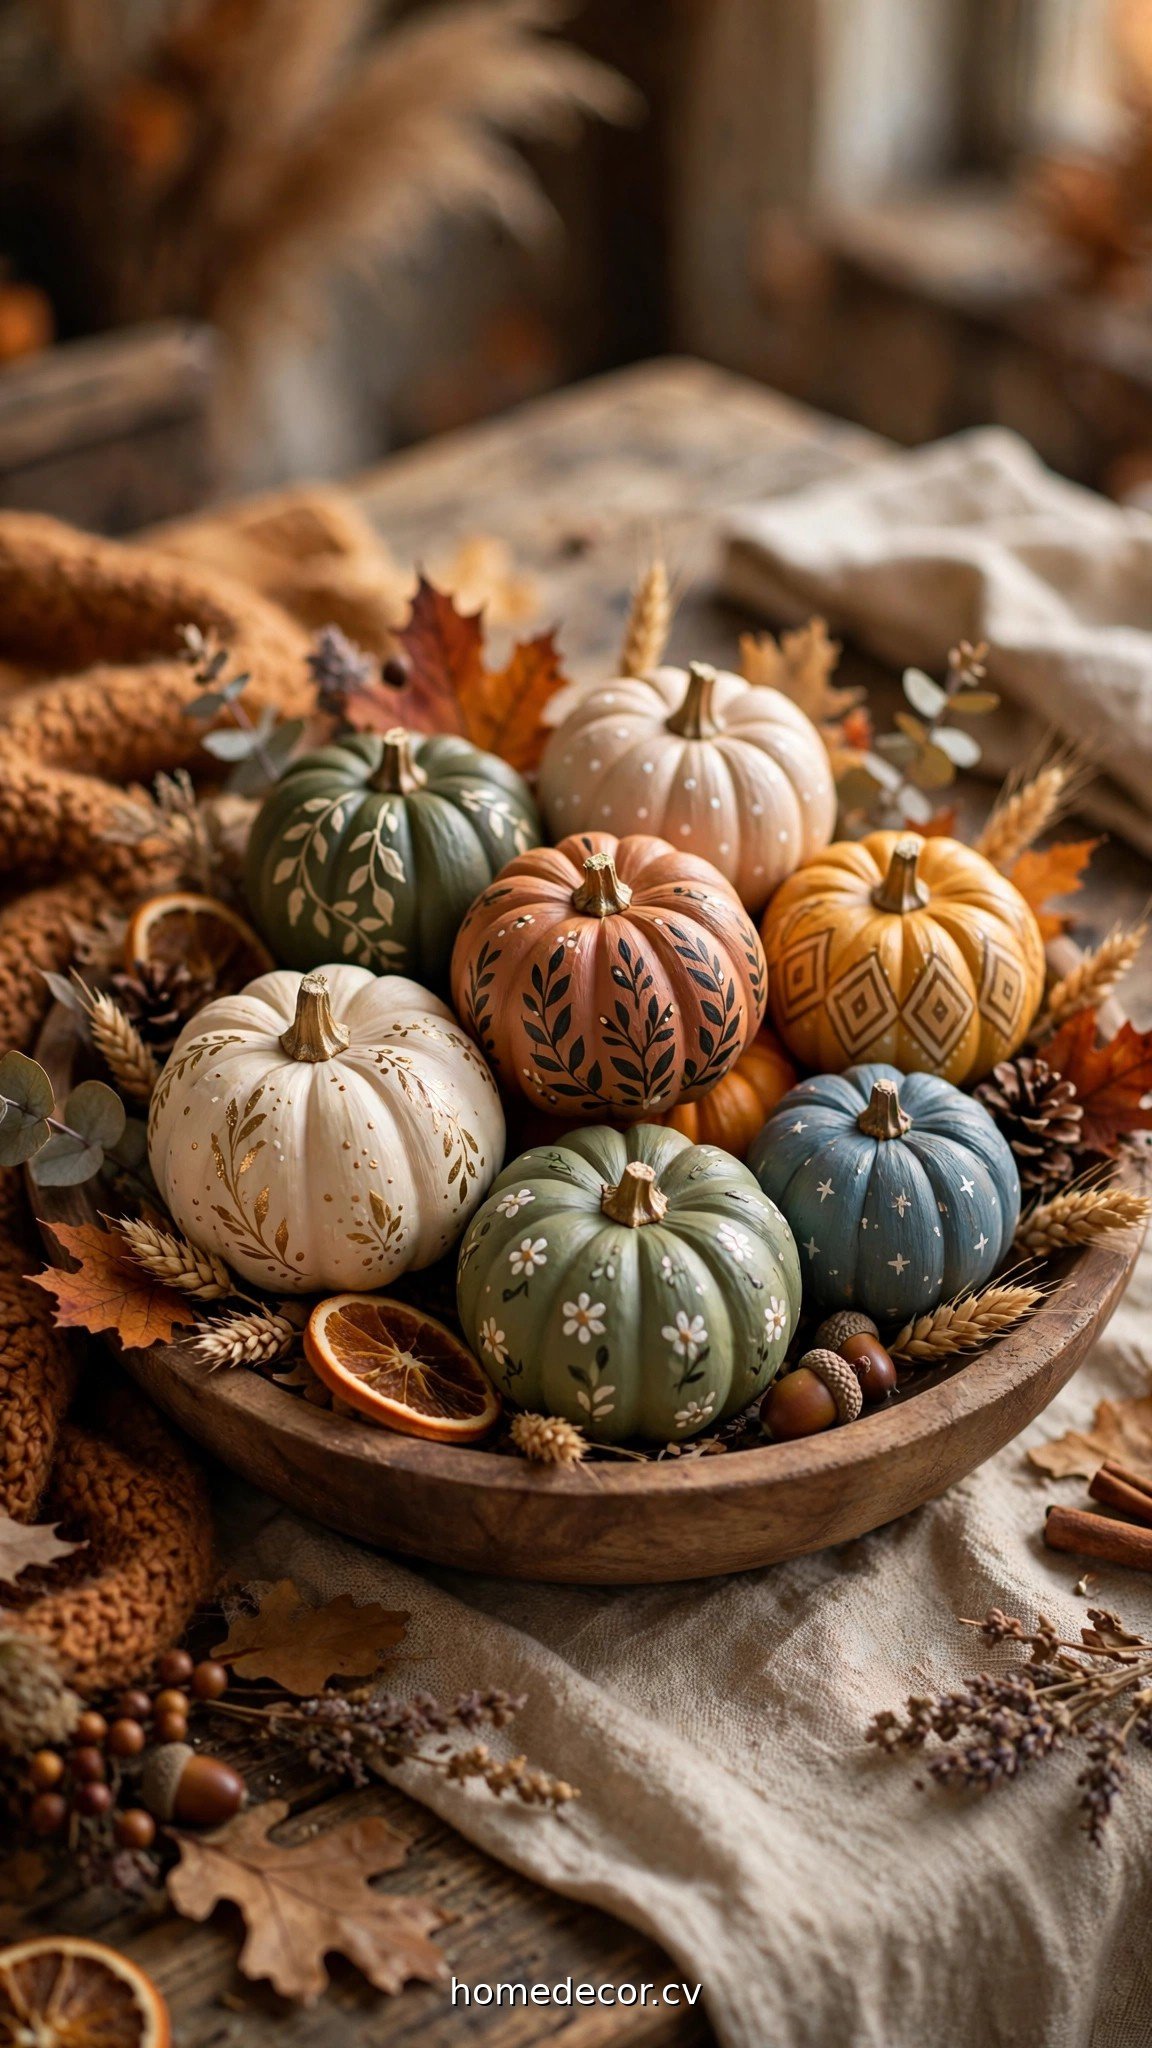
Once you’ve painted your pumpkins, these display ideas show them off without looking like a craft fair exploded.
6. A bowl of mixed-pattern minis as a table centerpiece
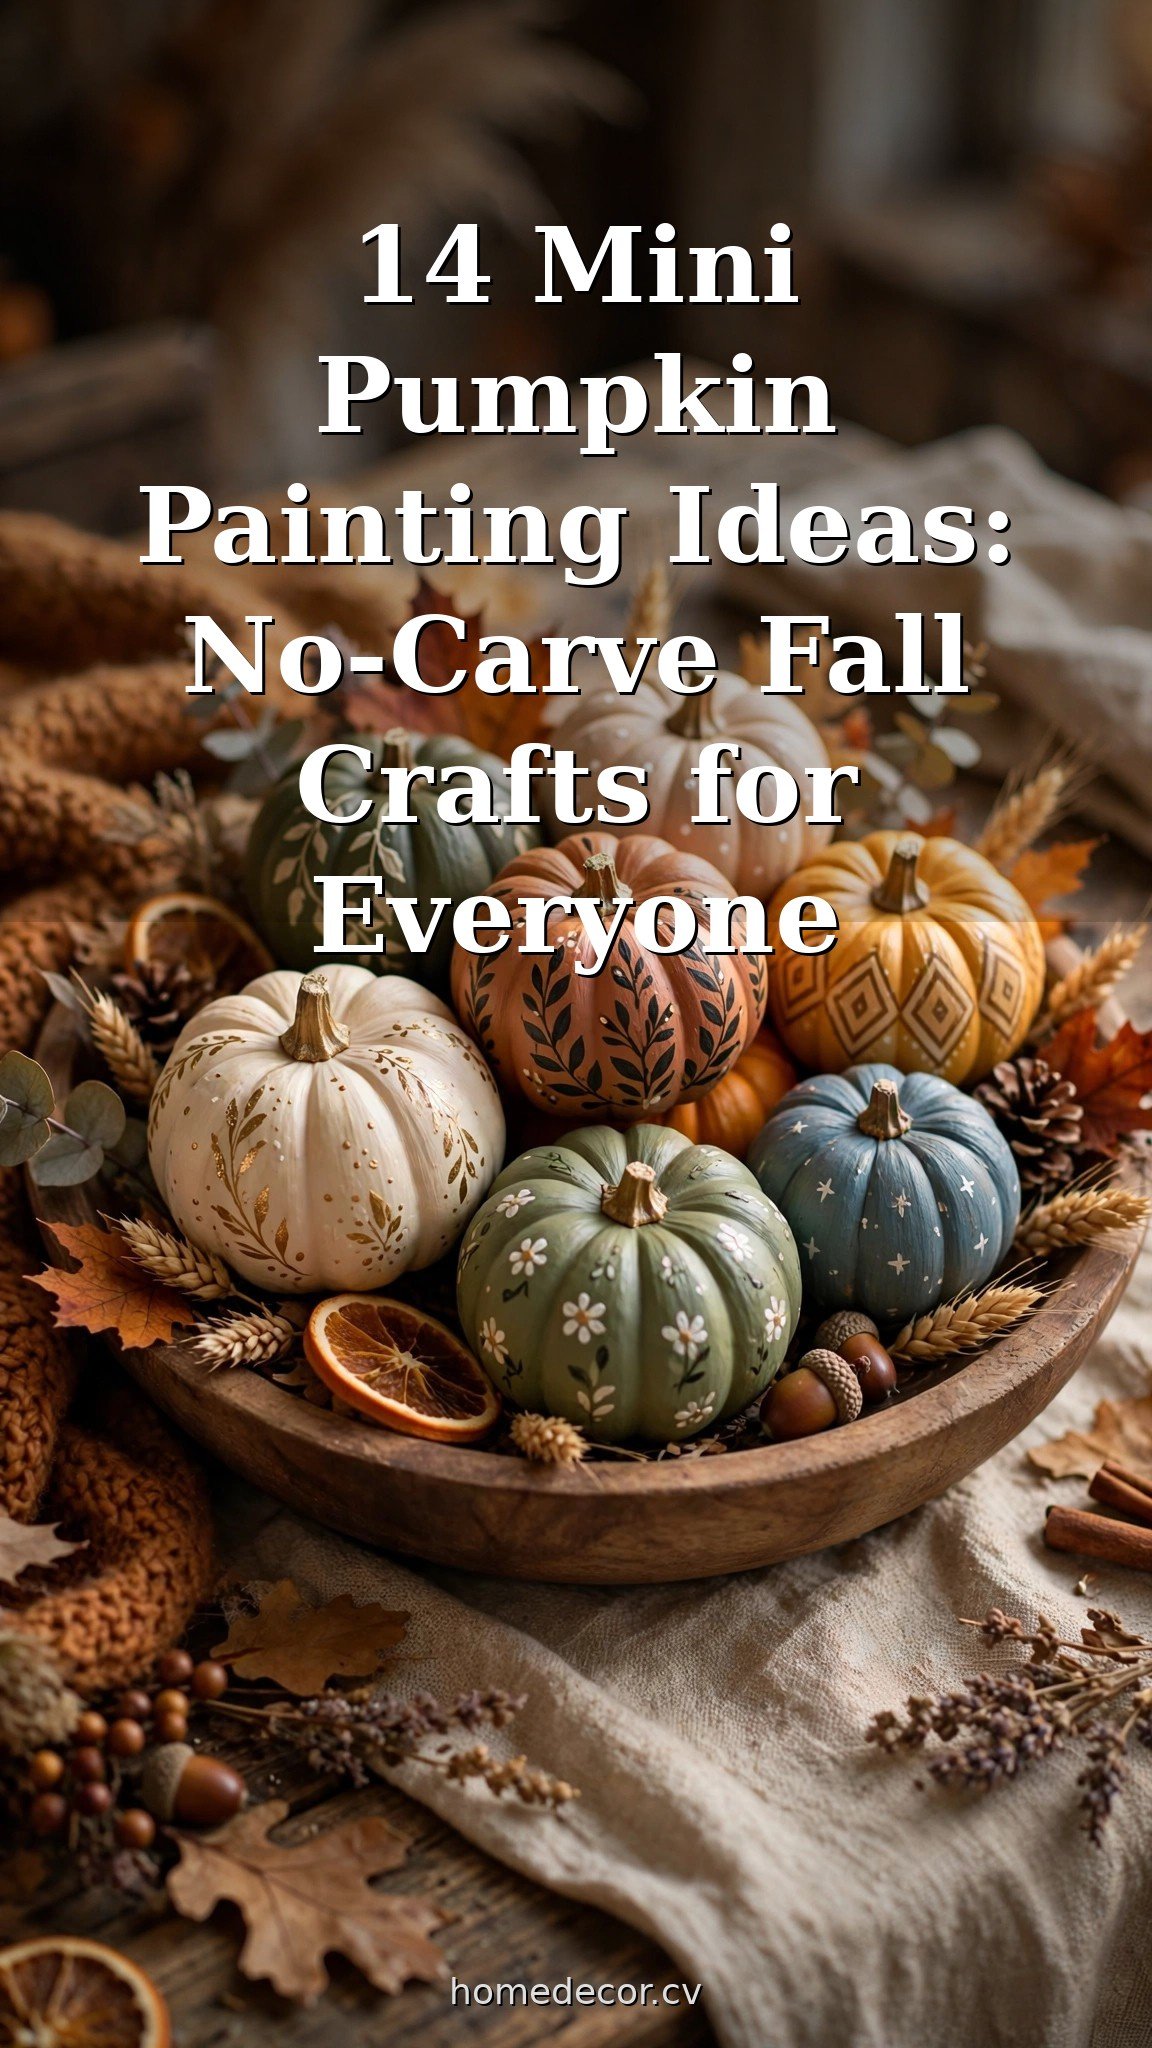
Pile a mix of your painted mini pumpkins — dots, stripes, solid pastels — into a low wooden bowl or dough bowl. Aim for an odd number (seven or nine) and mix at least three different patterns plus one or two natural minis. It reads as “collected over time” rather than “made in one afternoon.”
Practical tip: Tuck dried eucalyptus or wheat stems between the pumpkins to fill gaps and add a second texture that keeps the arrangement from looking flat.
7. Painted mini pumpkin place cards
Paint minis in a solid color that matches your table setting, write each guest’s name on one side with a gold paint pen, and set one at each place. It’s a party favor and a place card in one — guests genuinely keep these.
Practical tip: Write the names the night before with the pumpkin lying still — paint pens need about two hours to fully cure before anyone handles them.
8. Tiered-tray pumpkin vignette
Arrange three to five painted minis on a small tiered tray with candles and acorns. Put the tallest pumpkin on the top tier, then cluster smaller ones below. Because minis are small, they fit the scale of a tiered tray perfectly.
Practical tip: Stick to one color palette across the whole tray (e.g., cream + gold + sage) so the mini pumpkins look curated, not random.
9. Pumpkin garland for the mantel
Drill a small hole through painted minis (a hand drill works fine) and string them on twine or ribbon for a fall garland. Alternate painted pumpkins with wooden beads and dried orange slices. It brings painted pumpkins to eye level, where everyone can see your work.
Practical tip: Drill from the stem end down through the bottom rather than side to side — the holes are hidden and the pumpkins sit straight on the string.
Fancy Mini Pumpkin Painting Techniques
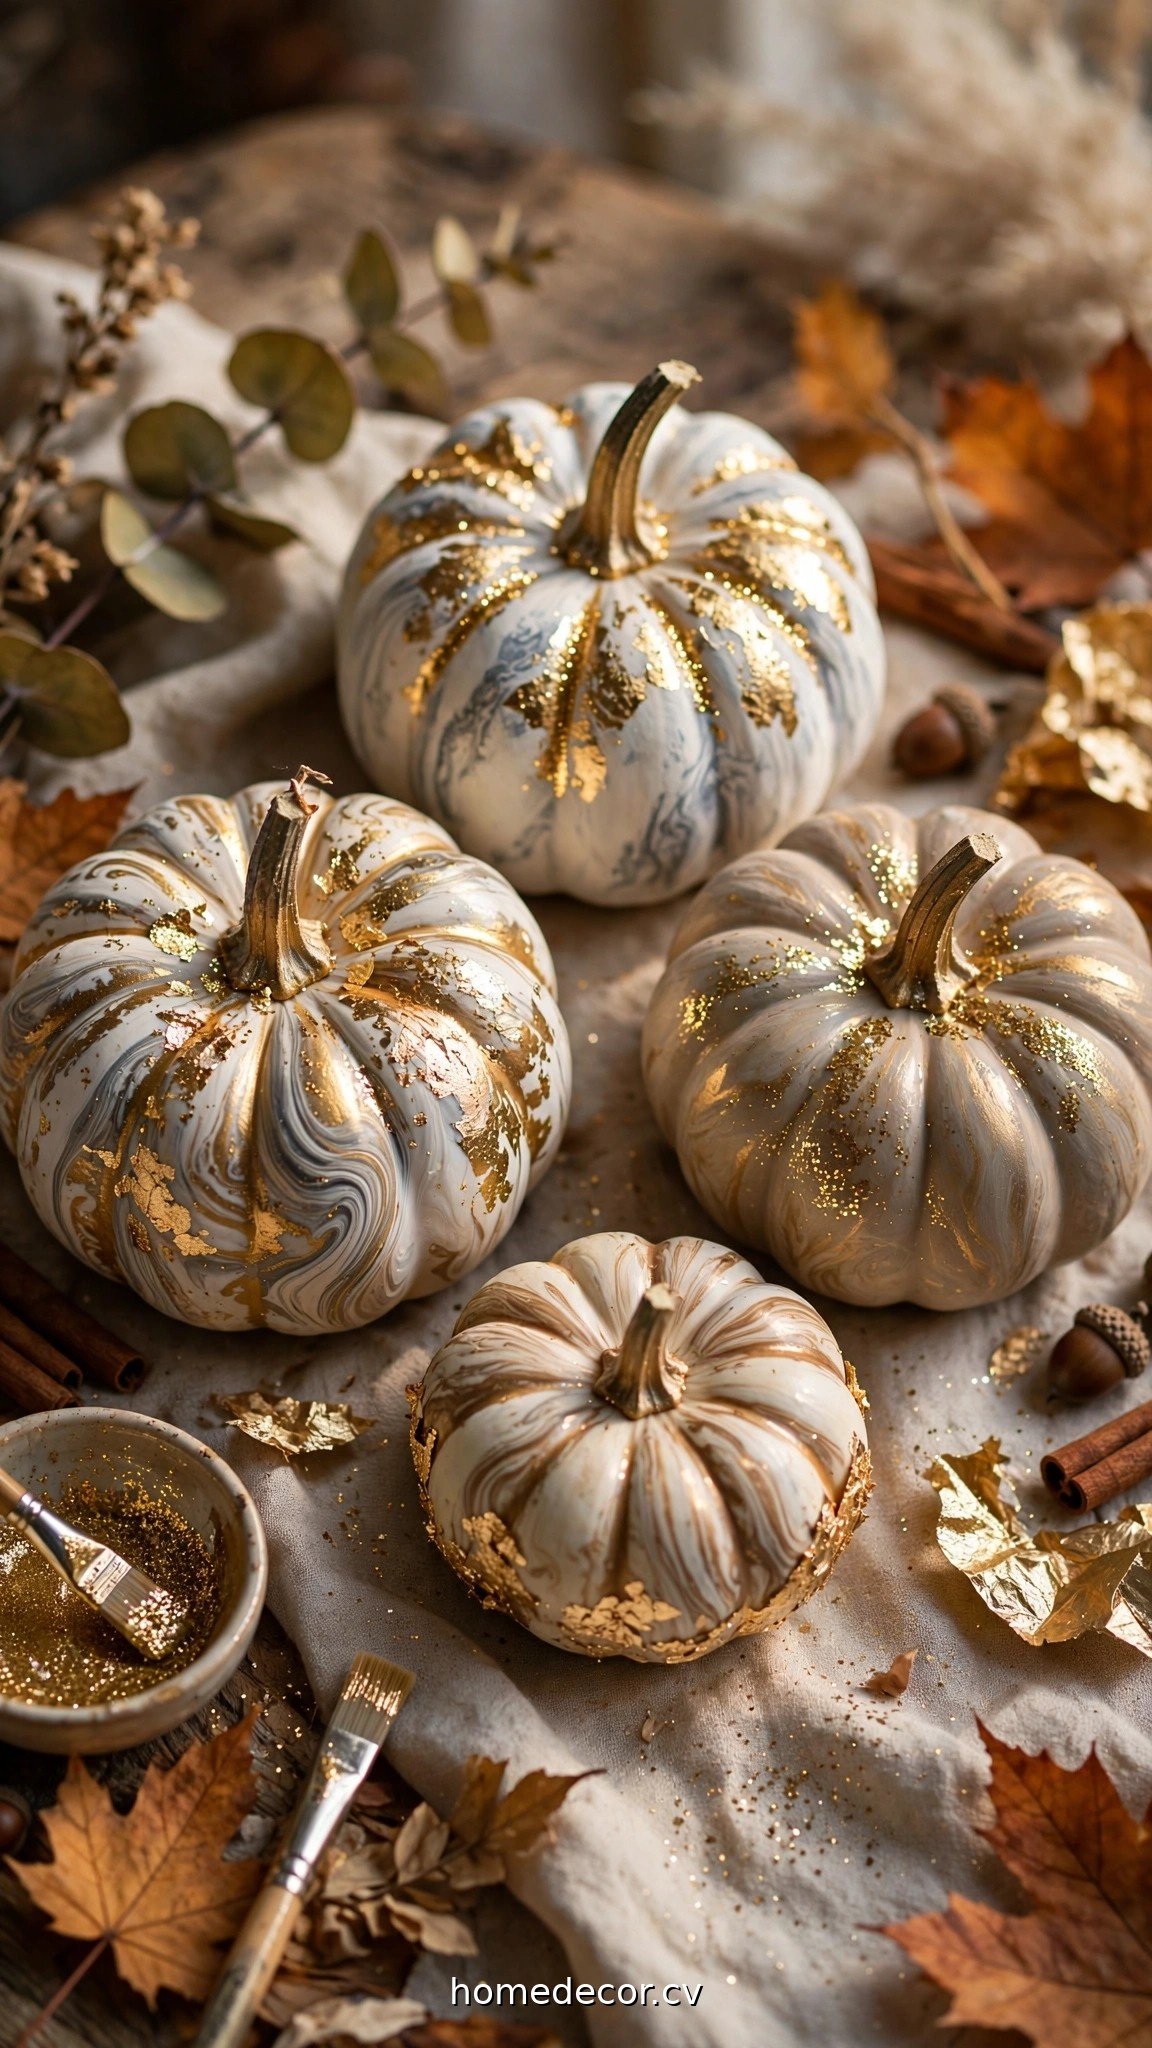
Ready to level up? These techniques look expensive but cost almost nothing.
10. Gold leaf accent pumpkins
Brush craft glue on parts of the pumpkin (the ridges work beautifully), wait until it turns tacky, then press sheets of gold leaf onto the glue and smooth gently with a dry brush. Even one gold-leaf pumpkin among plain ones elevates the whole group.
Practical tip: Work over a sheet of paper and save every flake of leftover gold leaf — it goes much further than you think, and scraps cover small touch-ups later.
11. Marbled nail-polish dip
Fill a disposable container with room-temperature water, drip two or three nail polish colors onto the surface, swirl once with a toothpick, and dip your mini pumpkin halfway in. The polish wraps around it in a marbled swirl. Let it drip-dry on a stick pushed into the stem end.
Practical tip: Work fast — nail polish skins over in under a minute. And use a container you’ll never miss, because it’s ruined forever after.
12. Ombre fade pumpkins
Paint the whole pumpkin your lightest shade, then blend progressively darker shades upward from the base using a dry, fluffy brush. The ridges catch the darker color and create natural shading.
Practical tip: Blend while the paint is still wet, working in small sections. Once acrylic dries (fast on pumpkins), you can’t blend it — you’ll have to start that section over.
13. Stenciled monograms and words
Print a large initial or short word (“fall,” “boo,” “gather”), cut it into a stencil from cardstock, tape it to the pumpkin, and dab paint through it with a nearly-dry foam brush. Dabbing — not brushing — keeps paint from sneaking under the stencil edges. Monogrammed pumpkins make surprisingly elegant porch decor.
Practical tip: The drier your brush, the crisper the stencil edge. Dab off most of the paint on a paper towel first; you can always add a second coat.
14. Glitter-gradient pumpkins
Brush craft glue on the lower third of the pumpkin and dust it with fine glitter, tapping off the excess. The glitter fades into the solid paint color at the top for a gradient effect. Copper and gold glitters look richest for fall; they catch lamplight beautifully after dark.
Practical tip: Do this step outside or over a baking sheet.
Keep Exploring
Want more fall and Halloween craft ideas?
- 12 Easy Fall Entryway Decor Ideas That Welcome Guests In
- 12 Halloween Crafts for Adults: Sophisticated, Spooky DIYs
- 12 Fall Tray Decor Ideas for Cozy, Styled Surfaces
Frequently Asked Questions
What kind of paint works best on mini pumpkins?
Apply two thin coats rather than one thick one for the smoothest coverage. For fine details and writing, acrylic paint pens are easier than brushes and give crisper lines.
Do I need to seal painted pumpkins?
Sealing isn’t required, but a light coat of clear matte sealer (spray or brush-on) makes the paint more durable and gives a finished look. It’s especially worth doing for pumpkins that will live outside, where rain and dew can soften unsealed acrylic paint over time.
How long do painted mini pumpkins last?
Uncarved, painted mini pumpkins easily last 4 to 8 weeks indoors — often the entire fall season. Keep them out of direct sun to prevent fading, and if one starts to soften, compost it and swap in a spare.
Can kids do these mini pumpkin painting ideas safely?
Absolutely — that’s the whole point. Painting is far safer than carving for kids since there are no sharp tools involved. Use washable acrylic or tempera paint for younger kids, cover the table with a disposable tablecloth, and let them go. Dots, handprints, and splatter patterns are perfect kid-friendly designs.
A Cozy Fall Finish
These mini pumpkin painting ideas prove that the best fall decorating doesn’t require a carving kit, a tarp, or a tolerance for pumpkin guts. A handful of mini pumpkins, some craft paint, and an afternoon is all it takes to fill your home with handmade autumn charm. Start with the simple dipped designs tonight, try a gold-leaf stunner tomorrow, and enjoy a no-carve fall season. For more seasonal inspiration, browse our Seasonal & Holiday Decor category all autumn long.