
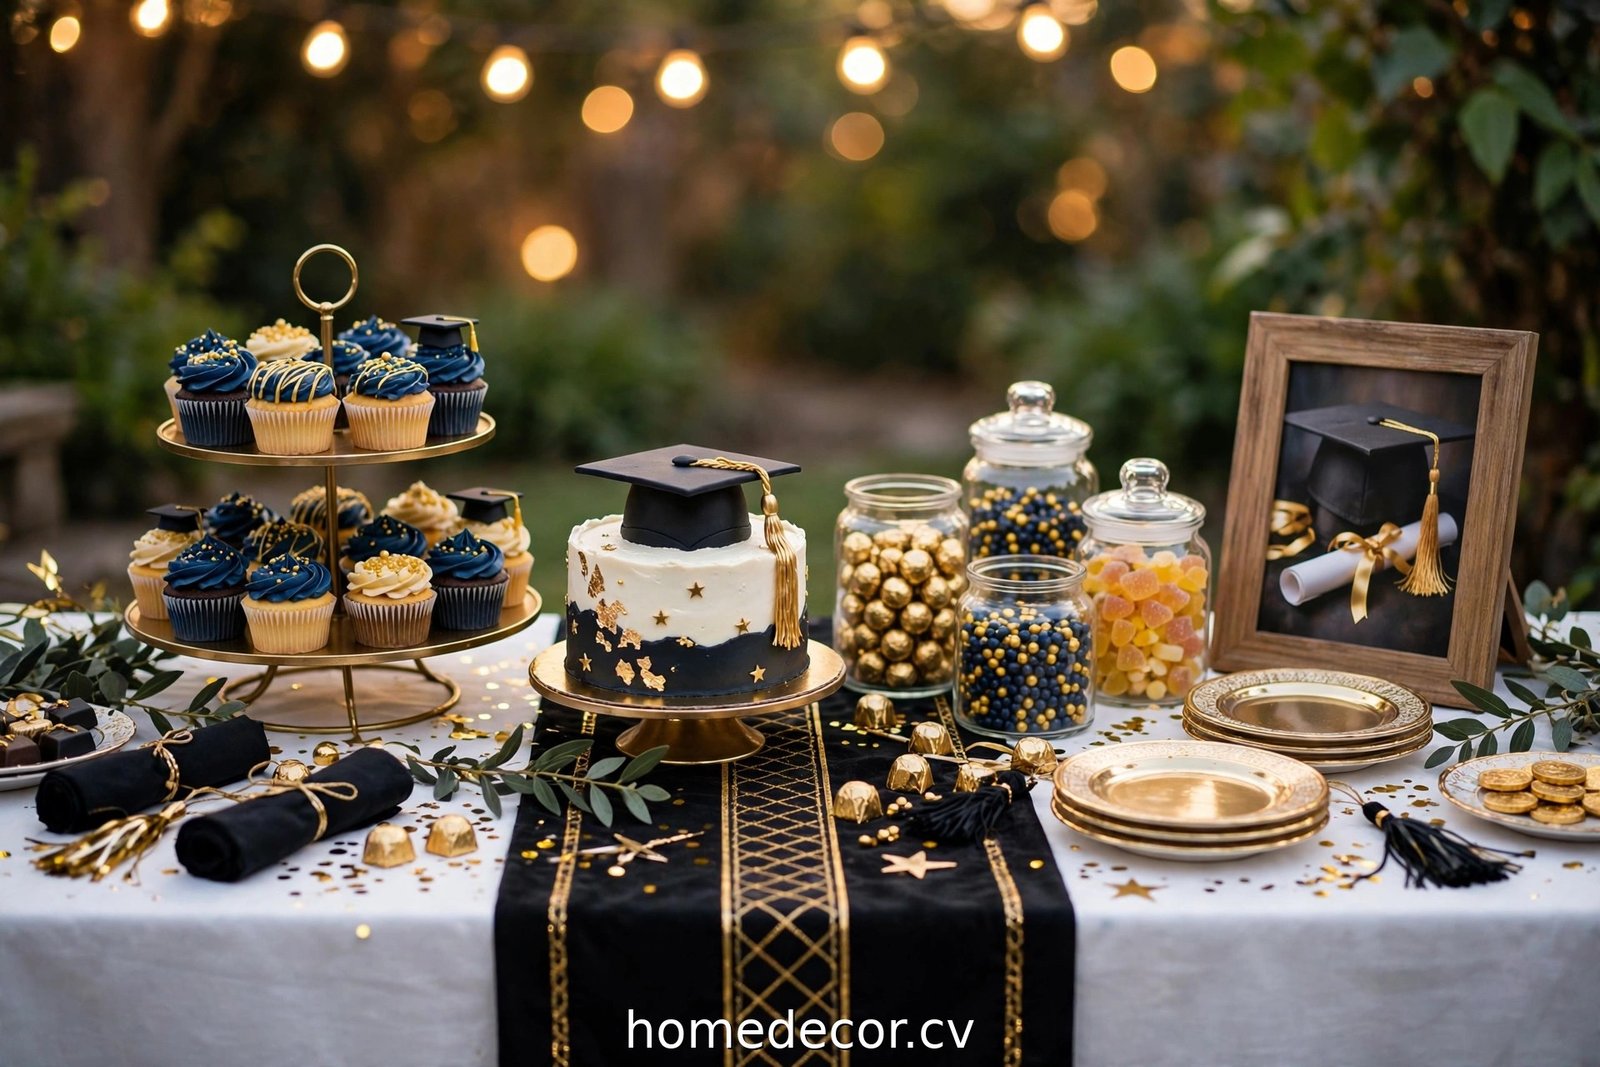
A graduation dessert table is where the party’s sweet tooth meets its photo opportunity. Done well, it’s the most visited, most photographed spot at the celebration — guests graze, kids hover, and everyone leaves talking about it. These graduation dessert table ideas will help you build one that’s abundant, beautiful, and (crucially) manageable.
The formula is simple: a few homemade stars, smart store-bought fillers, varying heights, and a cohesive color story. You don’t need forty desserts — you need a table that looks abundant and tastes great. Let’s build it.
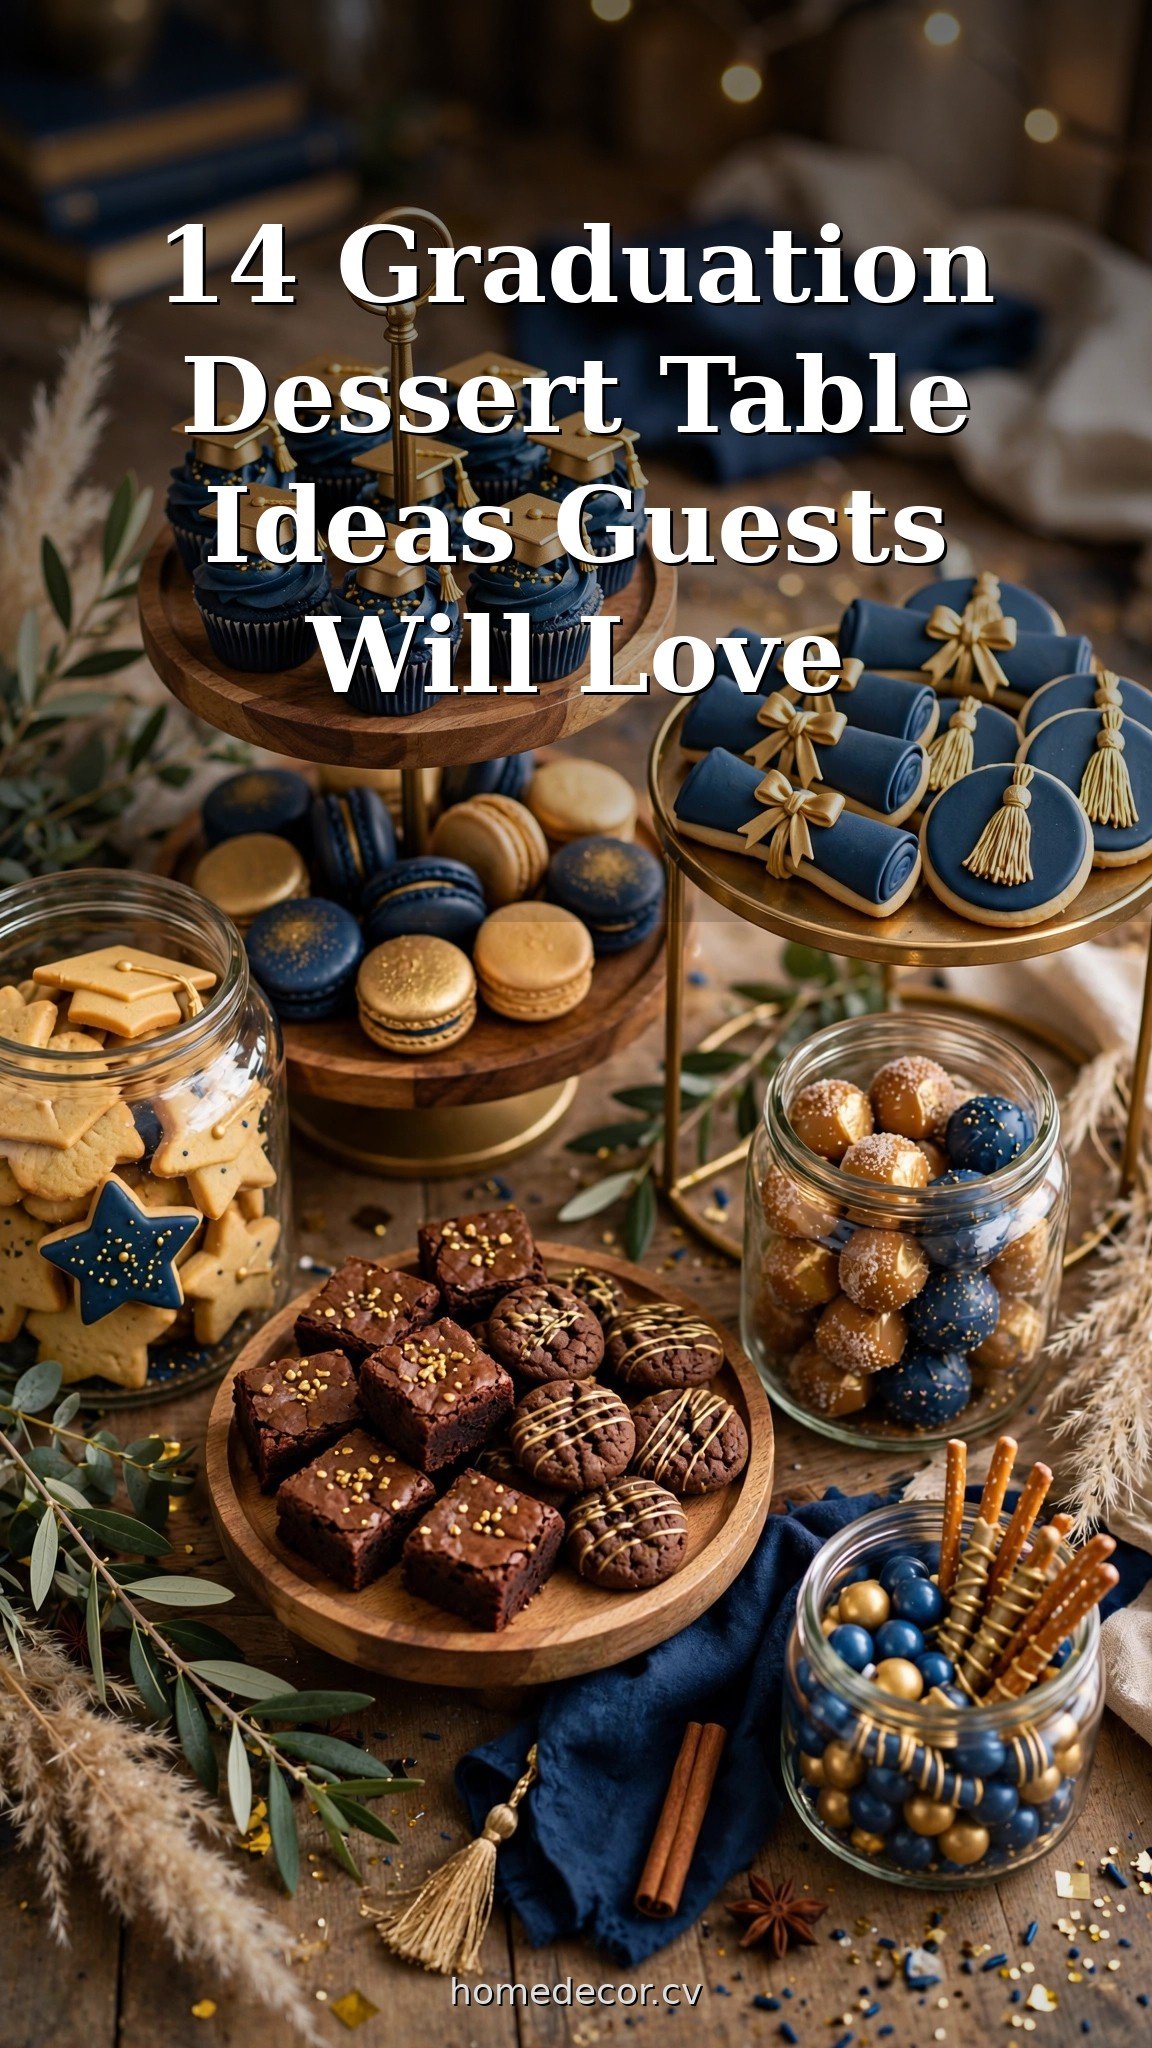
Planning and Styling Your Dessert Table
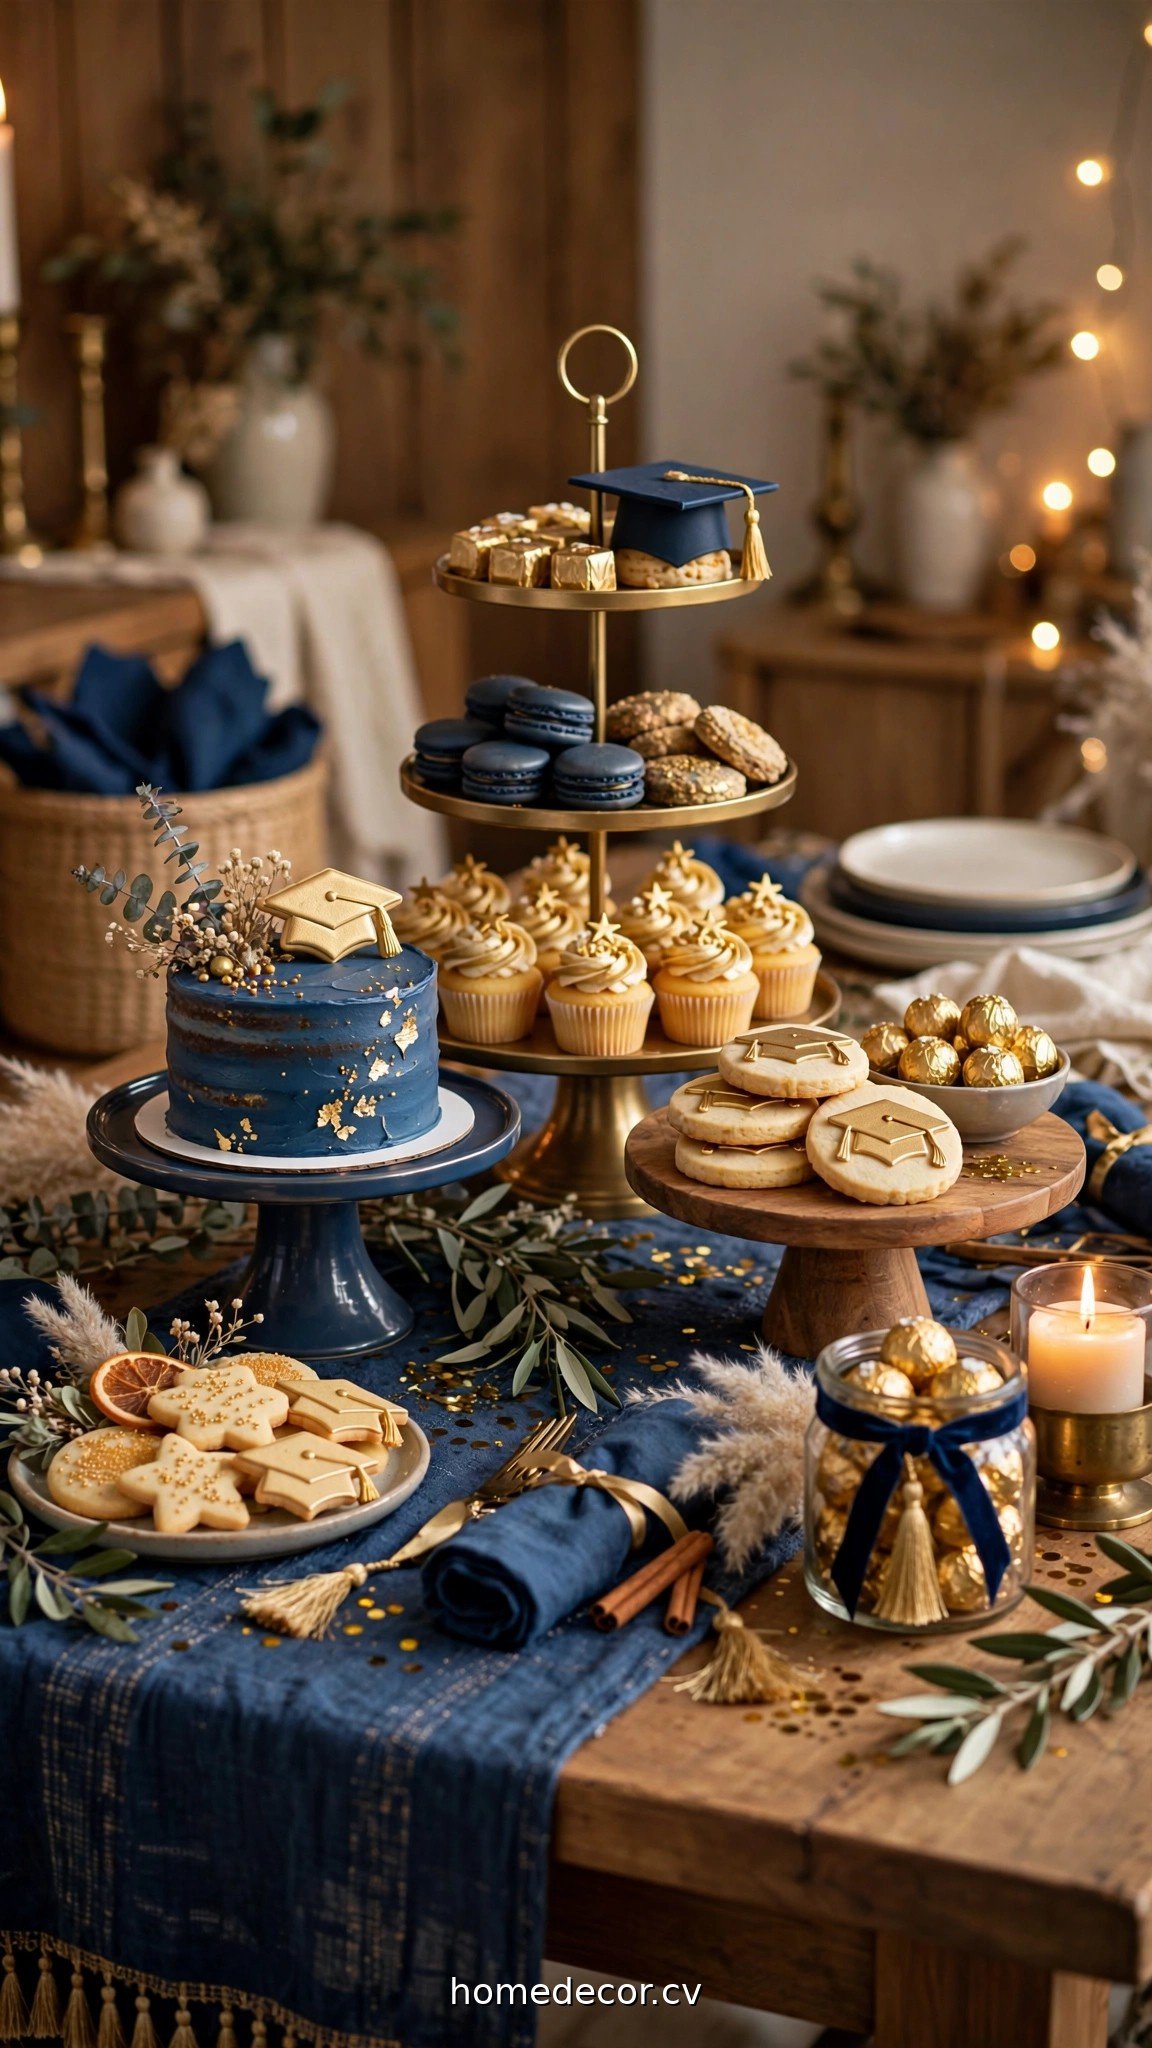
Before a single dessert is baked, the table’s bones decide whether it looks like a celebration or a bake sale. Get the styling right first.
1. Choose a color palette and stick to it
School colors plus one metallic (gold or silver) plus white is the foolproof palette. Every dessert, wrapper, ribbon, and sign should live inside it. Cohesion is what makes a dessert table look designed rather than random.
Practical tip: Write your three colors on a sticky note and take it shopping. When every treat matches, even humble cookies look like they belong in a magazine spread.
2. Create height with stands, crates, and boxes
A flat table is a boring table. Use cake stands, tiered trays, overturned crates, and sturdy boxes draped with cloth to lift desserts to different levels. Aim for three heights: low (front), medium, and tall (back).
Practical tip: Raid your house before buying anything — cutting boards, books wrapped in paper, and upside-down mixing bowls all become risers. Cover them with a runner or cloth and nobody knows.
3. Start with a great tablecloth and runner
A crisp tablecloth (white, black, or a school color) plus a contrasting runner sets the stage. The runner leads the eye down the table and gives you a “spine” to arrange around. Wrinkle-free matters — iron or steam it the night before.
Practical tip: Plastic tablecloths photograph poorly and slide around. If budget is tight, use a flat bedsheet (ironed) instead — cotton looks a hundred times better than plastic in photos.
4. Label everything with cute tent cards
Small tent cards naming each dessert (“Mama’s Chocolate Chip Cookies,” “Class of 2026 Cupcakes”) look professional and save you answering “what’s this?” fifty times. They also flag allergens — add a tiny “contains nuts” note where needed.
Practical tip: Print cards on cardstock the night before using a free template, or hand-letter them for charm. Folded place cards from the dollar store work perfectly.
Crowd-Pleasing Desserts to Include
5. Cupcakes in school colors
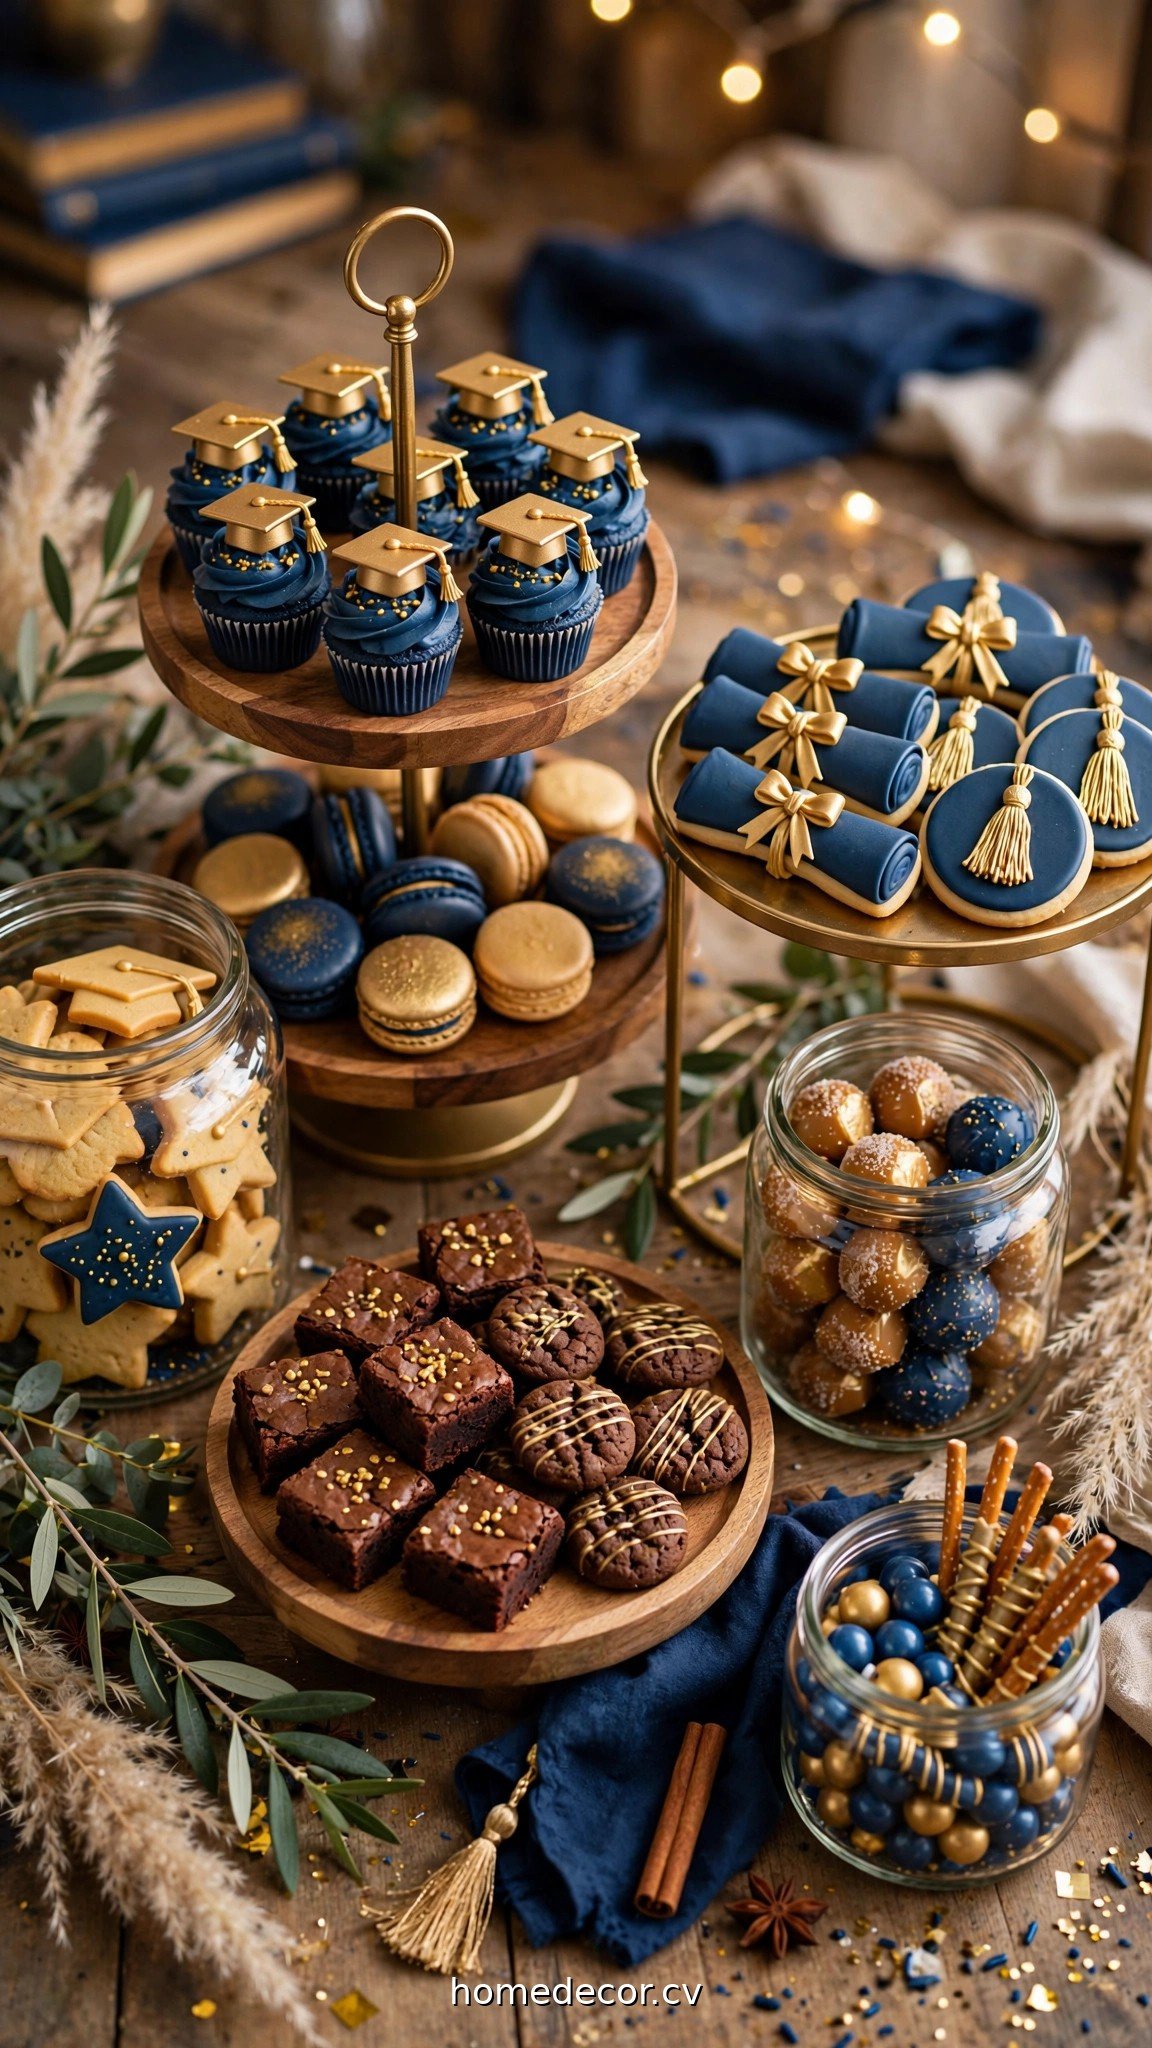
Cupcakes are the dessert-table workhorse: individual servings, no cutting, endlessly decoratable. Frost in school colors, top with mini cap picks or gold stars, and arrange on tiered stands for maximum impact.
Practical tip: Offer two flavors max (say, chocolate and vanilla) — more flavors means more baking stress and more leftovers of the unpopular one. Quality over variety wins here.
6. A candy bar in a jar display
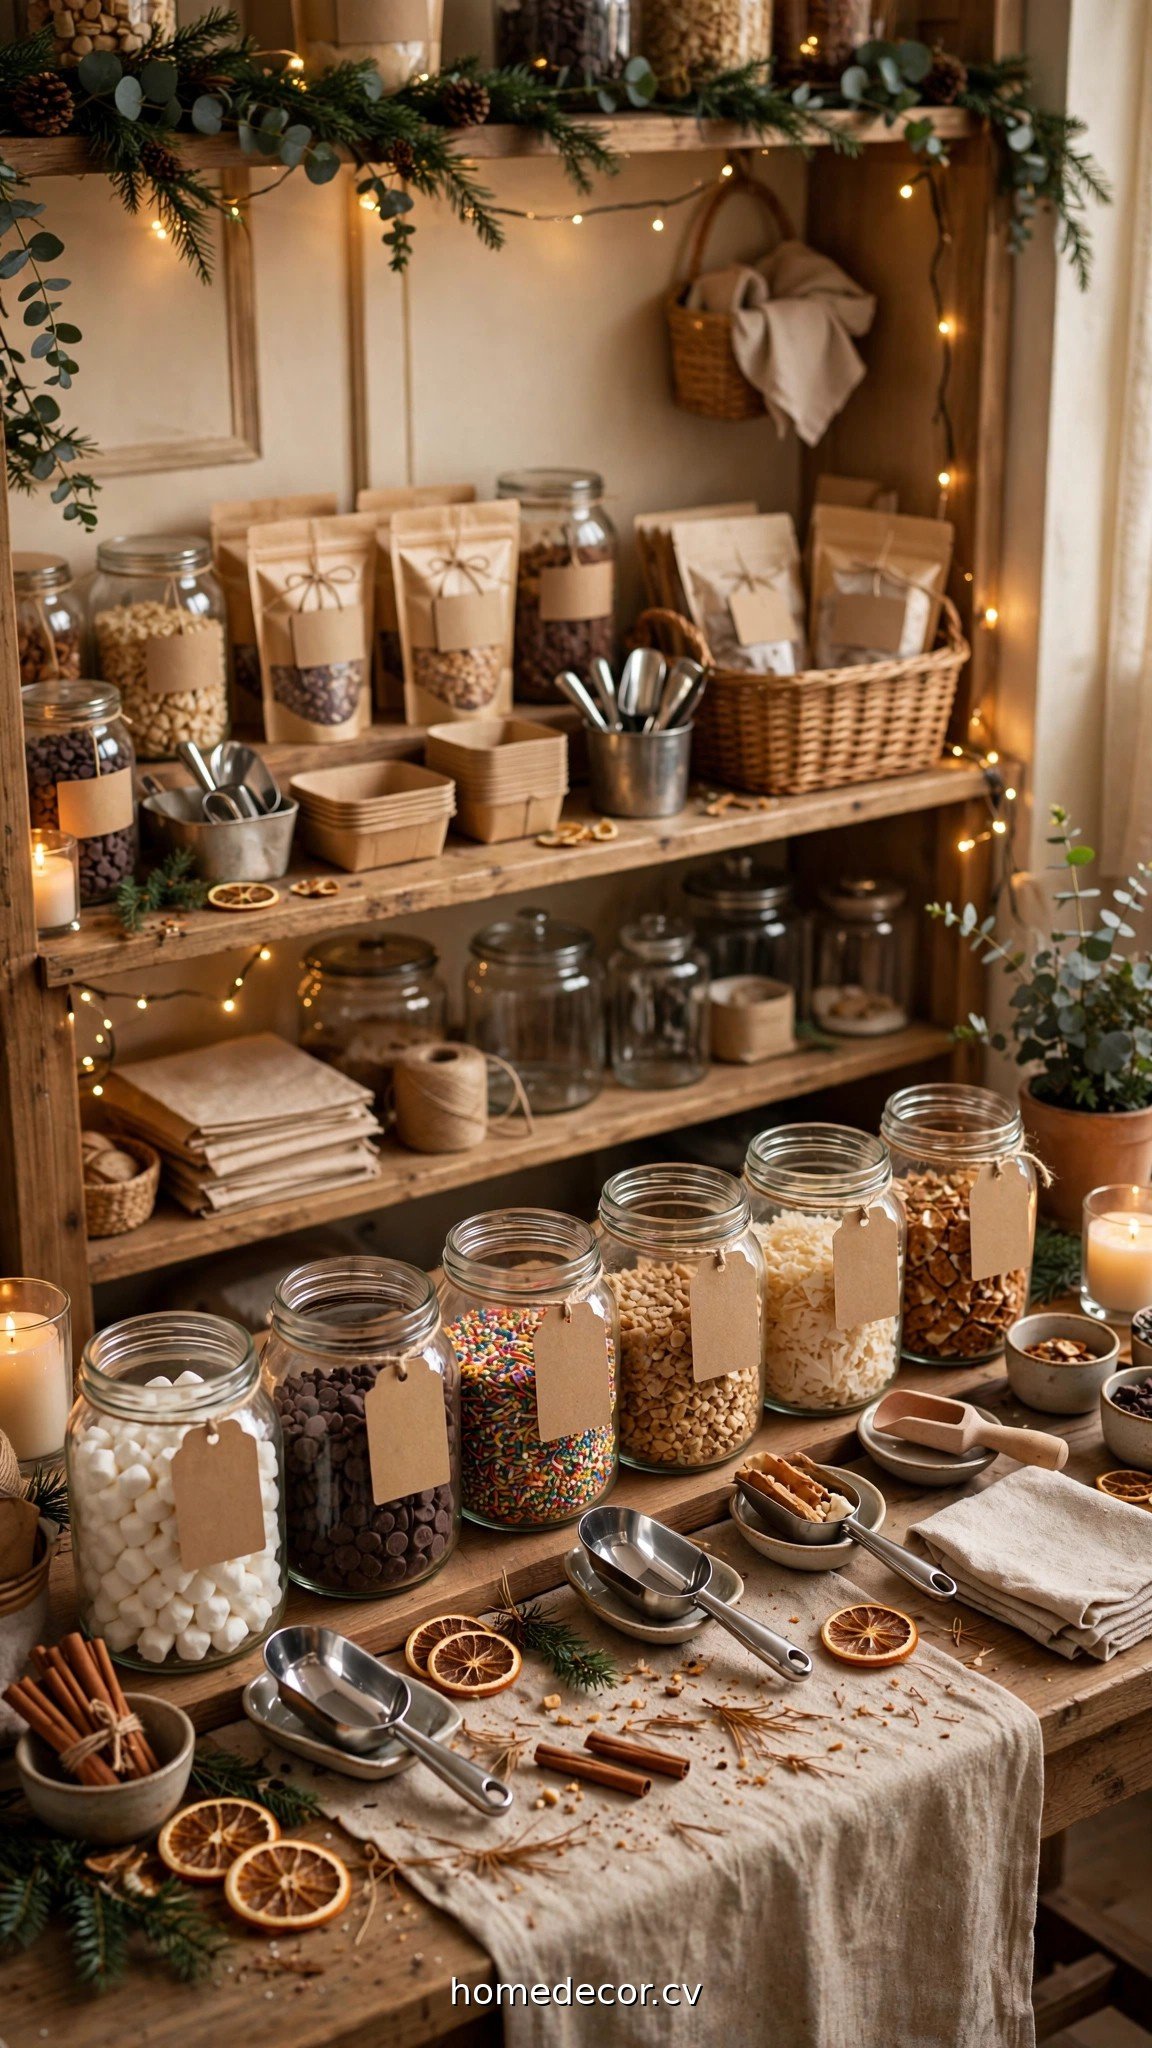
Fill glass jars and apothecary containers with candy in your palette — gold-wrapped chocolates, school-color M&Ms or jelly beans, rock candy sticks. Provide small bags or scoops. It’s decor and dessert in one, and kids are mesmerized.
Practical tip: Buy candy in bulk and decant — it’s far cheaper than pre-packaged party candy. Keep one jar of something sour or minty for the guests who don’t love pure sugar.
7. Mini desserts: shooters, tarts, and bites
Mini trifles in shot glasses, tiny fruit tarts, brownie bites, and cookie sandwiches let guests sample everything without commitment. Small desserts also make the table look abundant — twenty minis look like more than ten full-size treats.
Practical tip: Assemble minis the morning of (soggy is the enemy). Keep a tray of backups in the fridge to replenish — a full-looking table at hour three matters as much as at minute one.
8. The graduate’s favorite homemade treat
One signature homemade item — grandma’s cookies, dad’s famous brownies, the graduate’s own recipe — gives the table heart. Label it proudly with its story. Guests remember the personal touch long after the cupcakes are gone.
Practical tip: Make this item in bulk and freeze ahead if possible. The signature treat should be stress-free, not the thing keeping you up at 2 AM.
9. A small cutting cake as the centerpiece
Even with a full dessert table, one small cake with a cap topper gives you the candle-blowing, photo-taking “cake moment.” A 6-inch cake serves the ritual; the table serves the crowd.
Practical tip: Place the cake at the back-center on a tall stand — it’s the visual anchor. Cut it early in the party for photos, then slice and add pieces to the table.
Budget Tricks and Practical Logistics
The difference between a stressful dessert table and a joyful one is planning. These logistics keep it beautiful from first guest to last.
10. Follow the 60/40 rule: 60% store-bought, 40% homemade
Nobody can tell — or cares — that the cookies came from the bakery case when they’re arranged beautifully. Spend your homemade effort on one or two signature items and fill in with quality store-bought treats. Your sanity is a party supply too.
Practical tip: Transfer ALL store-bought items out of their packaging onto your own platters and stands. Packaging is what makes things look cheap, not the treats themselves.
11. Calculate quantities so you don’t run short (or drown in leftovers)
Plan 3-4 dessert pieces per guest for a dessert-focused table, 2-3 if cake or a meal is also served. For 50 guests, that’s 150-200 pieces — which sounds like a lot until you realize a batch of cookies is 36.
Practical tip: Bite-size pieces stretch further and reduce waste — guests take “just one more” mini instead of abandoning half a cupcake. Minis are also easier to replenish neatly.
12. Set up a hidden replenish station
Keep backup trays of every dessert on a nearby counter or in the kitchen. Refill the table in small batches throughout the party so it always looks abundant. A half-empty table at 8 PM tells latecomers they missed the good stuff.
Practical tip: Assign one reliable person (aunt, cousin, best friend) as the “table fairy” with simple instructions. You will be too busy hosting to monitor dessert levels yourself.
13. Protect the table from sun, heat, and bugs
Outdoor dessert tables need defense: keep chocolate away from direct sun, use mesh food covers over everything, and skip anything with whipped cream or custard if it’s over 80°F. Place the table in shade if at all possible.
Practical tip: Freeze water bottles and tuck them under tablecloths near chocolate items — hidden cooling that doesn’t show in photos. Mesh domes beat citronella near food every time.
14. Photograph the table before guests arrive
The table will never look better than the moment you finish setting it. Take photos then — wide shots and details — for memories, thank-you notes, and (let’s be honest) social media. Then let the beautiful chaos begin.
Practical tip: Wipe a few fingerprints off glass jars, straighten one leaning tent card, and shoot in natural light if possible. Five minutes of tidying makes the photos ten times better.
Keep Exploring
Round out the party with these:
- 15 Graduation Cake Ideas From Simple to Showstopping
- 15 Graduation Party Table Decor Ideas That Wow Guests
- 14 Graduation Photo Display Ideas That Tell Their Story
Frequently Asked Questions
How many desserts do I need for a graduation dessert table?
Plan 3-4 pieces per guest if dessert is the main event, or 2-3 pieces if you’re also serving cake or a full meal. For 50 guests, aim for 150-200 total pieces across 5-7 different treats. Bite-size portions let you offer more variety without baking for days.
How do I keep desserts fresh at an outdoor graduation party?
Set up in the shade, avoid anything with whipped cream, custard, or cream cheese frosting if it’s above 80°F, and keep chocolate out of direct sun. Use mesh food covers to deter bugs, replenish from a cool indoor stash in small batches, and consider frozen treats (like ice cream sandwiches in a cooler) that actually benefit from the heat.
What’s the cheapest way to make a dessert table look expensive?
Cohesion is free: stick to your color palette ruthlessly, decant everything onto real platters and tiered stands, add height with household risers, and label everything with matching tent cards. A $30 grocery run arranged beautifully beats a $200 spread dumped on a bare table every time.
When should I set up the dessert table?
Style the table (linens, stands, backdrop, labels) the night before or morning of. Add non-perishable treats (candy jars, cookies) a few hours before guests arrive. Add perishables (cupcakes with fresh frosting, dipped strawberries, anything chilled) in the final 30-60 minutes. Assign someone to replenish throughout the party.
Sweet Endings for a Big Achievement
A great graduation dessert table isn’t about baking the most — it’s about presenting with love. Pick your palette, build your heights, mix one signature homemade treat with smart store-bought fillers, and keep the table full all party long. Then stand back, watch guests circle it like happy sharks, and enjoy the sweetest part of the celebration. For more party-planning inspiration, explore our Seasonal & Holiday Decor category. Congrats to the Class of 2026!

1 thought on “14 Graduation Dessert Table Ideas Guests Will Love”