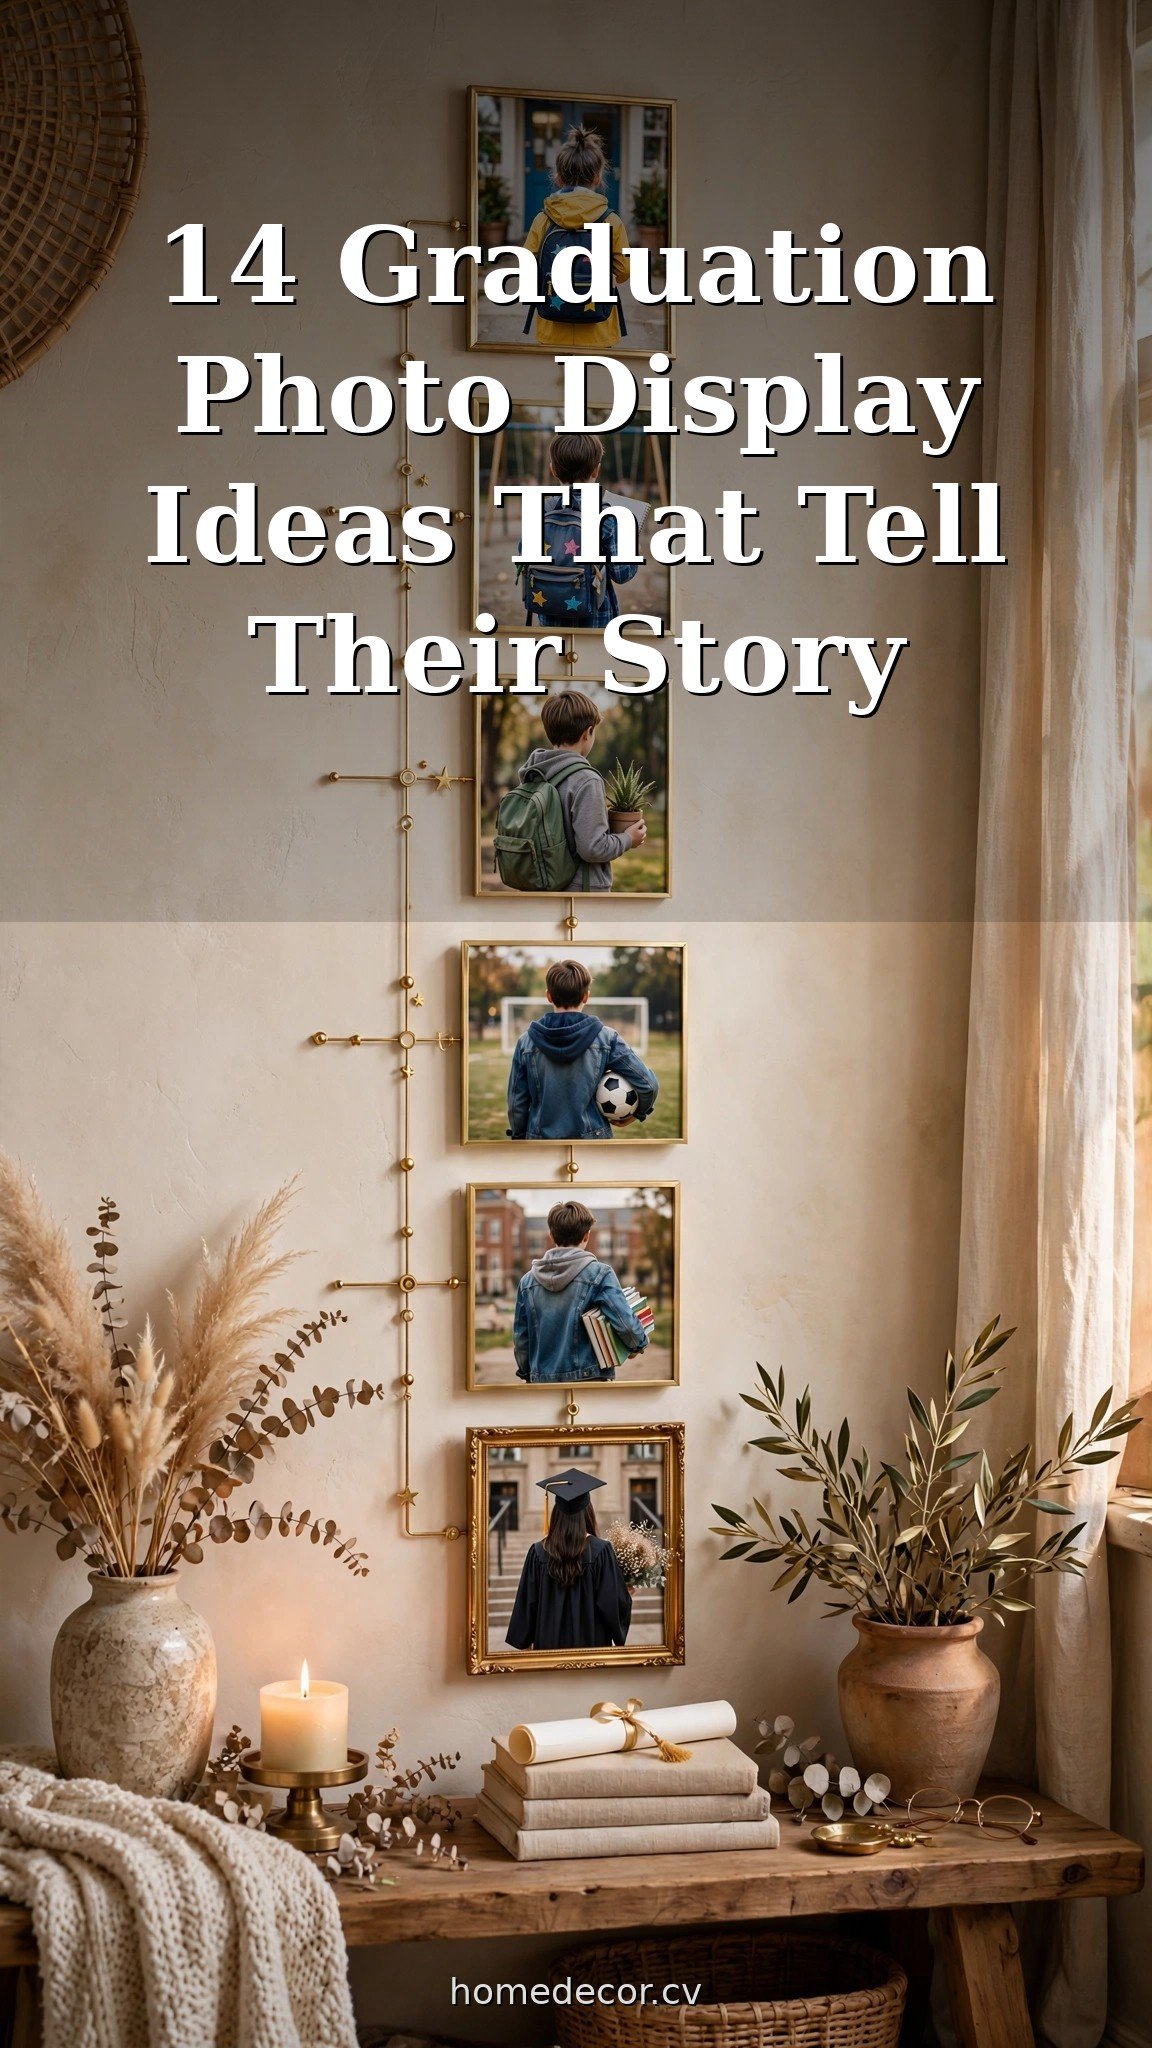
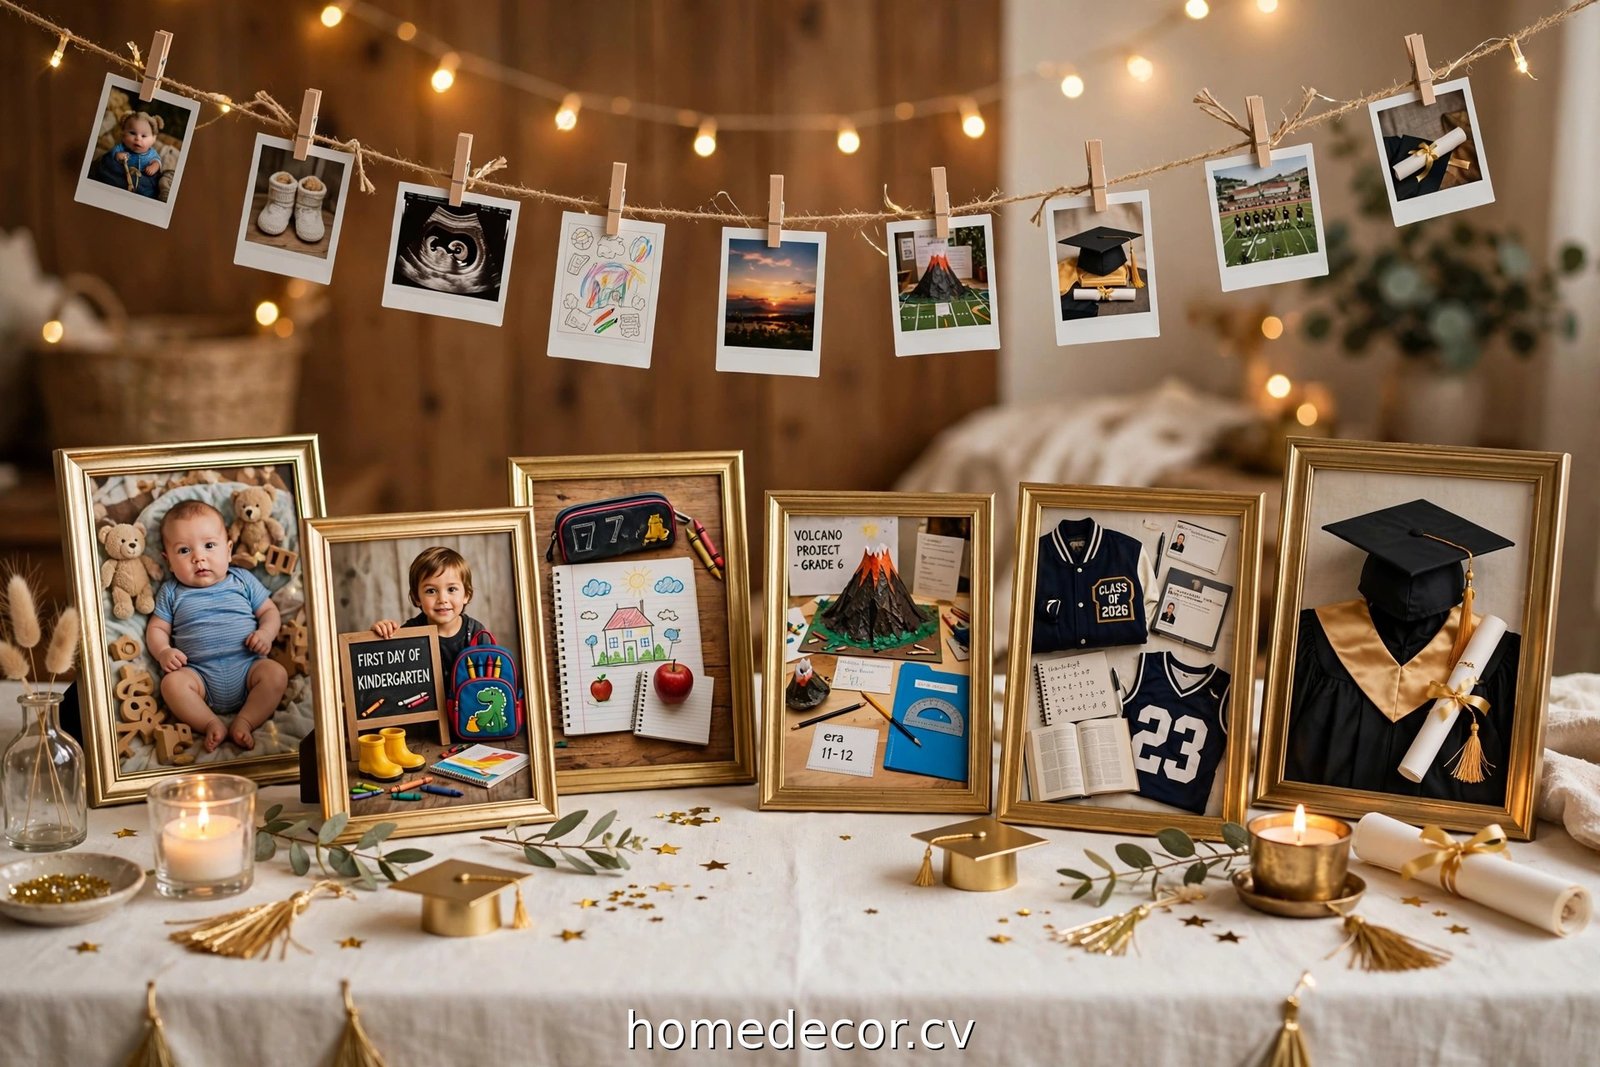
Every graduation party needs a photo display — it’s the spot where grandma gets misty-eyed, old friends laugh at bowl cuts, and the graduate sees twelve years of growing up in one glance. These graduation photo display ideas turn a pile of pictures into a storytelling centerpiece guests will crowd around all party long.
The magic formula is chronology plus personality: arrange photos from tiny-kindergartner to cap-and-gown senior, mix in the funny candids with the formal portraits, and add a few props from the journey. Here’s how to make it unforgettable.

Timeline Displays: The Journey From First Day to Grad Day
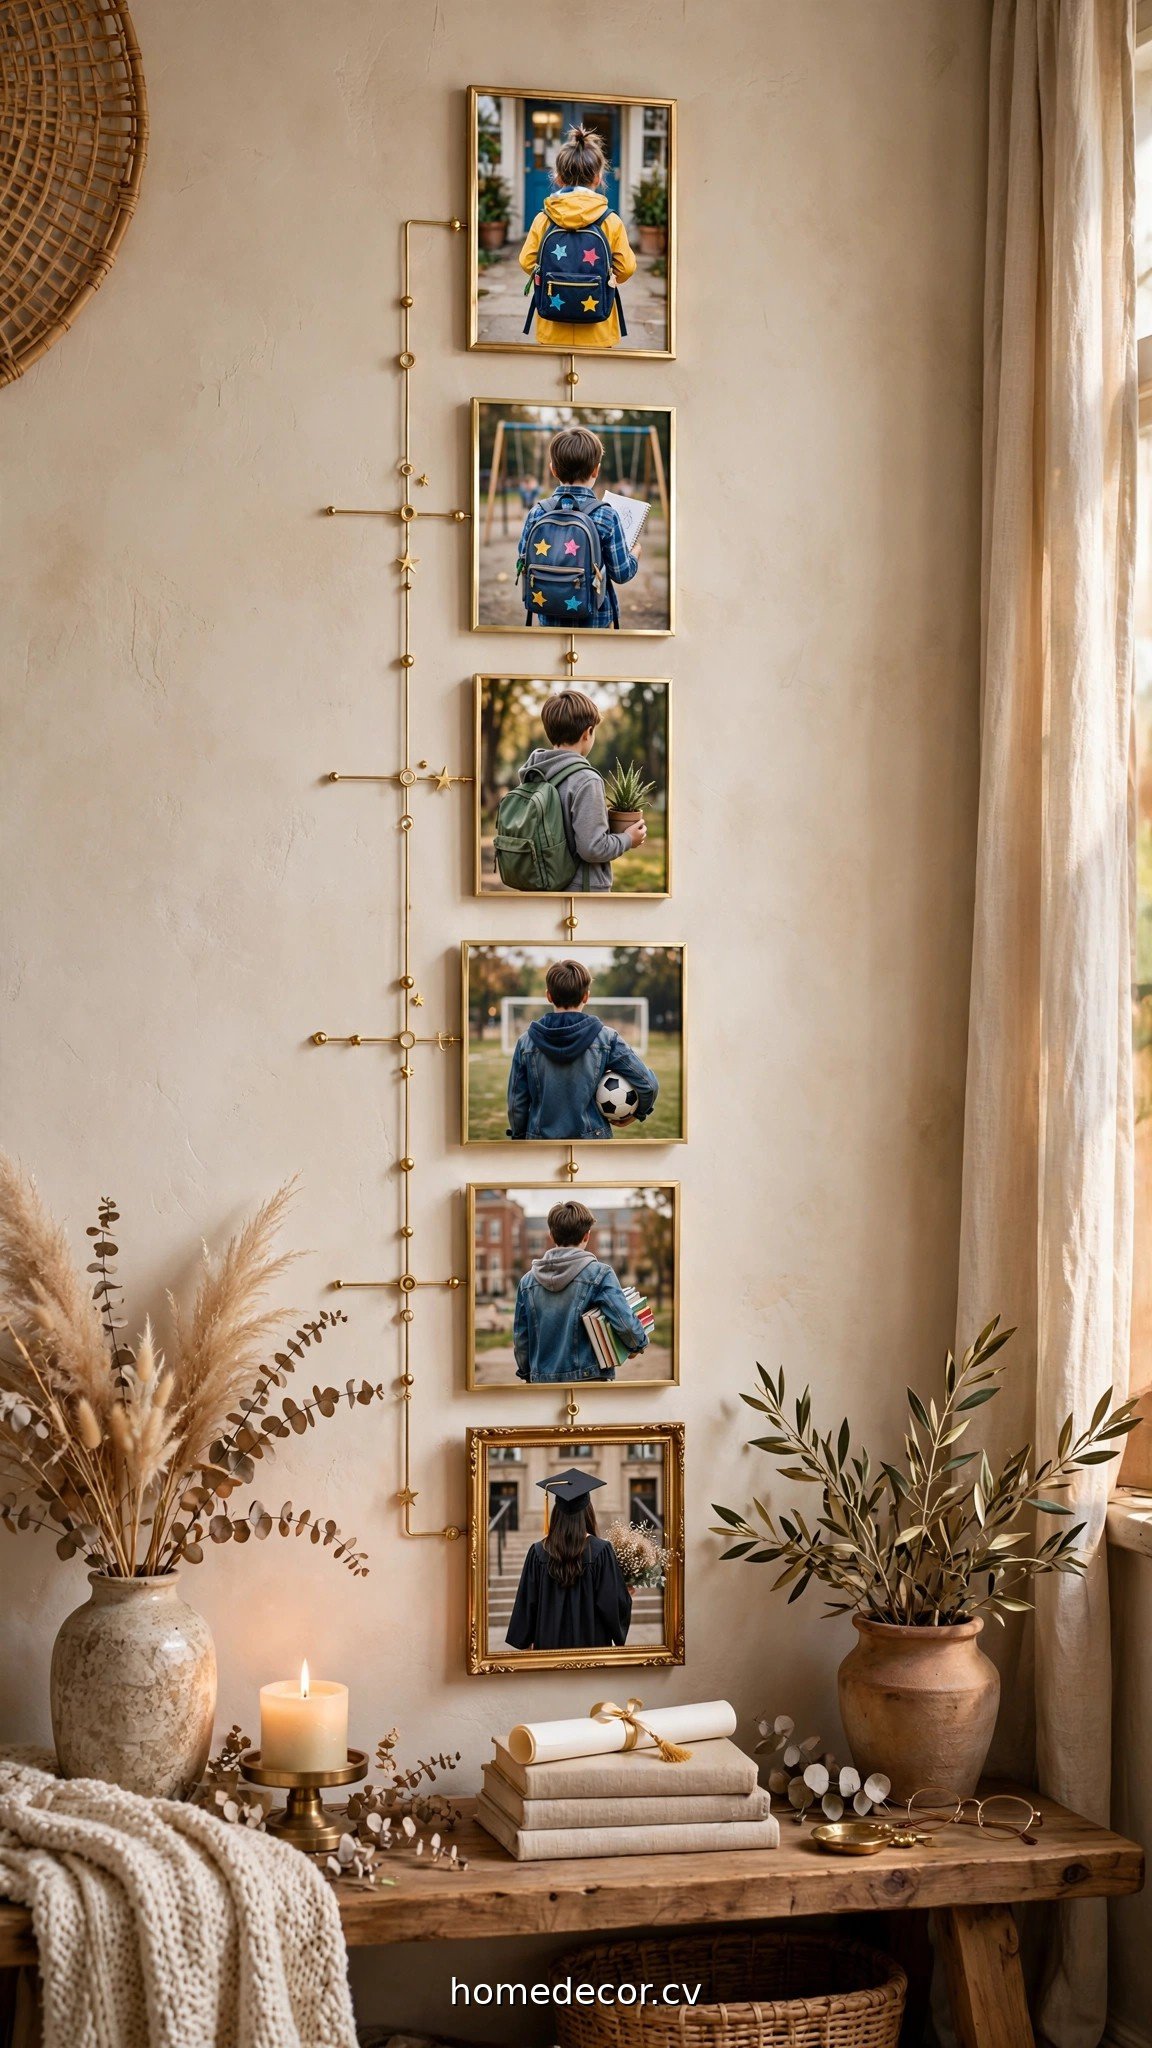
A chronological display is the most powerful storytelling format — guests literally walk through the years. These ideas make the timeline shine.
1. Create a year-by-year photo timeline on the wall
Print one photo from each school year (kindergarten through senior year) in the same size, frame them identically, and hang them in a straight horizontal line. Label each with the grade. The visual of the same kid growing up, frame by frame, is incredibly moving.
Practical tip: Can’t find a photo for every single year? Skip gracefully — label the ones you have and nobody notices gaps. Or fill a gap year with a class photo, report card, or art project from that era.
2. String a photo clothesline across the party space
Clip photos to twine or ribbon with mini clothespins and hang the line above the dessert table, across a fence, or along a hallway. Arrange oldest to newest so guests walk the timeline. It’s charming, cheap, and endlessly photographable.
Practical tip: Print on heavier cardstock or matte photo paper — thin prints curl in humidity and spin in the breeze. If it’s windy, add a tiny piece of tape behind each photo to keep it facing forward.
3. Build a “then and now” comparison display
Pair a kindergarten photo with the senior portrait side by side in a double frame or on a single board. The contrast is delightful — same smile, same eyes, wildly different hair. Do three or four pairs for maximum impact.
Practical tip: Recreate the old pose for extra delight: same stuffed animal, same silly face, same location if possible. The side-by-side recreation gets the biggest laughs of any display.
4. Make a photo number “2026” filled with pictures
Get large cardboard or wooden numbers of the graduation year and cover them with small photos (a photo collage on each digit). It doubles as decor and display — set it on the gift table or by the entrance.
Practical tip: Use a glue stick or double-sided tape rather than hot glue for attaching photos — hot glue warps prints. Seal the finished numbers with a light spray of clear matte sealer if the party is outdoors.
5. Design a hallway gallery of milestones
If the party is at home, turn a hallway into a gallery: first day of school photos, sports victories, art awards, prom, senior portraits. Hallways are natural walking paths, so guests absorb the story as they move through the house.
Practical tip: Use removable adhesive strips for hanging — they hold frames securely and come off cleanly. Keep the arrangement to one side of the hallway so foot traffic flows freely.
Tabletop and Freestanding Photo Displays
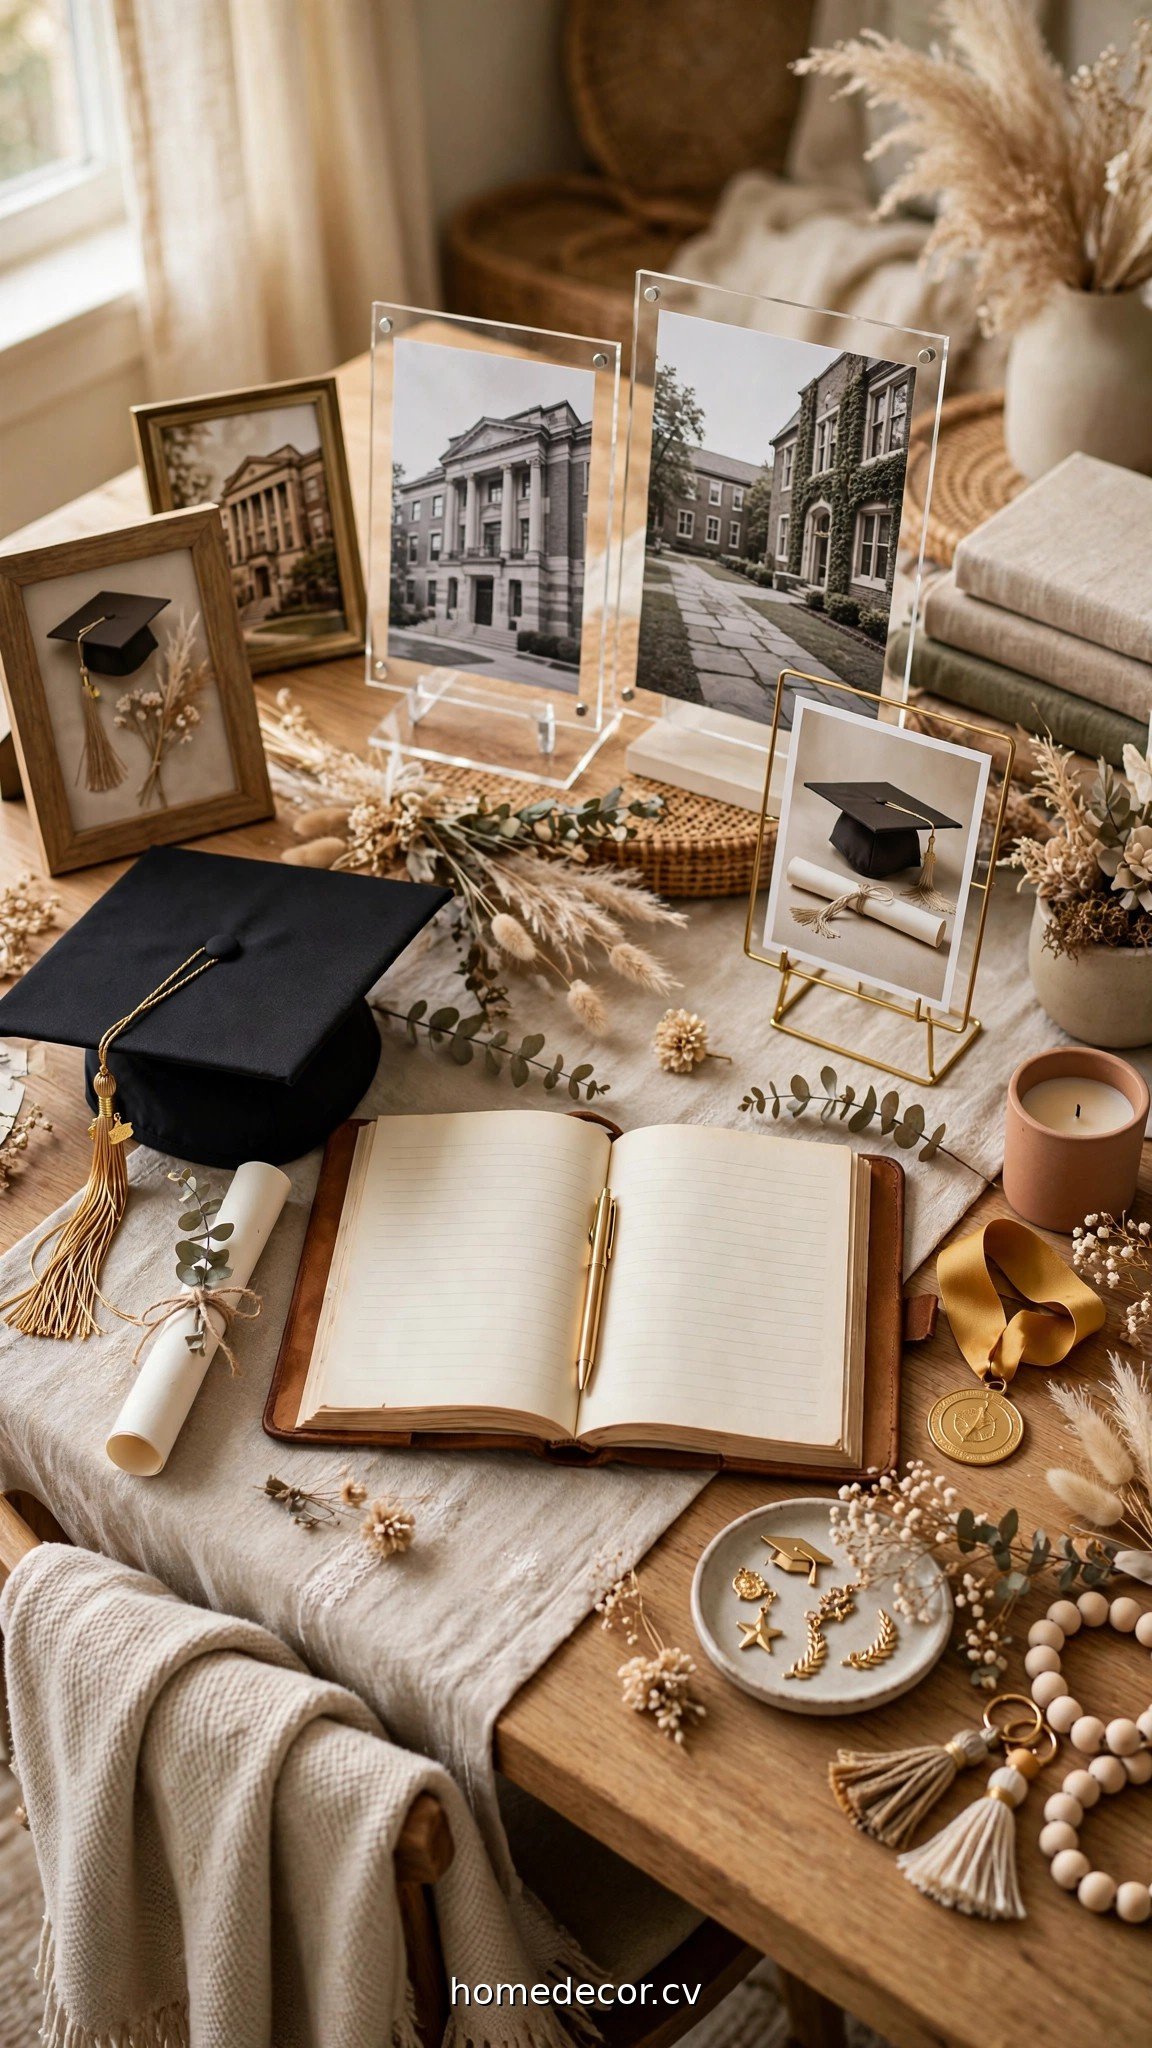
Not every display needs a wall. Tabletop setups work beautifully as a dedicated memory station guests can browse at their own pace.
6. Set up a memory table with photos and memorabilia
Dedicate one table to the graduate’s story: framed photos at varying heights, trophies, jerseys, favorite books, and that infamous science fair project. Add a small sign: “[Name]’s Journey.” It becomes a museum of one very special person.
Practical tip: Put a “please look, please don’t touch” note on anything fragile. Elevate the best pieces on small easels or stands so they’re visible above the crowd — a flat table of photos gets buried under elbows.
7. Create photo centerpieces for each guest table
Instead of flowers, put a framed photo (or a small cluster) on each dining table — a different era per table. Guests at the “3rd grade table” will spend dinner laughing at missing teeth. It sparks conversation better than any centerpiece.
Practical tip: Use inexpensive frames from the dollar store and print photos at standard sizes so framing is painless. Collect the frames after the party — they’re reusable for holidays.
8. Fill glass jars or vases with rolled photos
Roll photo prints into scrolls, tie with ribbon in school colors, and stand them in glass vases or apothecary jars like flowers. Guests can unroll and browse them. It’s interactive, unexpected, and protects prints from sticky fingers.
Practical tip: Roll prints with the image facing inward to prevent curling damage, and use copies — not originals. A spilled drink shouldn’t destroy the only copy of a childhood photo.
9. Display photos on a decorated ladder or shutter
Lean a wooden ladder or an old shutter against the wall and clip photos to the rungs with clothespins. The rustic format suits backyard parties perfectly and holds dozens of photos in a small footprint.
Practical tip: Secure the top of the ladder to the wall with a removable hook or lean it at a safe angle — a photo ladder that topples mid-party is a disaster. Keep it away from high-traffic dance zones.
Interactive and Creative Photo Ideas
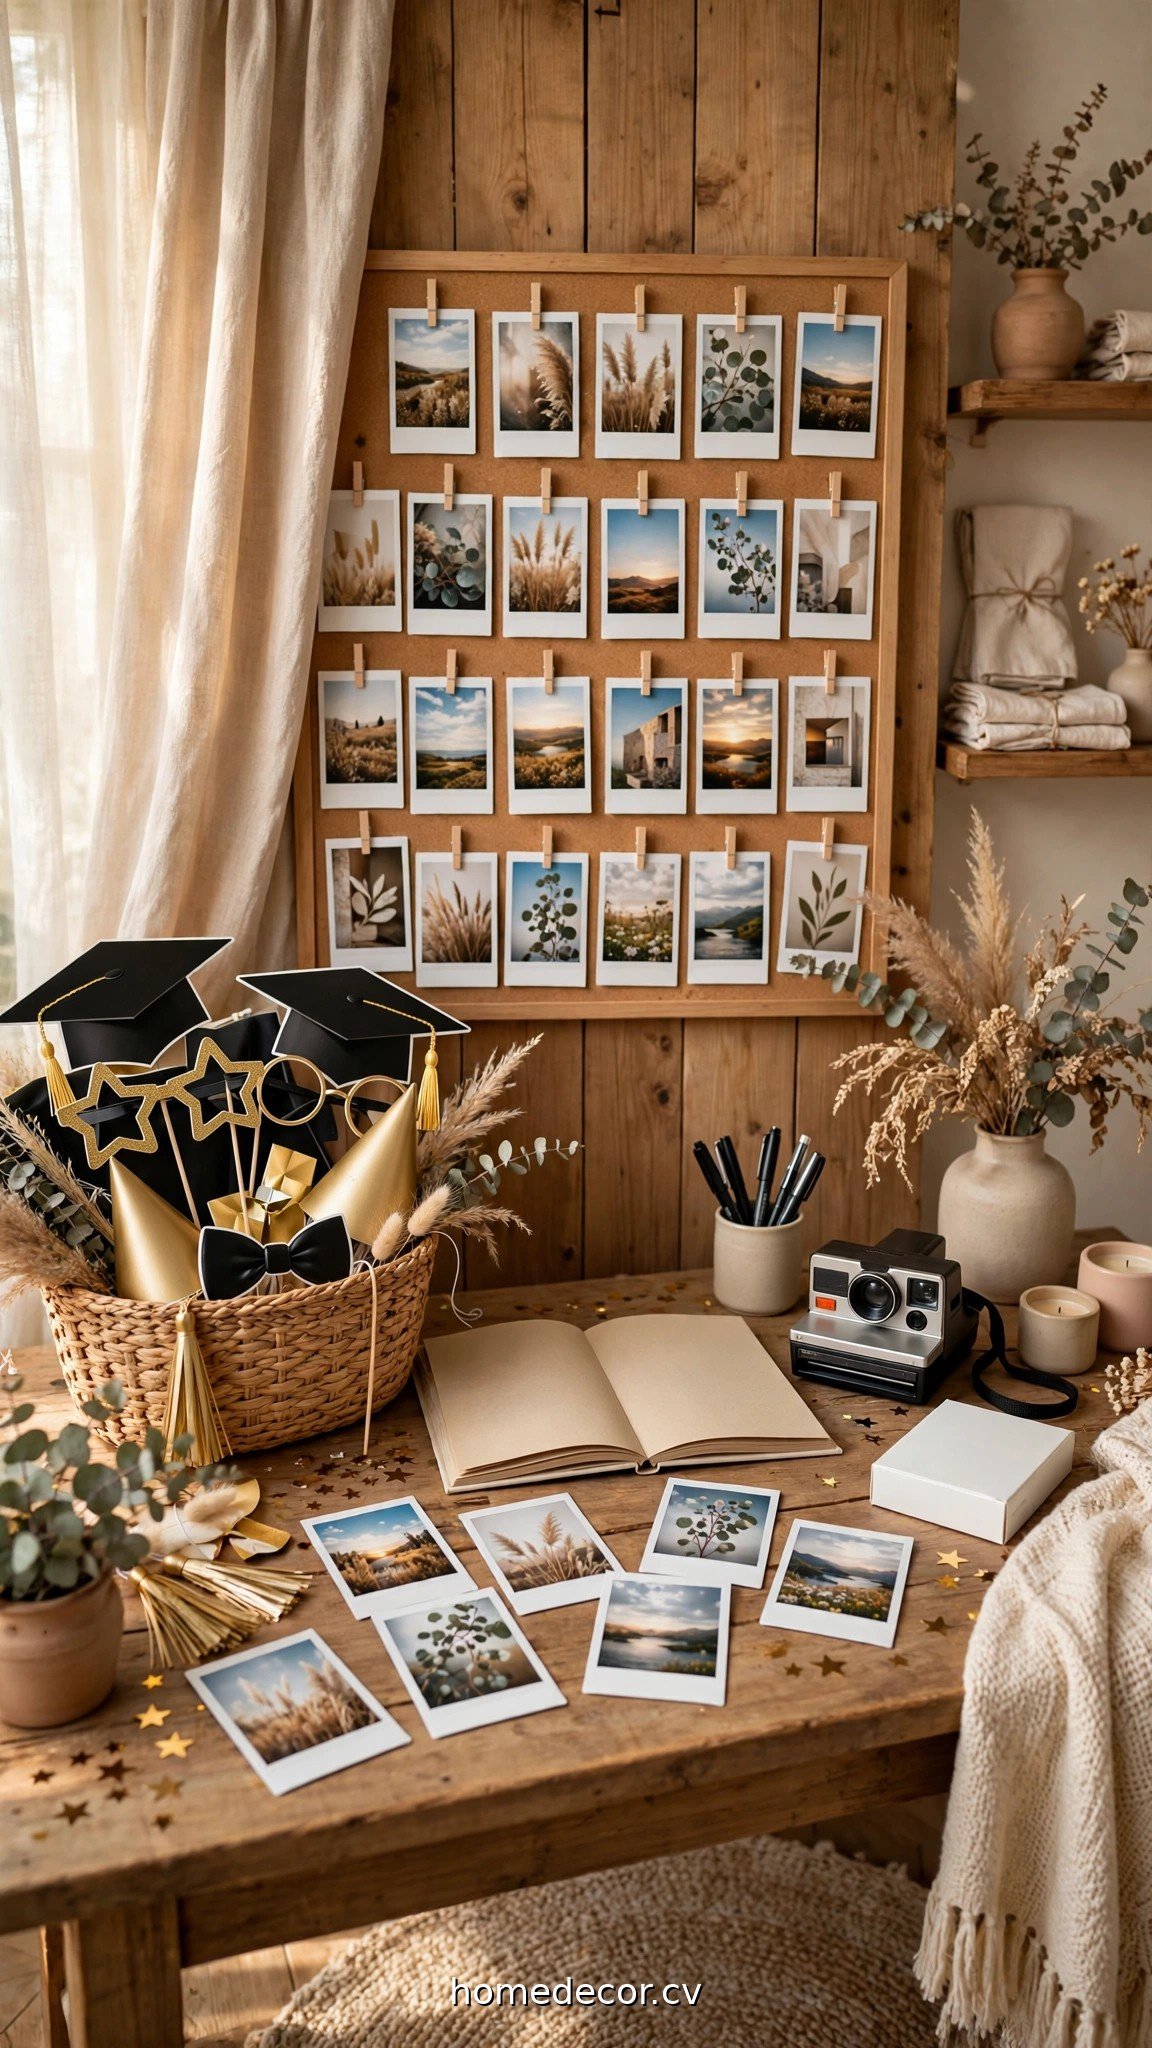
The best displays invite participation. These turn guests from viewers into contributors.
10. Set up a photo booth with “through the years” props
Create a photo booth area with props from each era: oversized kindergarten backpack, sports gear, prom accessories, and finally a cap and gown. Guests pose “as” the graduate at different ages. Provide a Polaroid or instant camera for take-home prints.
Practical tip: Keep a simple backdrop (a curtain, a balloon arch, or a decorated wall) behind the booth — photos without a backdrop look messy. Good lighting matters more than fancy props; face the booth toward natural light.
11. Make a video slideshow for the big screen
Compile photos into a slideshow with music and play it on a loop on a TV or projector. Chronological order with captions (“First day of kindergarten,” “State champs!”) turns it into a mini documentary. Set it where people gather — near the food works perfectly.
Practical tip: Keep it under 5 minutes and test-play it the night before. A 20-minute slideshow loses its audience; a tight 4-minute one gets watched three times. Burn it to a USB as backup — don’t rely on Wi-Fi.
12. Provide a Polaroid guest book station
Set out an instant camera with a guest book and ask guests to snap a selfie and tape it in with a message. The graduate ends up with a book full of faces and notes from the actual day — more meaningful than any store-bought guest book.
Practical tip: Buy twice the film you think you need and keep spare packs nearby. Instant film disappears fast, and a dead camera mid-party kills the station. Assign someone to keep it loaded.
13. Hang a “wishes for the future” photo tree
Set up a branch in a weighted pot (or a small tabletop tree) and hang photo ornaments — small prints of the graduate — mixed with blank tags where guests write wishes and advice. By party’s end, it’s a tree full of love.
Practical tip: Pre-punch holes in the tags and provide plenty of pens and ribbon. An unfinished supply chain (no pens!) is the number-one killer of interactive stations.
14. Print a giant banner photo for the entrance
One oversized print — the senior portrait or a favorite candid — on a vinyl banner at the entrance makes a grand statement and the ultimate photo backdrop. Online printers produce them cheaply with a week’s notice.
Practical tip: Order the banner at least 10 days ahead and choose the highest resolution photo you have — low-res images look pixelated at banner size. A 300 DPI file at the final print size is ideal.
Keep Exploring
Keep the celebration going with these:
- 15 Graduation Outdoor Party Ideas for the Perfect Celebration
- 15 Graduation Party Table Decor Ideas That Wow Guests
- 17 Gallery Wall Ideas for Beginners (With Layout Templates)
Frequently Asked Questions
How many photos should I display at a graduation party?
There’s no magic number, but 30-50 photos across your displays feels abundant without overwhelming. One strong timeline (12-15 photos) plus a memory table and a garland covers it. Quality beats quantity — pick photos with emotion, humor, or story over blurry filler shots.
Should I use original photos or copies for party displays?
Always use copies for anything guests can touch — garlands, jars, game boards, and table displays. Reserve originals (if you use them at all) for high framed pieces well out of reach. Party environments mean drinks, kids, wind, and sun; assume anything displayed will take some abuse.
How do I display photos at an outdoor graduation party?
Weight everything down or secure it: use heavier frames, tape photos at the back, and avoid anything that catches wind like loose paper. Laminated prints survive dew and surprise showers. Have a quick-takedown plan — a bin nearby to sweep displays into if weather turns.
What’s the best way to organize photos chronologically?
Start gathering 3-4 weeks ahead — digging through phones, old albums, and relatives’ collections takes longer than you think. Create a phone album or computer folder per era (early years, elementary, middle, high school), then pick the best 3-5 from each. Ask grandparents and aunts; they often have gems you’ve never seen.
Every Photo Tells the Story
These graduation photo display ideas all serve one purpose: letting guests feel the journey, not just see it. The timeline that makes grandma cry, the goofy photo booth that makes cousins howl, the advice tree heavy with love — that’s what a photo display is really for. Start gathering pictures now, pick the formats that fit your space, and give your graduate the tribute their twelve years deserve. For more celebration inspiration, browse our Seasonal & Holiday Decor category.