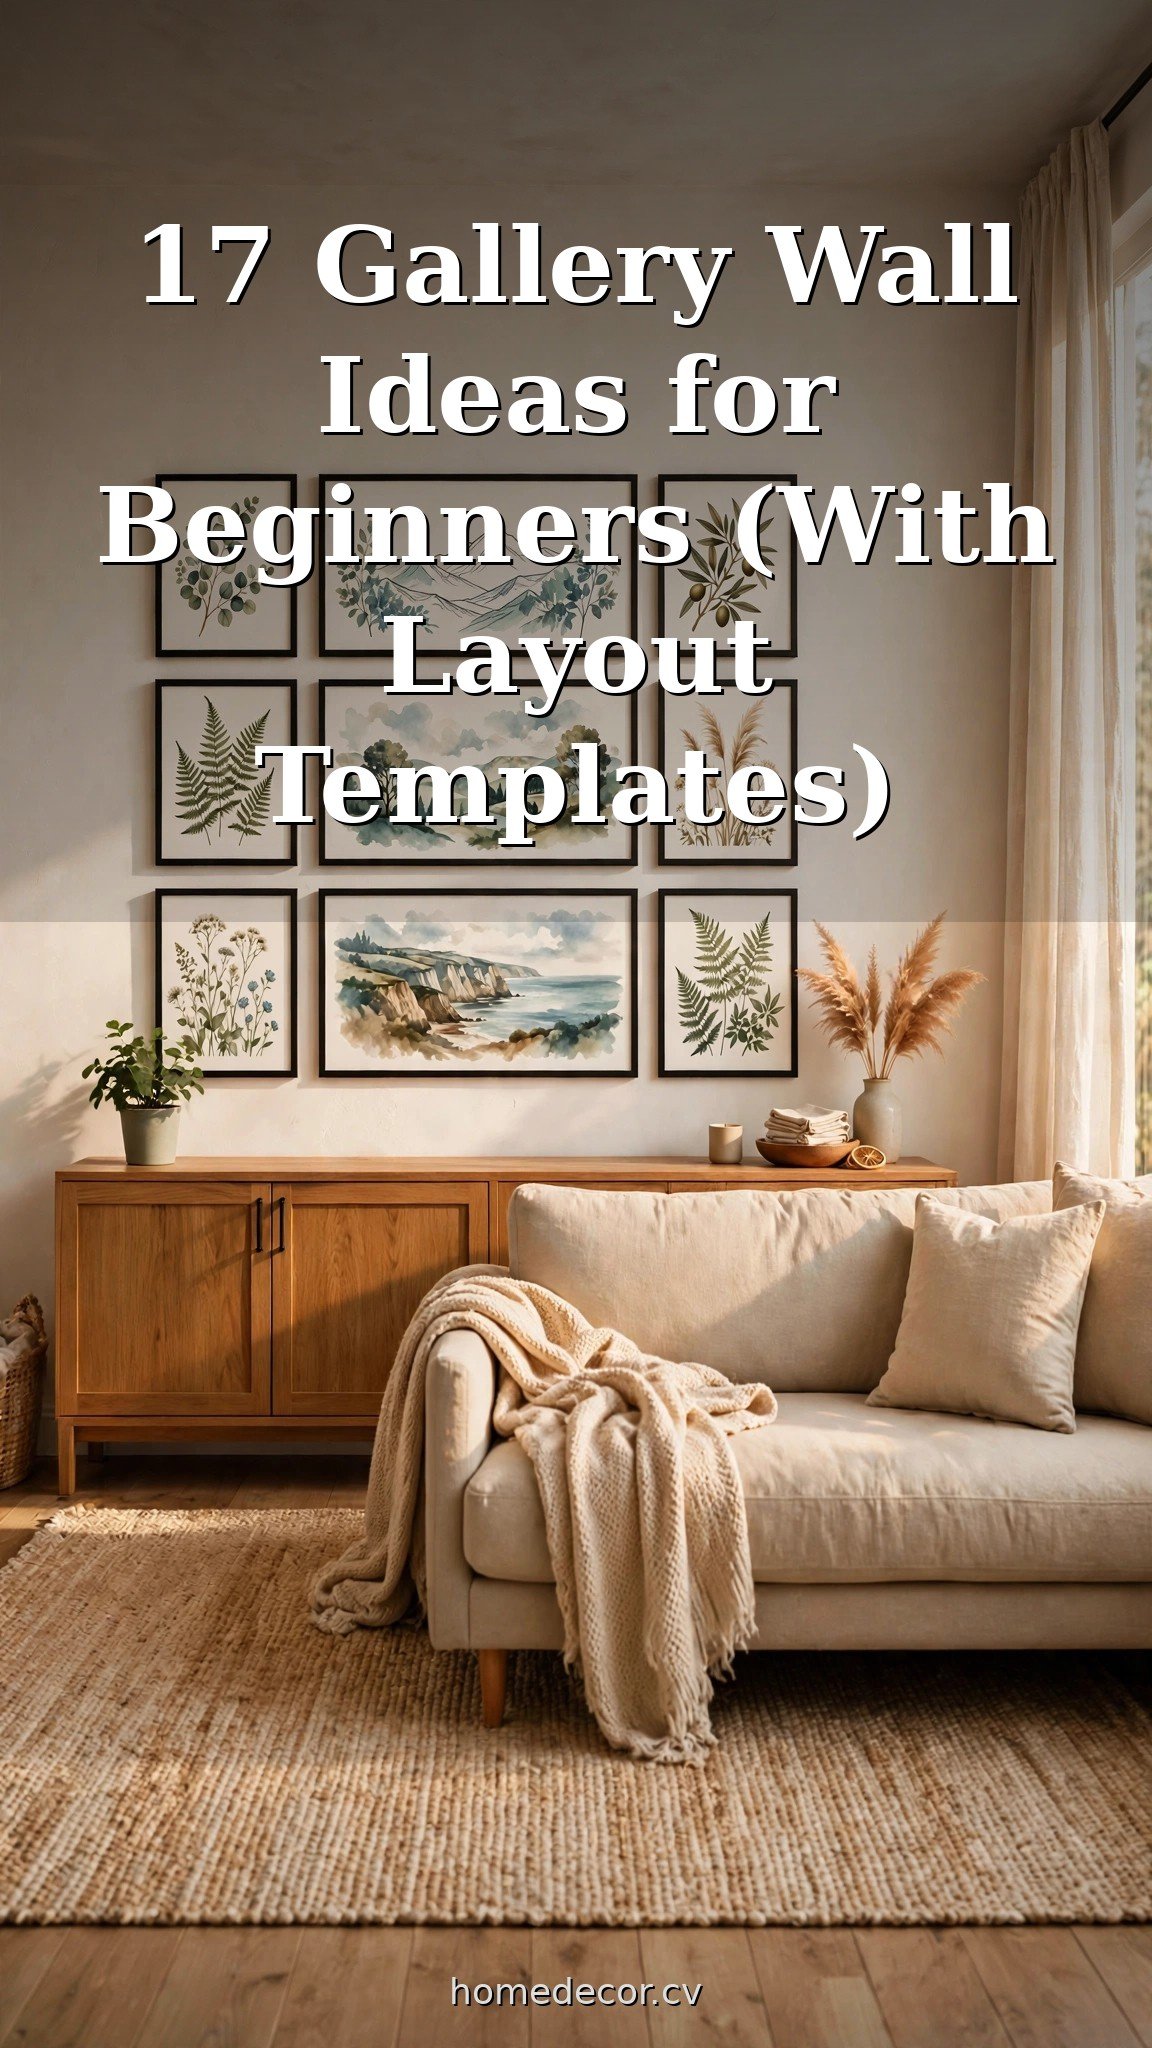
That big blank wall above your sofa has been staring at you for months. You’ve saved a dozen gallery wall photos, bought three frames that don’t match, and hung nothing — because where do you even start? These 17 gallery wall ideas for beginners take you from blank wall to beautiful display with zero guesswork.
You’ll get two dead-simple layout templates (a classic grid and an easy salon style), the spacing rules designers actually use, frame and art combinations that always look polished, and the paper-template trick that lets you plan the whole wall without making a single nail hole until you’re sure. Grab your frames — let’s do this.
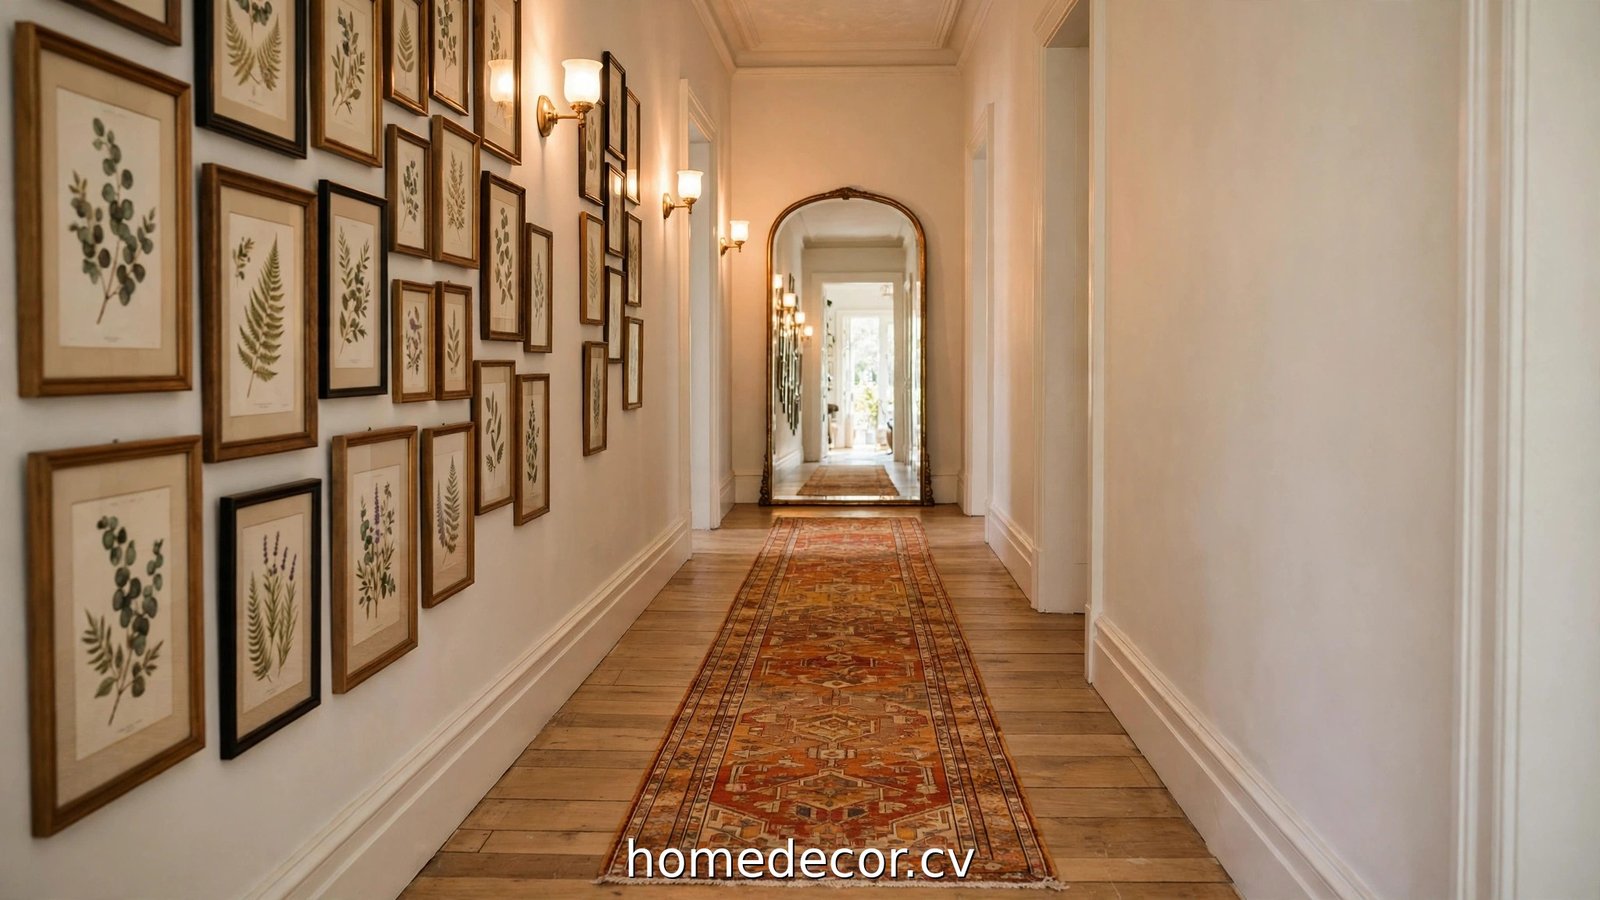
Hallways are made for gallery walls — see these hallway decor ideas — and they work beautifully in small living rooms too.
Simple Gallery Wall Ideas for Beginners
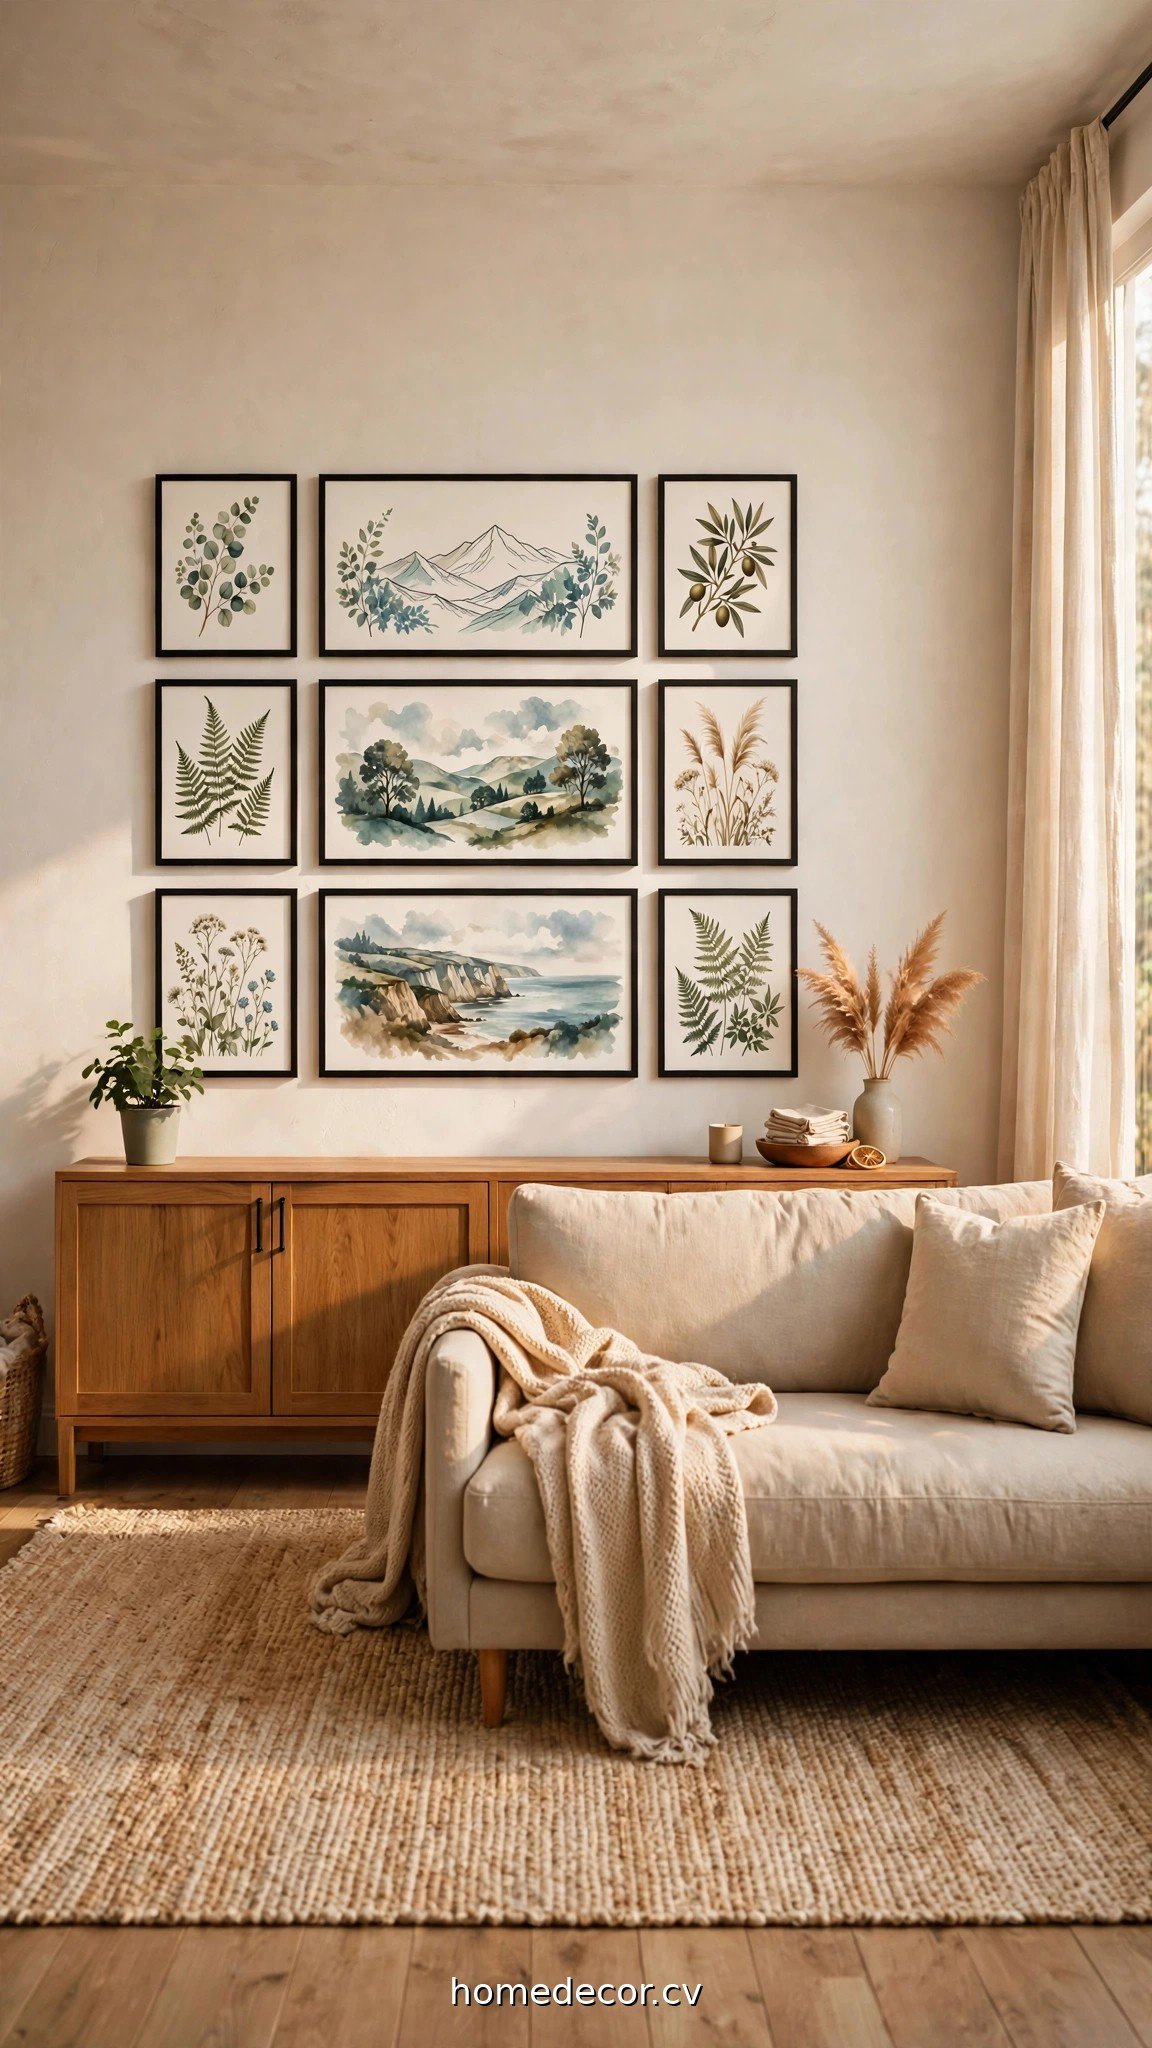
If you’ve never hung a gallery wall, start here. These four layouts are nearly foolproof.
1. The classic 3×3 grid
Nine identical frames in three rows of three. It sounds boring; it looks anything but — the repetition is calm, graphic, and gallery-worthy. Use matching thin frames and art with a consistent feel (all black-and-white photos, or all botanical prints).
Tip: Keep 2–3 inches between every frame, measured edge to edge, for a crisp grid.
2. The single-row ledge
Mount one long picture ledge and lean five to seven frames on it, overlapping slightly. No measuring between frames, no leveling each one — and you can swap art in seconds whenever the mood strikes.
Tip: Anchor the ledge into studs. Leaning frames are heavier than they look.
3. The salon-style cluster
Start with one large anchor piece in the center, then build outward with medium and small frames. It looks effortlessly collected because it is — this layout forgives almost any combination.
Tip: Keep the outer edges roughly even (imagine an invisible rectangle around the cluster) so it reads as one composition.
4. The symmetrical pair rows
Two rows of three matching frames, all the same size, hung in perfect alignment above a console or sofa. It’s the grid’s calmer cousin — ideal above furniture where you want order, not energy.
Tip: This layout loves matching mats. Same mat width on every frame doubles the polish.
Plan It First: The Paper-Template Trick

Here’s the trick designers swear by: never hang a frame until you’ve rehearsed the whole wall in paper.
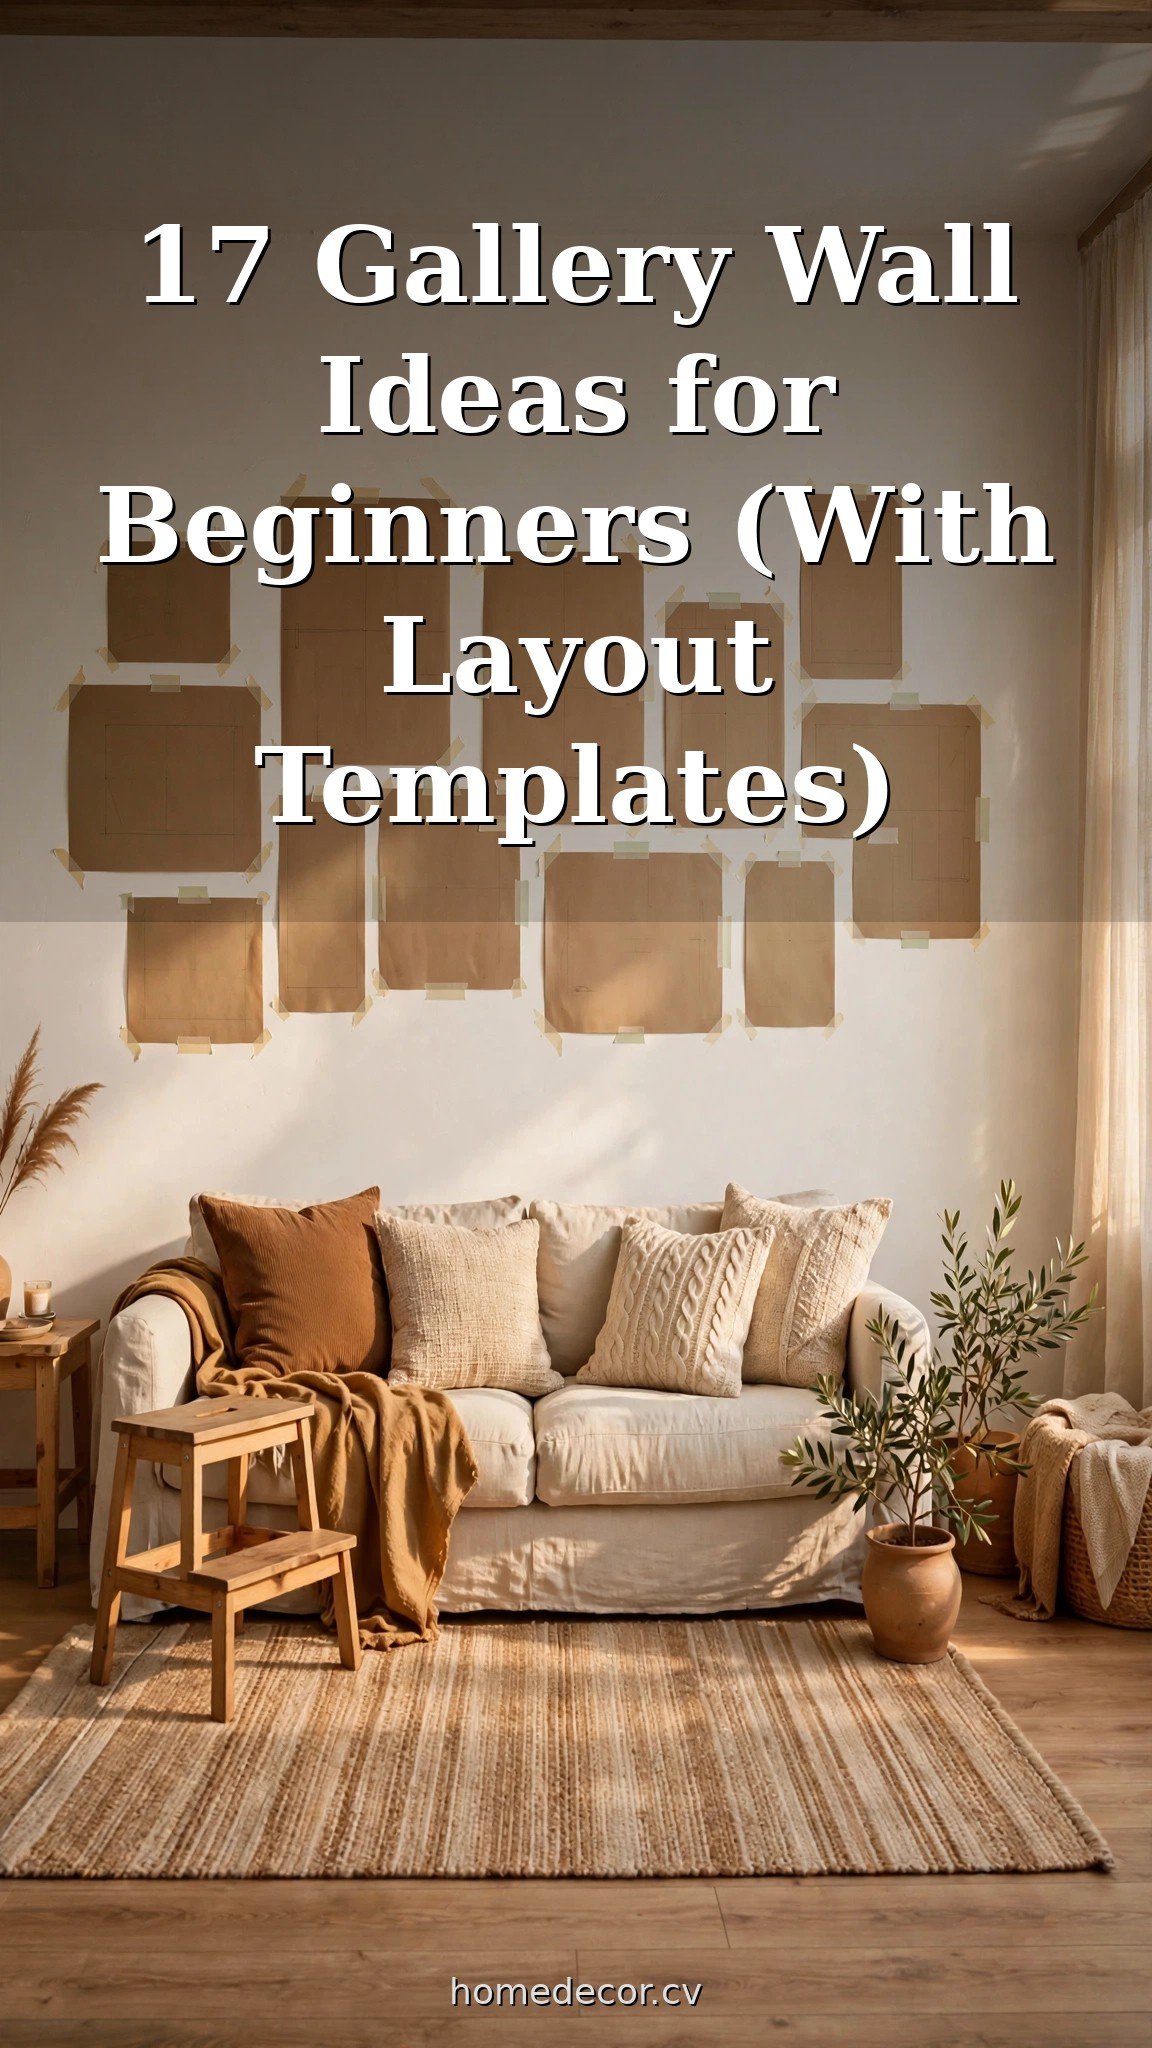
5. Trace every frame on kraft paper
Lay each frame on kraft paper or newspaper, trace around it, and cut out the shape. Mark an X where the nail or hook will go (measure from the frame’s top edge to its hanging hardware — this is the step everyone skips).
Tip: Save old paper grocery bags for this. Free and the perfect weight.
6. Tape the templates to the wall
Stick the paper shapes to the wall with painter’s tape and live with them for a day. Step back. Squint. Move them around. This is your no-consequence rehearsal — every adjustment now saves a nail hole later.
Tip: Photograph each arrangement. You’ll be surprised how different they look in a photo versus in person.
7. Follow the 2–3 inch spacing rule
The space between frames should be consistent — 2 inches for a tight, modern feel, 3 inches for a relaxed, airy one. Pick one number and stick to it across the whole wall. Consistent gaps are what separate “designed” from “random.”
Tip: Cut a small cardboard spacer (2 or 3 inches) and use it as a measuring shortcut between frames.
8. Start from the center, hang at eye level
For a cluster, hang the center frame first with its center at 57–60 inches from the floor (average eye level), then work outward. For a grid, hang the middle row first. Building from the center keeps everything balanced.
Tip: If hanging above furniture, leave 6–8 inches between the furniture top and the bottom of the lowest frame.
Frame and Art Choices That Look Polished
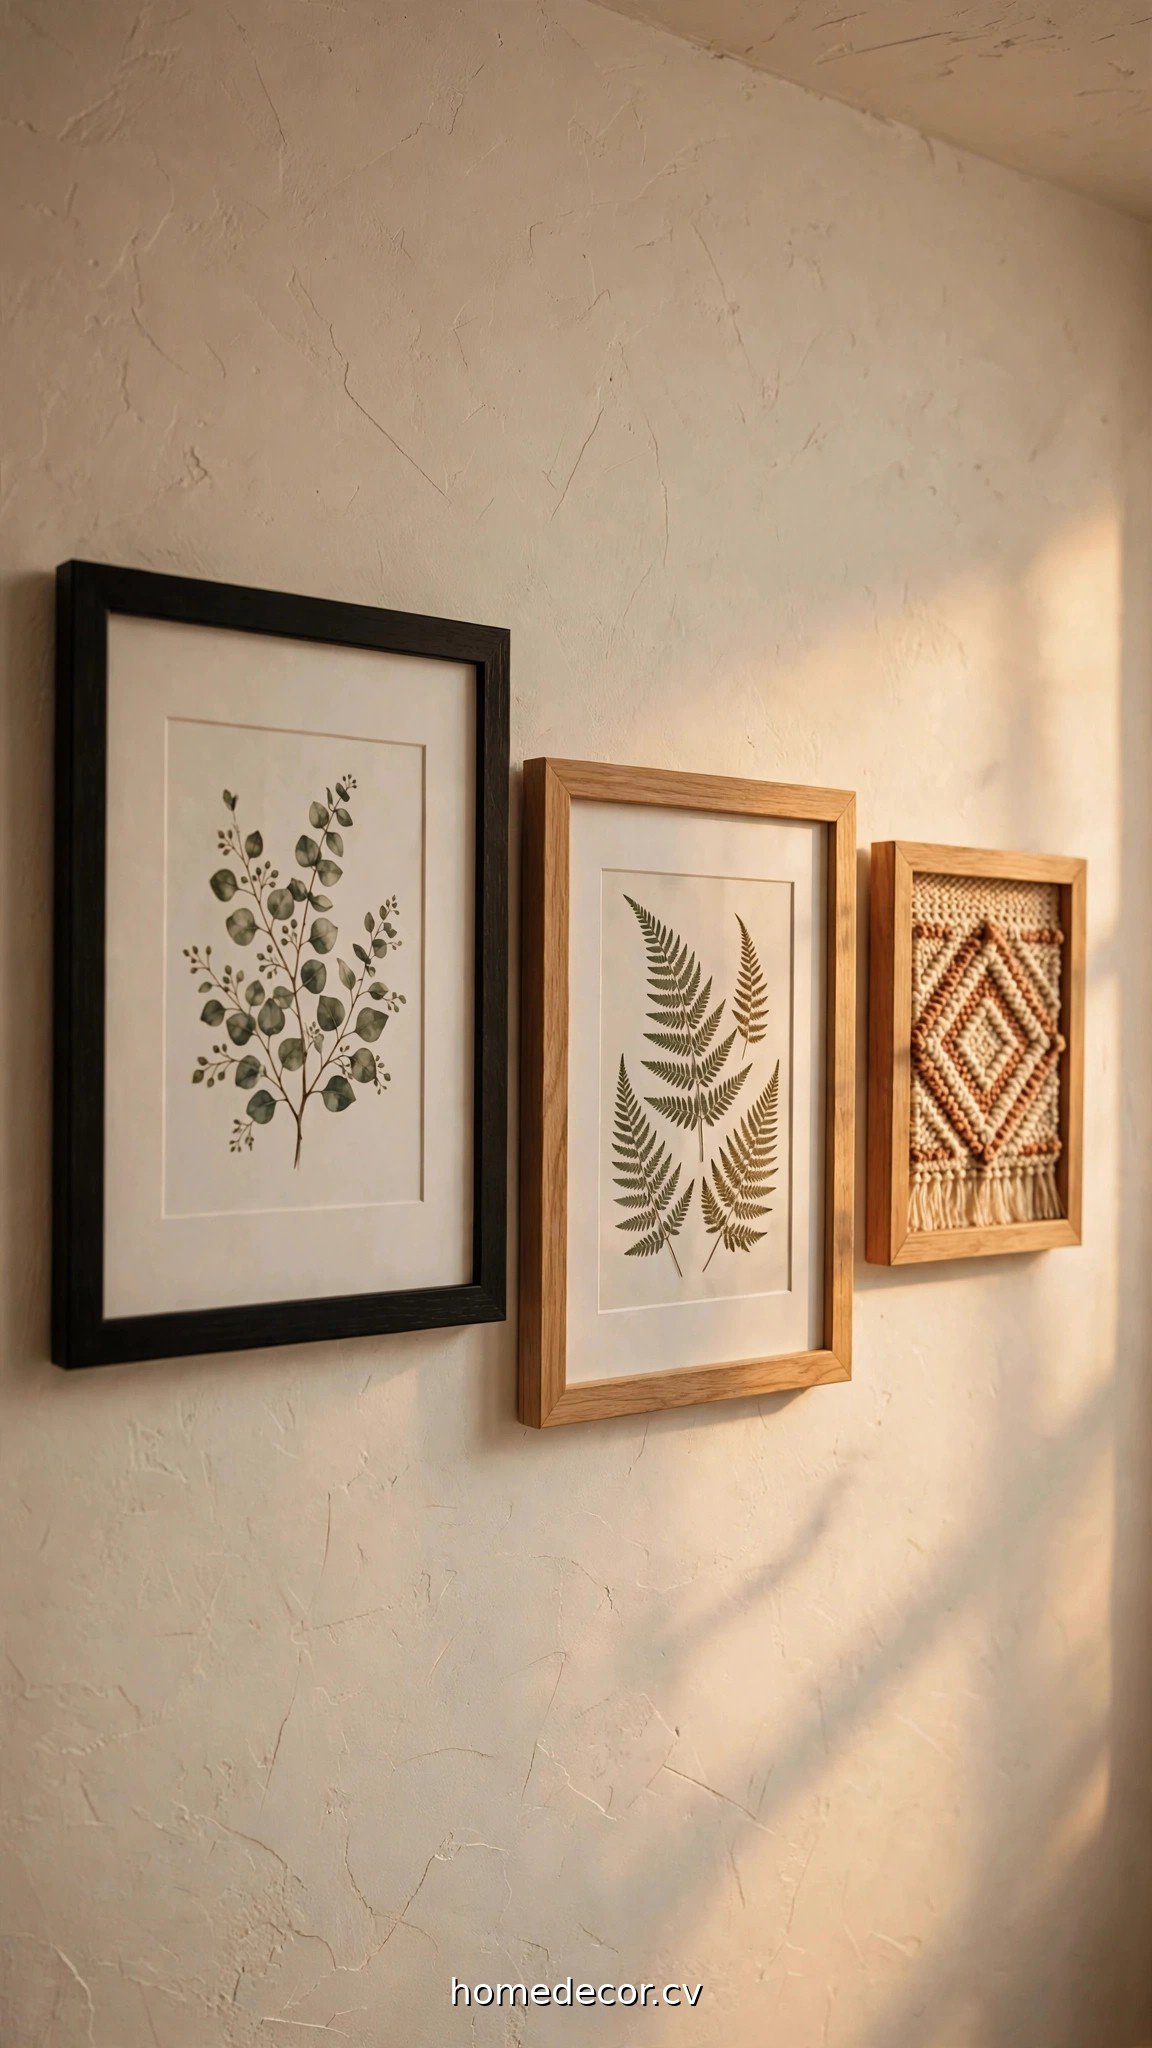
Beginners often overthink this. Two simple rules carry the whole wall.
9. Stick to two frame finishes max
Black plus natural wood. White plus brass. Walnut plus black. Two finishes look curated; four look accidental. Vary the frame sizes freely — it’s the finish count that keeps things calm.
Tip: Already own mismatched frames? Spray-paint them all one color. A $6 can of paint unifies everything.
10. Mix art types, not just photos
The most interesting walls combine photography, prints, and something dimensional — a small woven textile, a vintage plate, a pressed-flower frame. Three different mediums in a similar color story look collected over time, not bought in a bundle.
Tip: Keep one color running through every piece (warm neutrals, say) to tie different mediums together.
11. Use mats generously
A mat (the border inside the frame) makes even a $5 print look like gallery art. It gives small art presence and creates breathing room inside busy frames. White or off-white mats work with nearly everything.
Tip: Buy frames with mats included — separately, mats can cost more than the frame.
More Gallery Wall Ideas for Tricky Spots
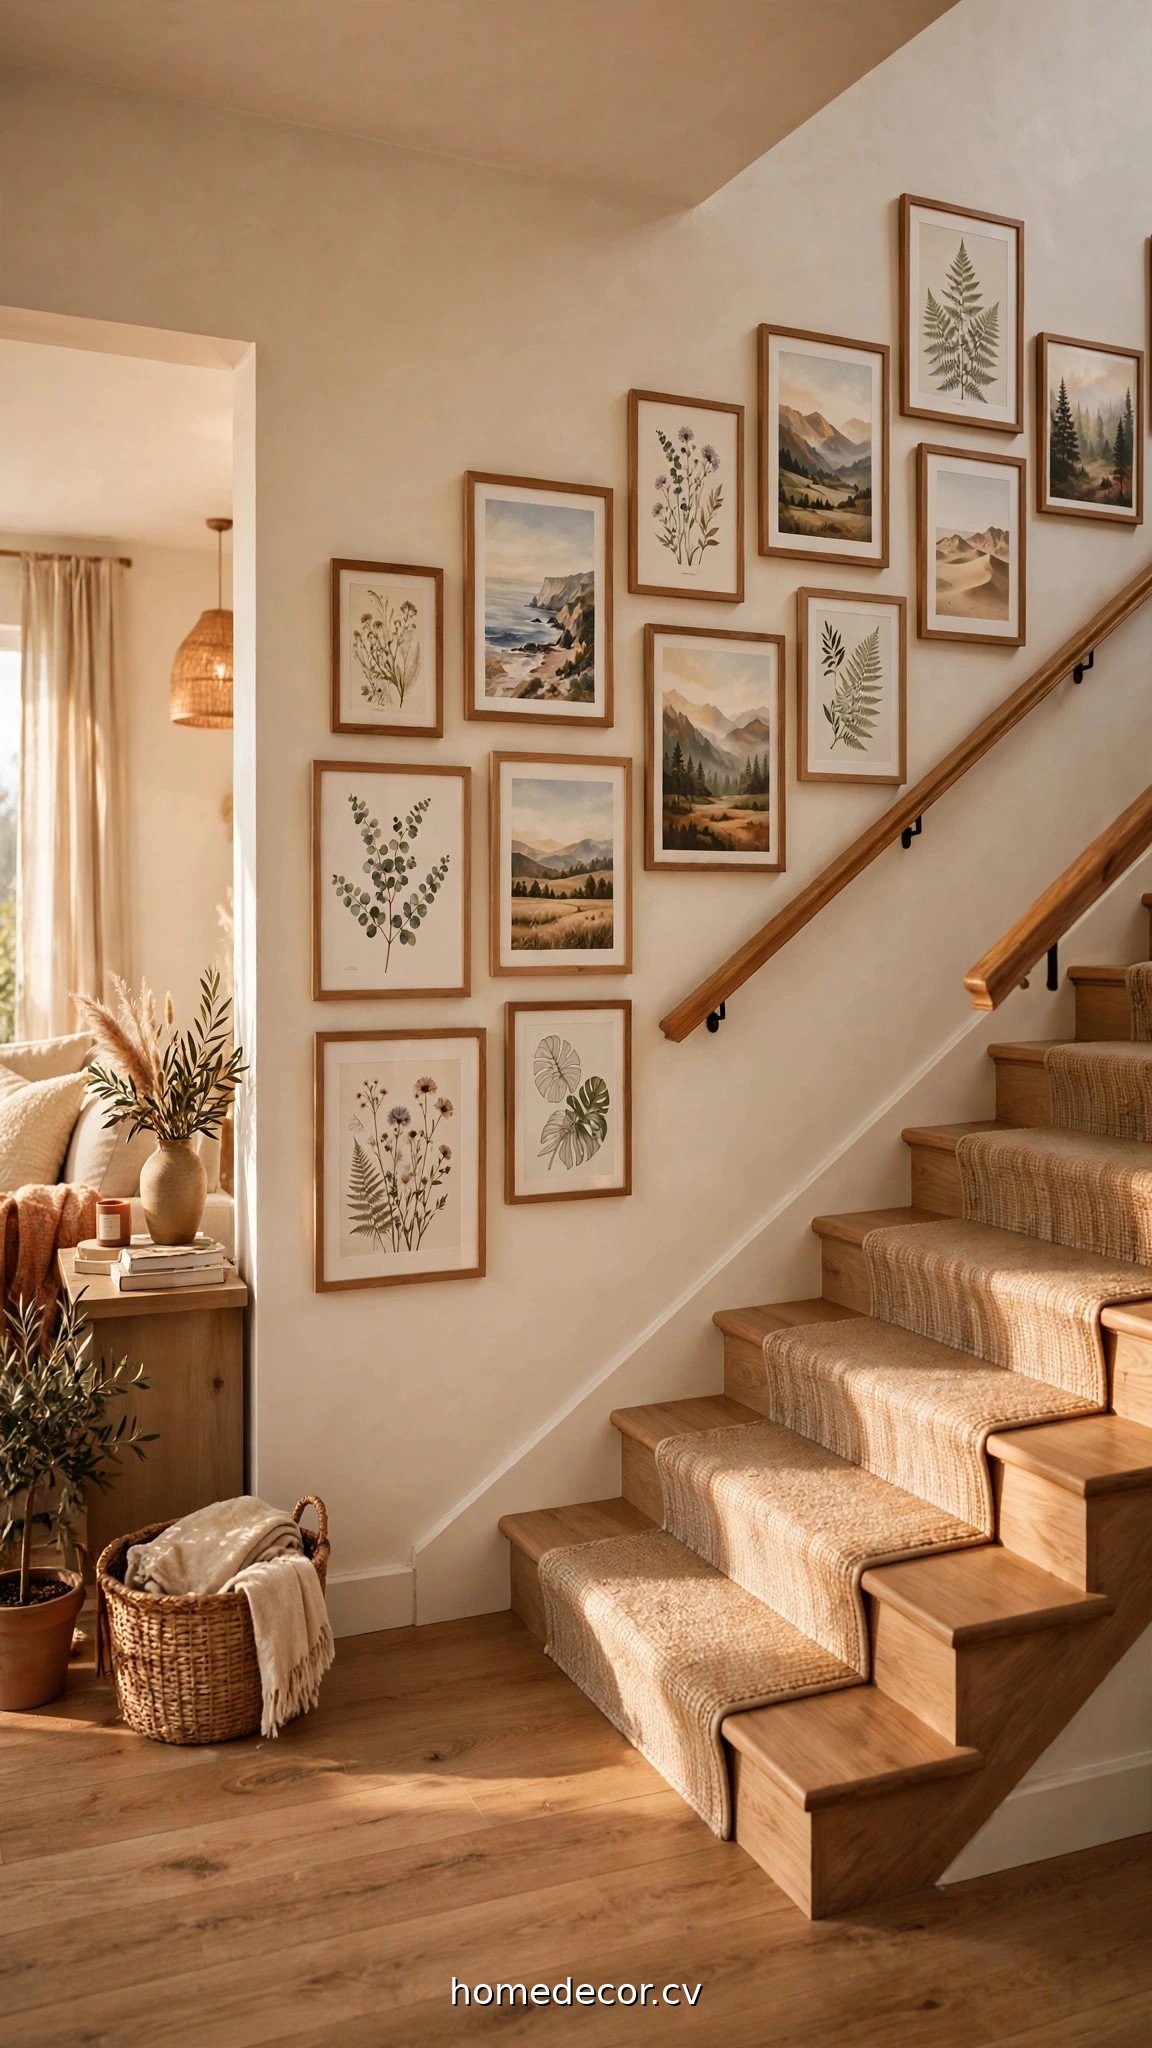
Blank walls aren’t always conveniently above the sofa. These ideas handle the awkward ones.
12. The stairway climb
Hang frames following the staircase angle, keeping the center of each frame about 60 inches above its step. It turns a forgotten passage into the most interesting wall in the house.
Tip: Start at the bottom of the stairs and work up — it’s easier to judge spacing going up than down.
13. Around the TV
Flank the television with frames on both sides and one row above. The TV becomes just another rectangle in the composition instead of a black hole on the wall. Use simpler art near the screen so the eye isn’t fighting the movie.
Tip: Keep frames at least 4 inches from the TV’s edge so the screen feels framed, not crowded.
14. The hallway gallery
A long hallway is a gallery waiting to happen. Hang a single row of same-size frames at eye level down one side — it draws the eye forward and makes the hallway feel like a destination instead of a tunnel.
Tip: In narrow hallways, use frames no deeper than 1.5 inches so shoulders never clip them.
Renter-Friendly Hanging Without Nails
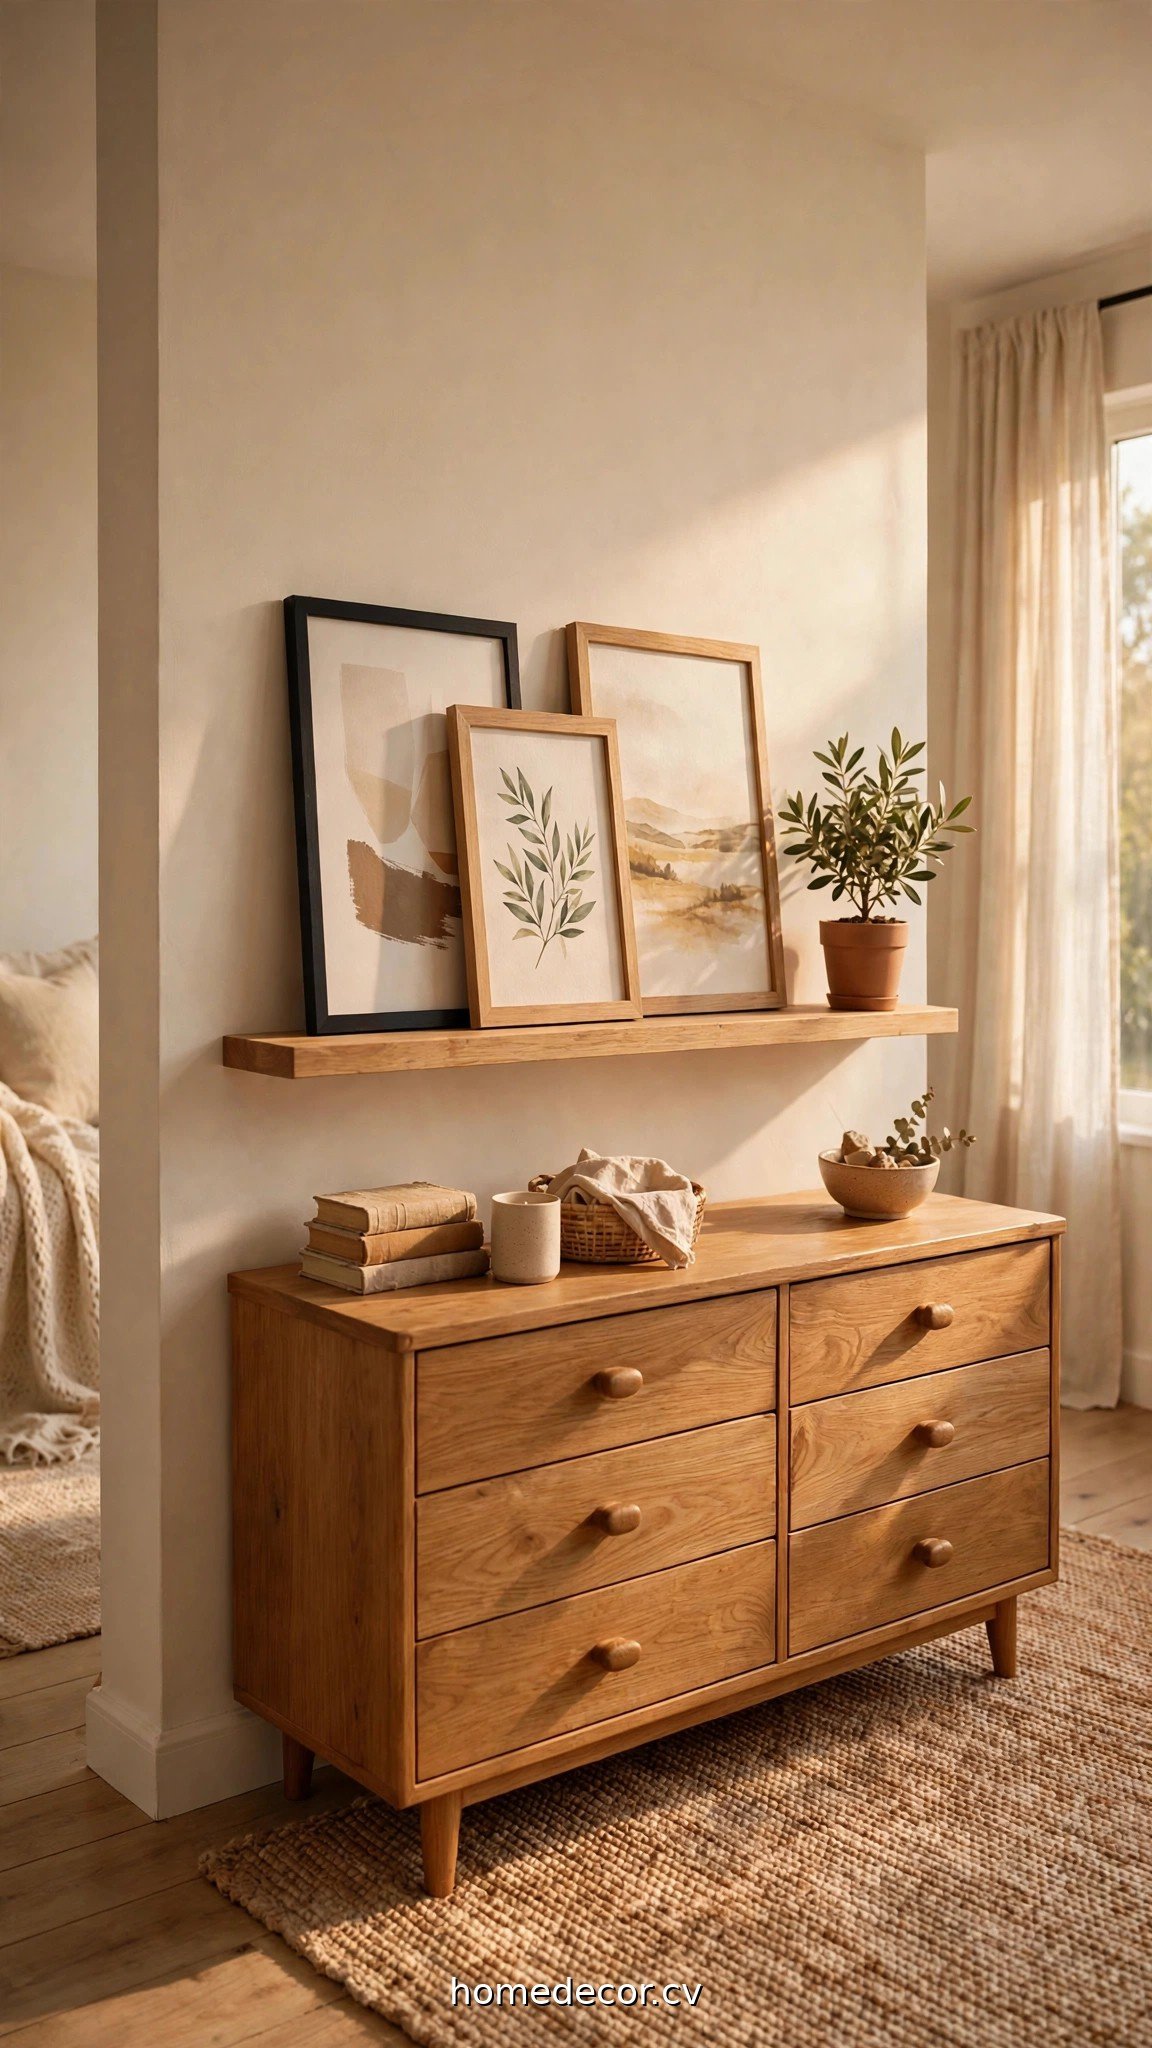
Renting doesn’t mean living with blank walls. These gallery wall ideas leave zero holes behind.
15. Adhesive picture-hanging strips
Interlocking adhesive strips hold frames up to 16 pounds and remove cleanly with a pull tab. Use two sets per frame for anything over 8×10, press firmly for 30 seconds, and wait an hour before hanging.
Tip: They grip best on smooth painted walls — skip them on brick or heavily textured plaster.
16. The leaning ledge (no nails at all)
A freestanding picture ledge propped on a console, dresser, or mantel needs zero wall attachment. Lean frames in overlapping layers — tallest at the back — for an artful, casual display you can restyle in minutes.
Tip: Put museum putty under the front edge of each frame so they can’t slide forward.
17. Washi tape “frames”
For the truly commitment-phobic: arrange prints directly on the wall and frame them with strips of washi tape in a color that pops. It reads as playful and graphic, costs almost nothing, and peels off without a trace.
Tip: Use a level and light pencil marks first — tape lines magnify every crooked edge.
Keep Exploring
Love these ideas? Here are a few more you might enjoy:
- 20 Hallway Decor Ideas That Work in Narrow Spaces
- 21 Small Living Room Ideas That Feel Twice the Size
- 25 Entryway Table Decor Ideas for Small Hallways
Frequently Asked Questions
How far apart should gallery wall frames be?
Keep 2–3 inches between frames, measured edge to edge, and stay consistent across the whole wall. Two inches feels modern and tight; three inches feels relaxed and airy.
How high should I hang a gallery wall?
Center the arrangement (or the center frame) at 57–60 inches from the floor — average eye level. Above furniture, leave 6–8 inches between the furniture top and the lowest frame.
Can I mix different frame sizes?
Yes — mixing sizes is what makes salon-style walls interesting. The rule is to limit yourself to two frame finishes and keep spacing consistent; size variety is welcome.
What’s the easiest gallery wall for a total beginner?
The 3×3 grid with nine identical frames. There’s almost no way to get it wrong: same frames, same spacing, one simple shape. Use the paper-template trick once and you’ll hang it in under an hour.
Your Wall Is Ready
Here’s the thing nobody tells beginners: gallery walls are forgiving. Frames can move, art can swap, and the paper-template trick means you commit to nothing until it looks right. Start with the grid or the ledge this weekend, and that blank wall will be your favorite spot in the house by Sunday night.
Want more ways to dress your walls? Browse our Wall Decor & Gallery Walls category for mirror arrangements, oversized art ideas, and shelf styling guides.