Introduction
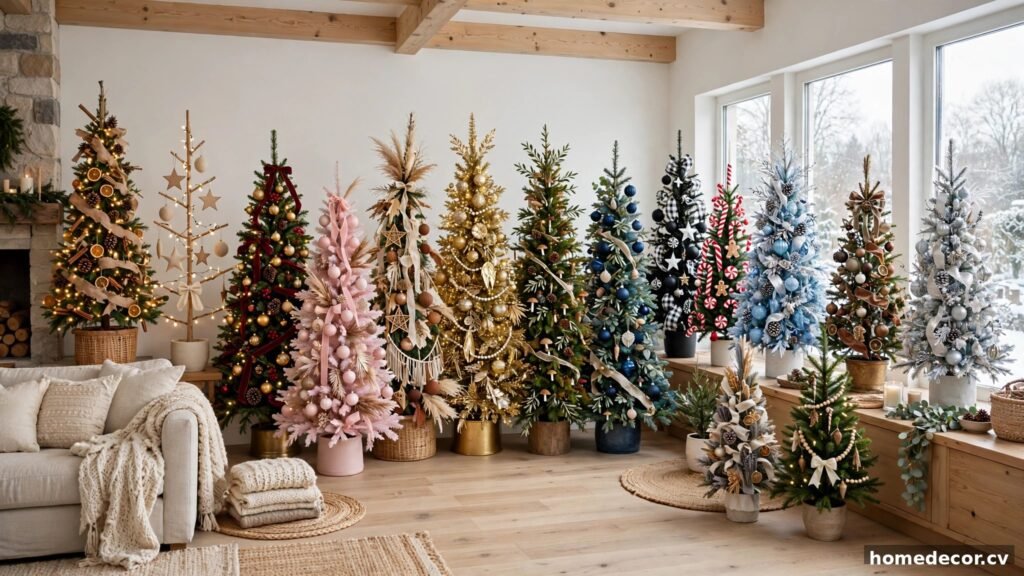
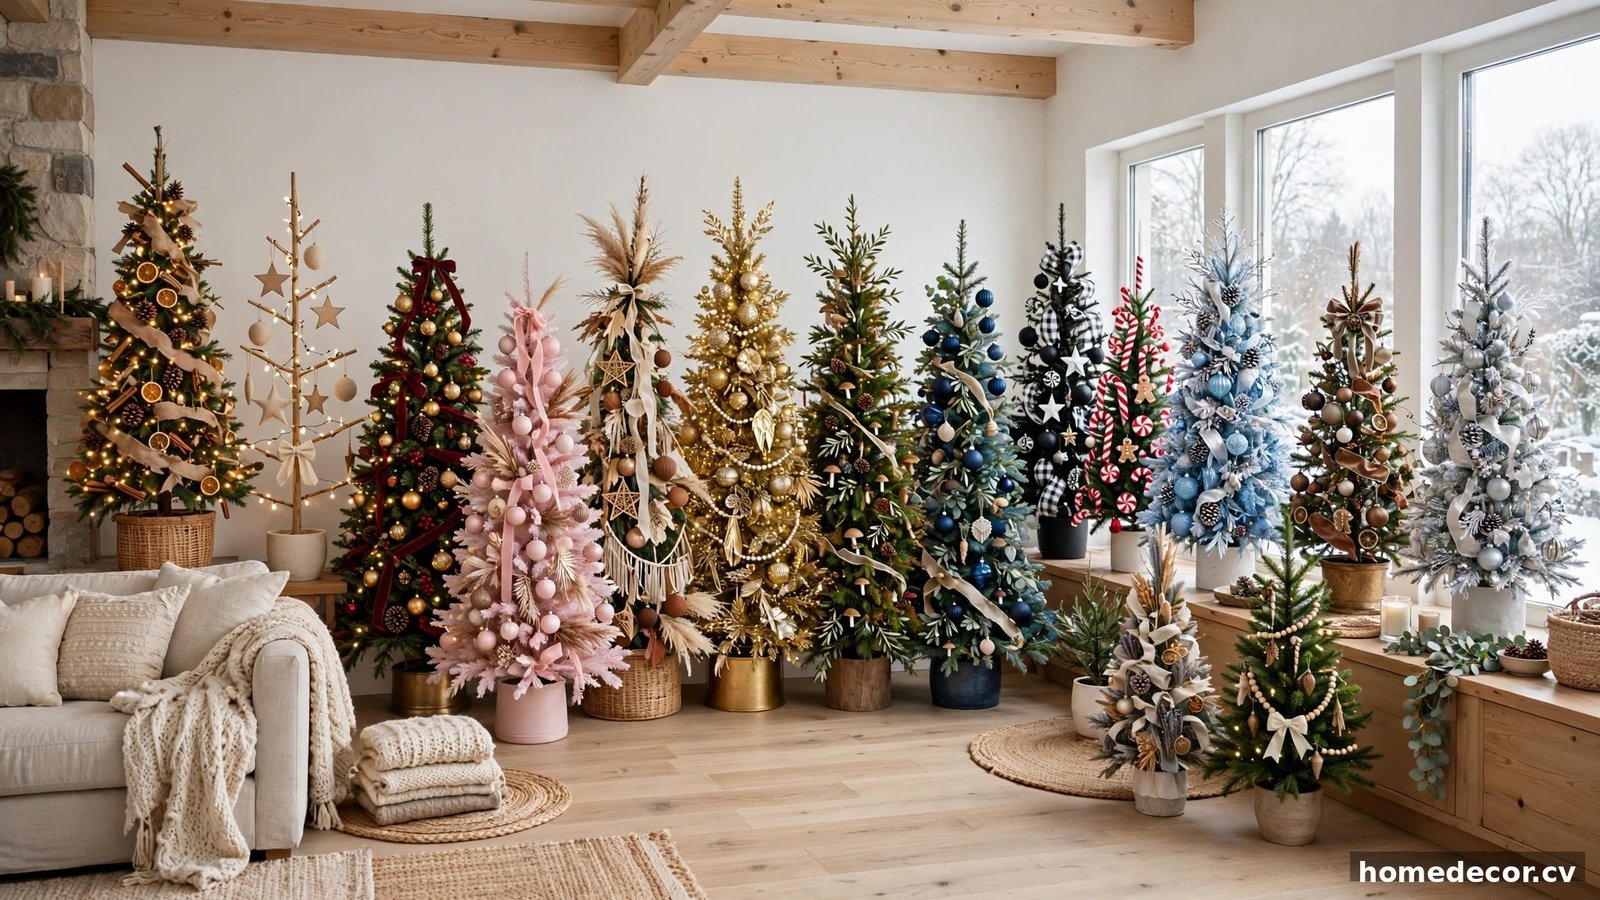
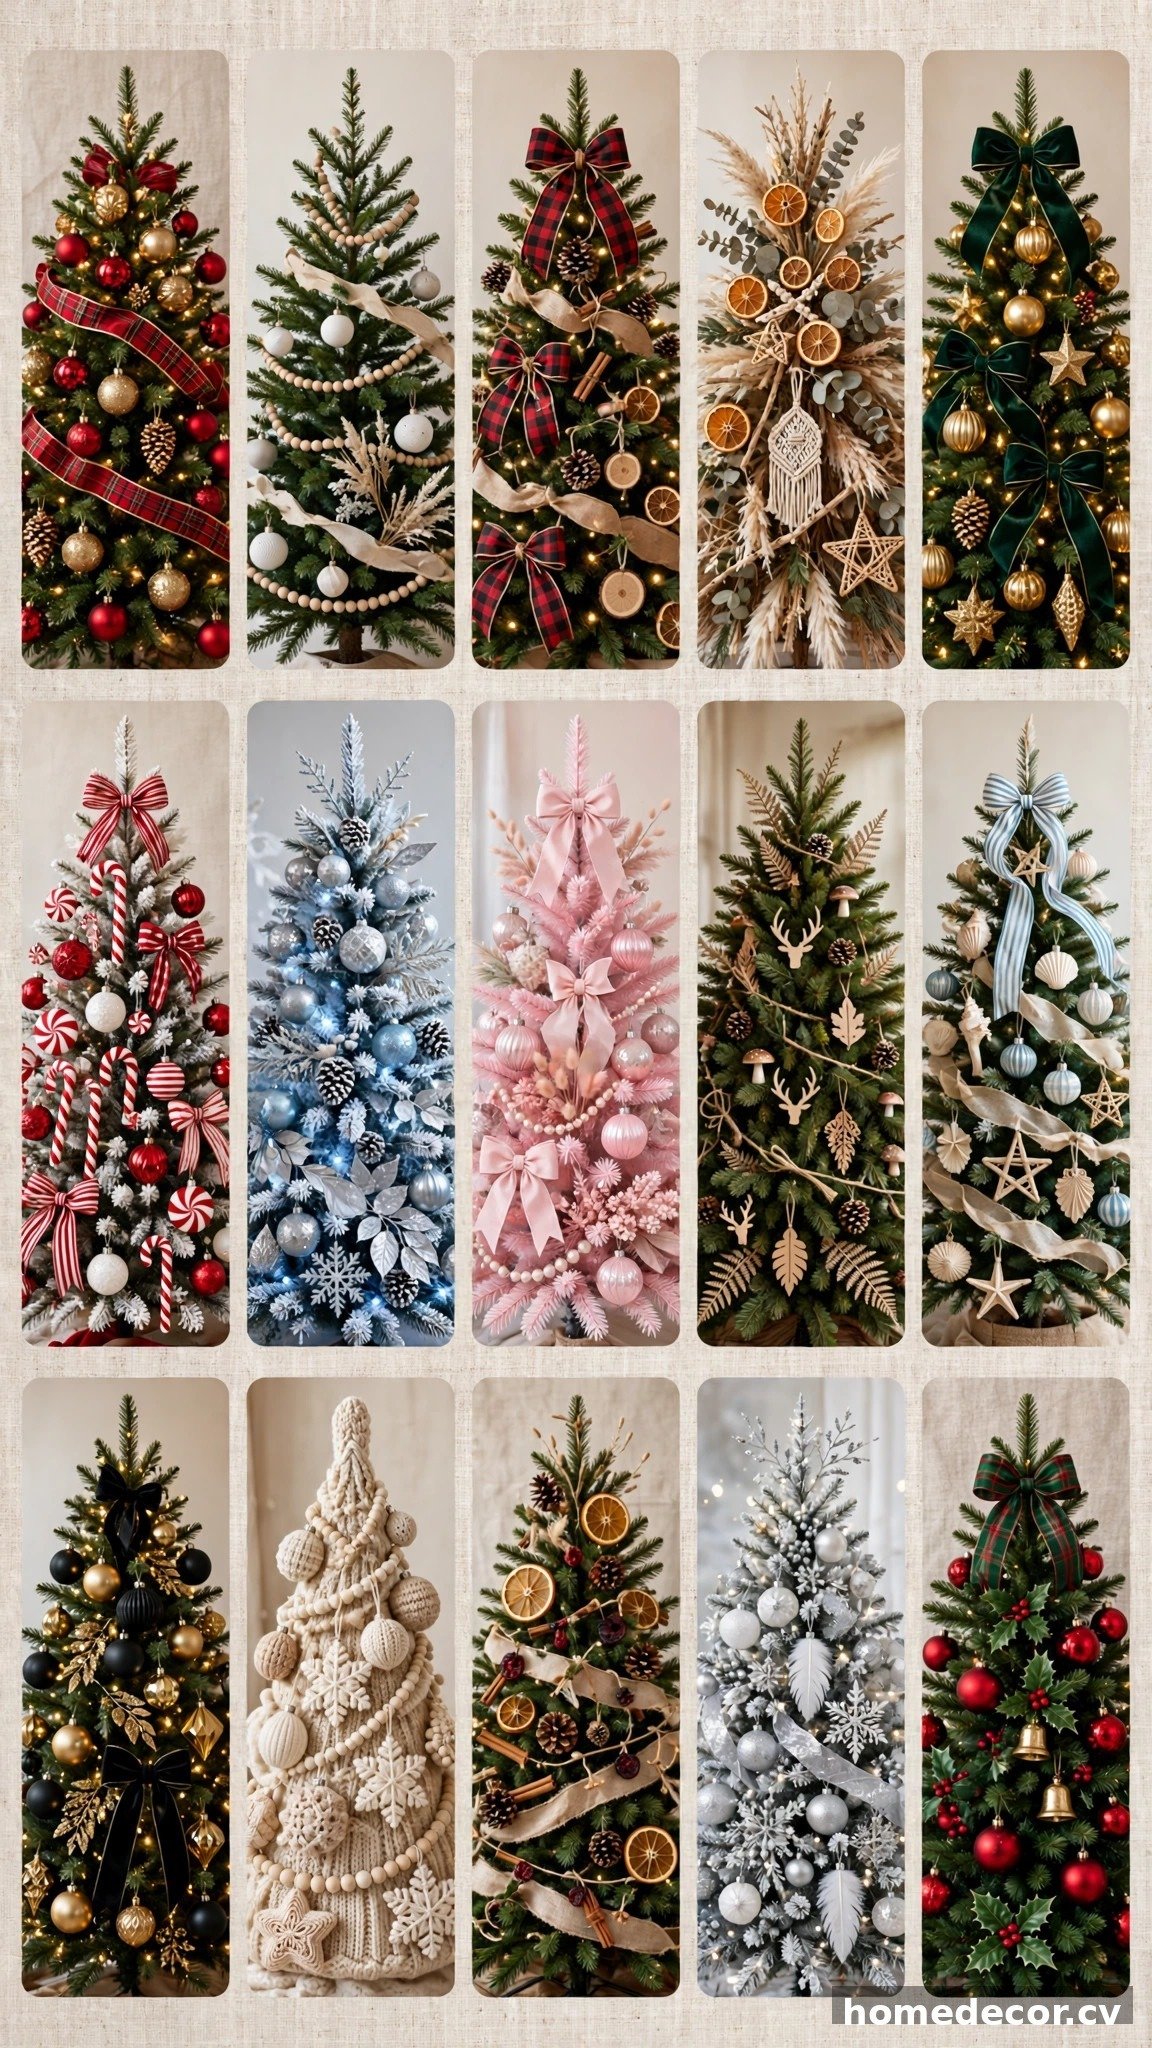
Your Christmas tree is the heart of your holiday decor, and the right styling turns it from simple to spectacular. These 15 christmas tree decorating ideas cover every style — classic red and gold, cozy farmhouse, modern minimalist, and glam metallic — with practical tips you can copy this weekend.
Idea 1: Flock Your Tree for a Snowy Look
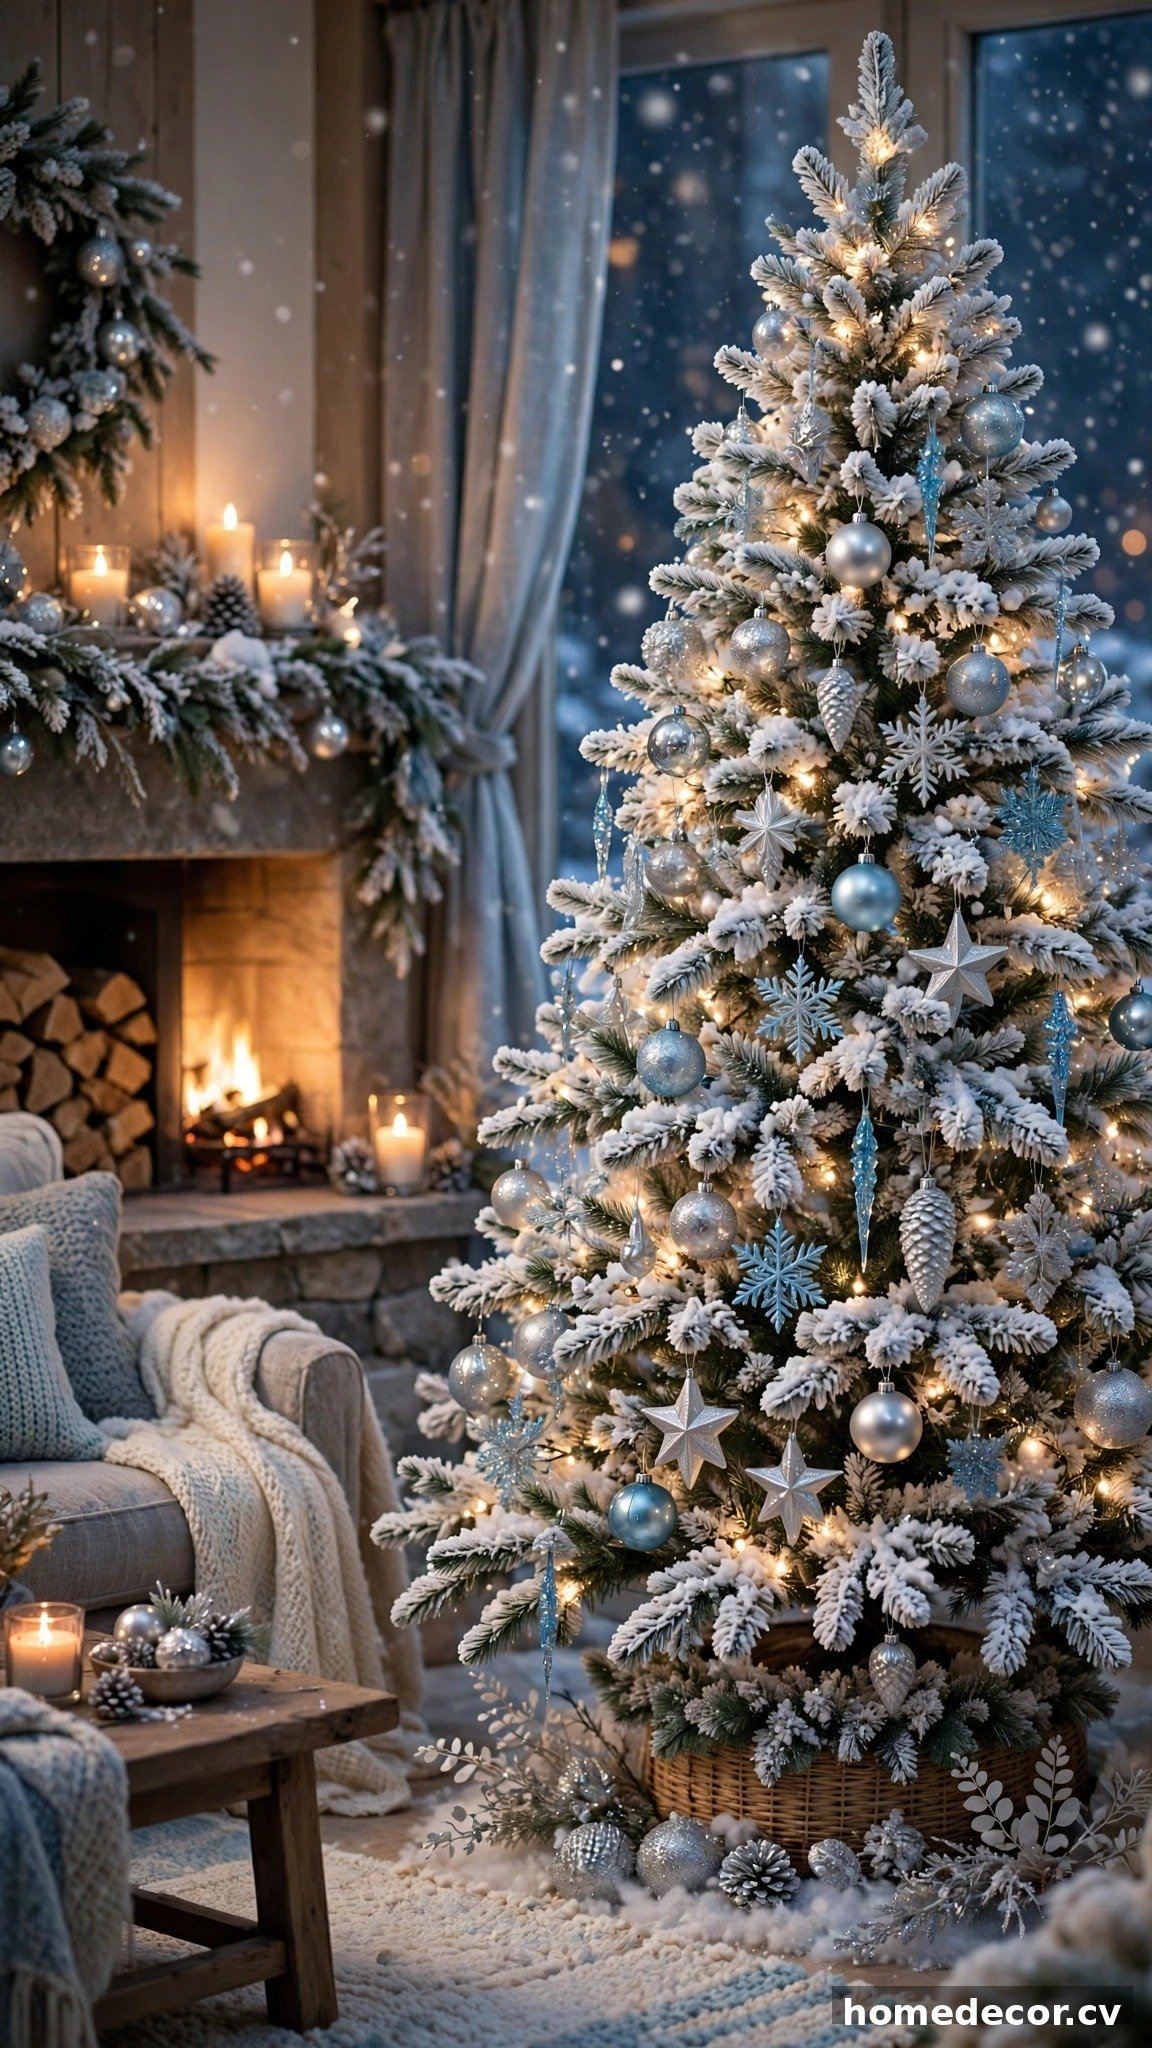
Flocking transforms an ordinary green tree into a winter wonderland centerpiece, and you can buy a pre-flocked tree or add flocking yourself with a spray kit. If you go the DIY route, work outdoors or in a well-ventilated garage, wear a dust mask, and mist the branches in light layers so the flock clings evenly without clumping. Start at the top and work downward, stepping back every few minutes to check coverage and fill in any bare green patches. Let the flocking dry completely overnight before you decorate so ornaments do not stick to wet spots. A light flock looks elegant and natural, while heavy flocking gives a dramatic snowed-in effect.
Once your tree is flocked, keep the rest of the decor simple so the snowy branches stay the star of the show. Icy blue, silver, and white ornaments look stunning against the white flock, and warm white lights glowing through the frosted branches create an unforgettable evening glow. Add a few clear glass baubles for sparkle, and drape a sheer silver ribbon loosely around the tree instead of a heavy garland. A faux fur tree skirt at the base ties the whole snowy theme together beautifully. If you have kids or pets, place delicate glass ornaments higher up and use shatterproof ones near the bottom for safety.
I spend far too much time saving home ideas.
If you'd like the best ones, I'll send a short email once or twice a month.
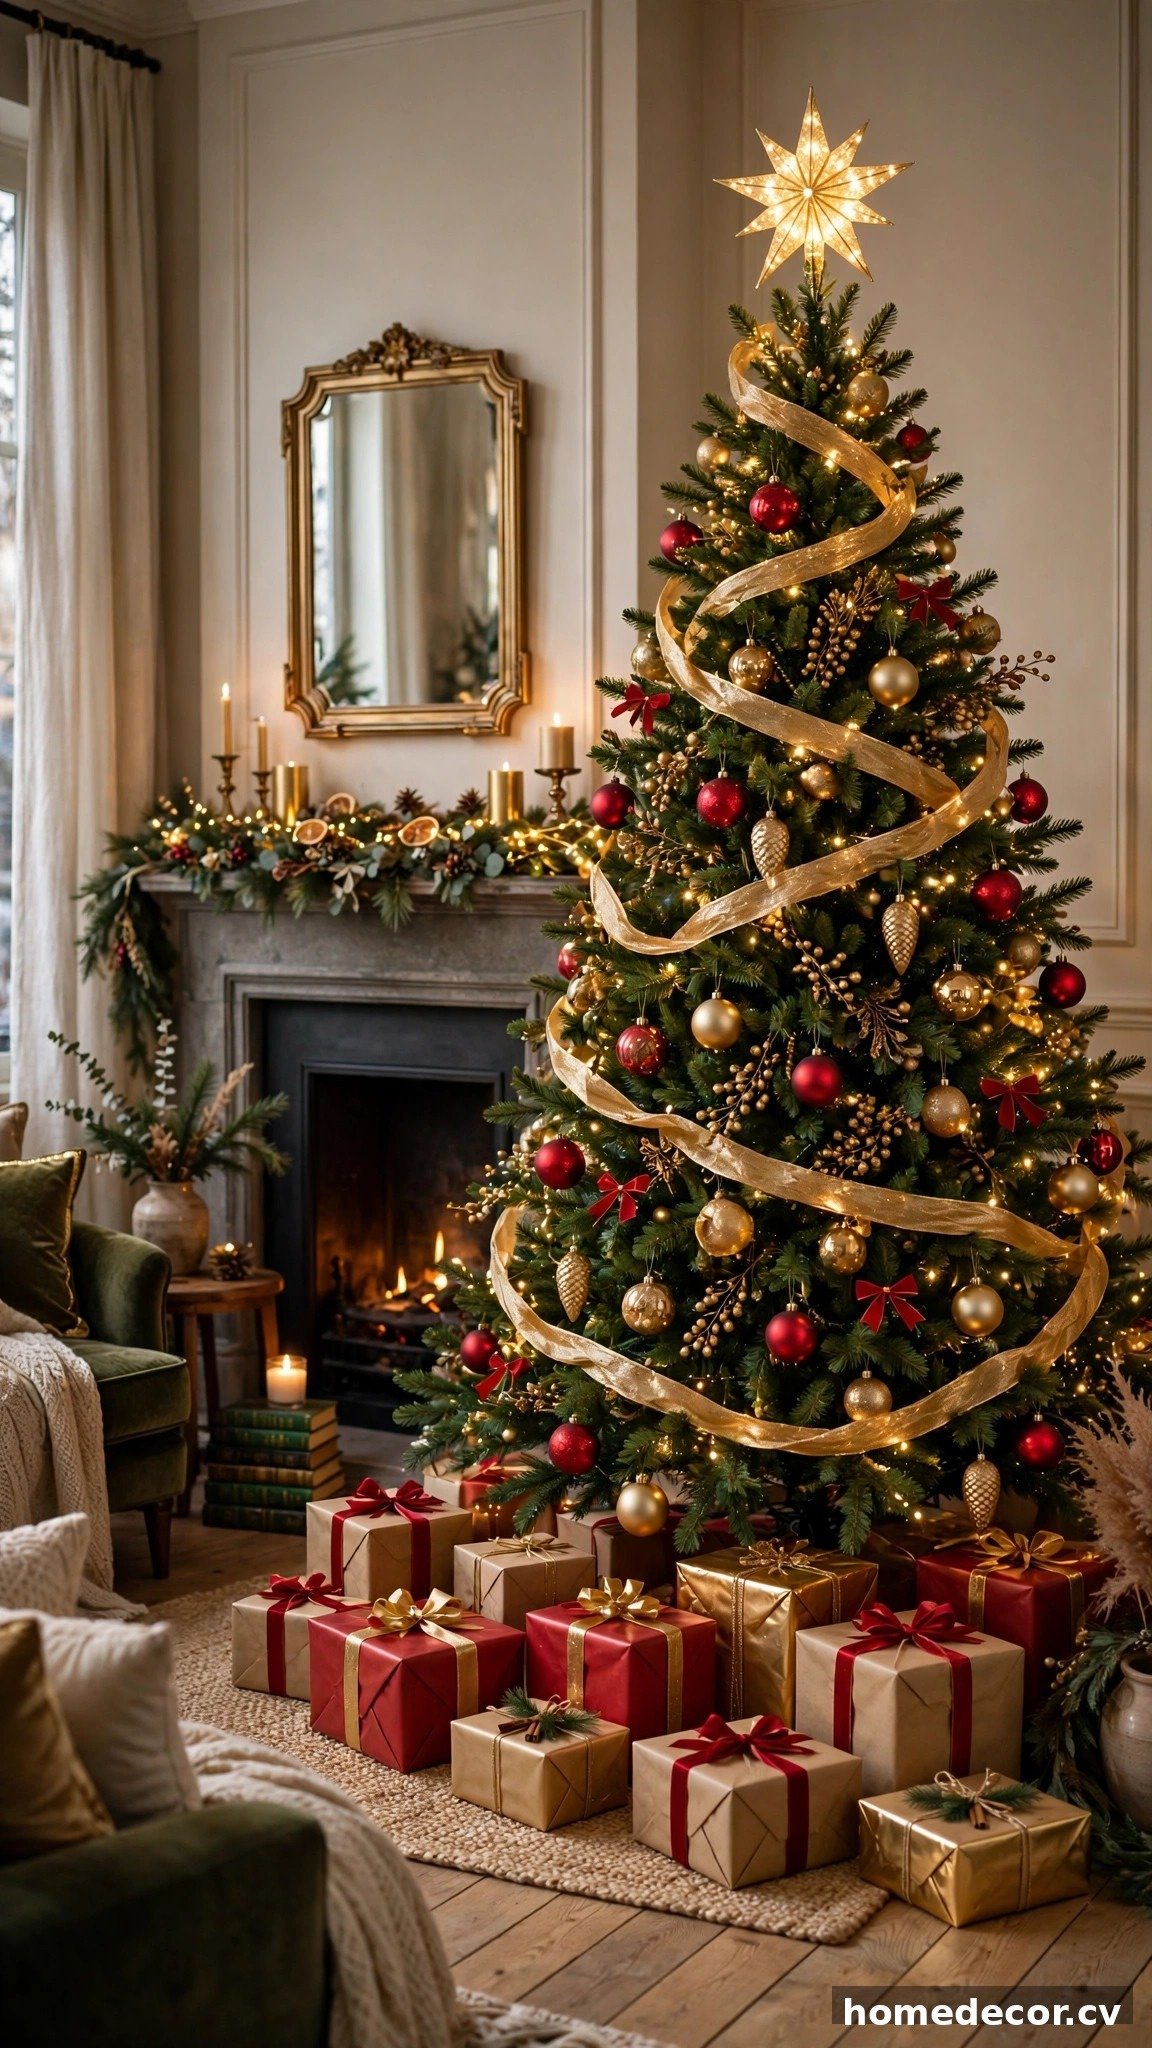
Idea 2: Go Classic with Red and Gold
The red and gold combination never goes out of style because it feels instantly festive and works with nearly any living room decor. Start by stringing warm white lights evenly through the branches, pushing some strands deeper inside the tree so it glows from within rather than just on the surface. Next, hang your largest ornaments first, tucking some deep into the branches and placing others near the tips to create depth and dimension. Fill gaps with medium-sized red and gold baubles, alternating colors so the eye travels smoothly around the tree. Finish with gold ribbon or beaded garland draped in gentle swags from top to bottom.
To keep this classic look fresh instead of dated, mix ornament finishes — glossy, matte, and glittered pieces side by side add richness that flat matching sets lack. Add a few cream or champagne accents to soften the contrast between the red and gold, especially in rooms with neutral walls. A red tree skirt with gold trim, or a simple woven basket at the base, grounds the whole arrangement beautifully. For the finishing touch, choose a glowing star or an elegant angel topper that matches your metallic tones. This timeless palette also photographs wonderfully, making your tree the perfect backdrop for holiday family photos every single year.
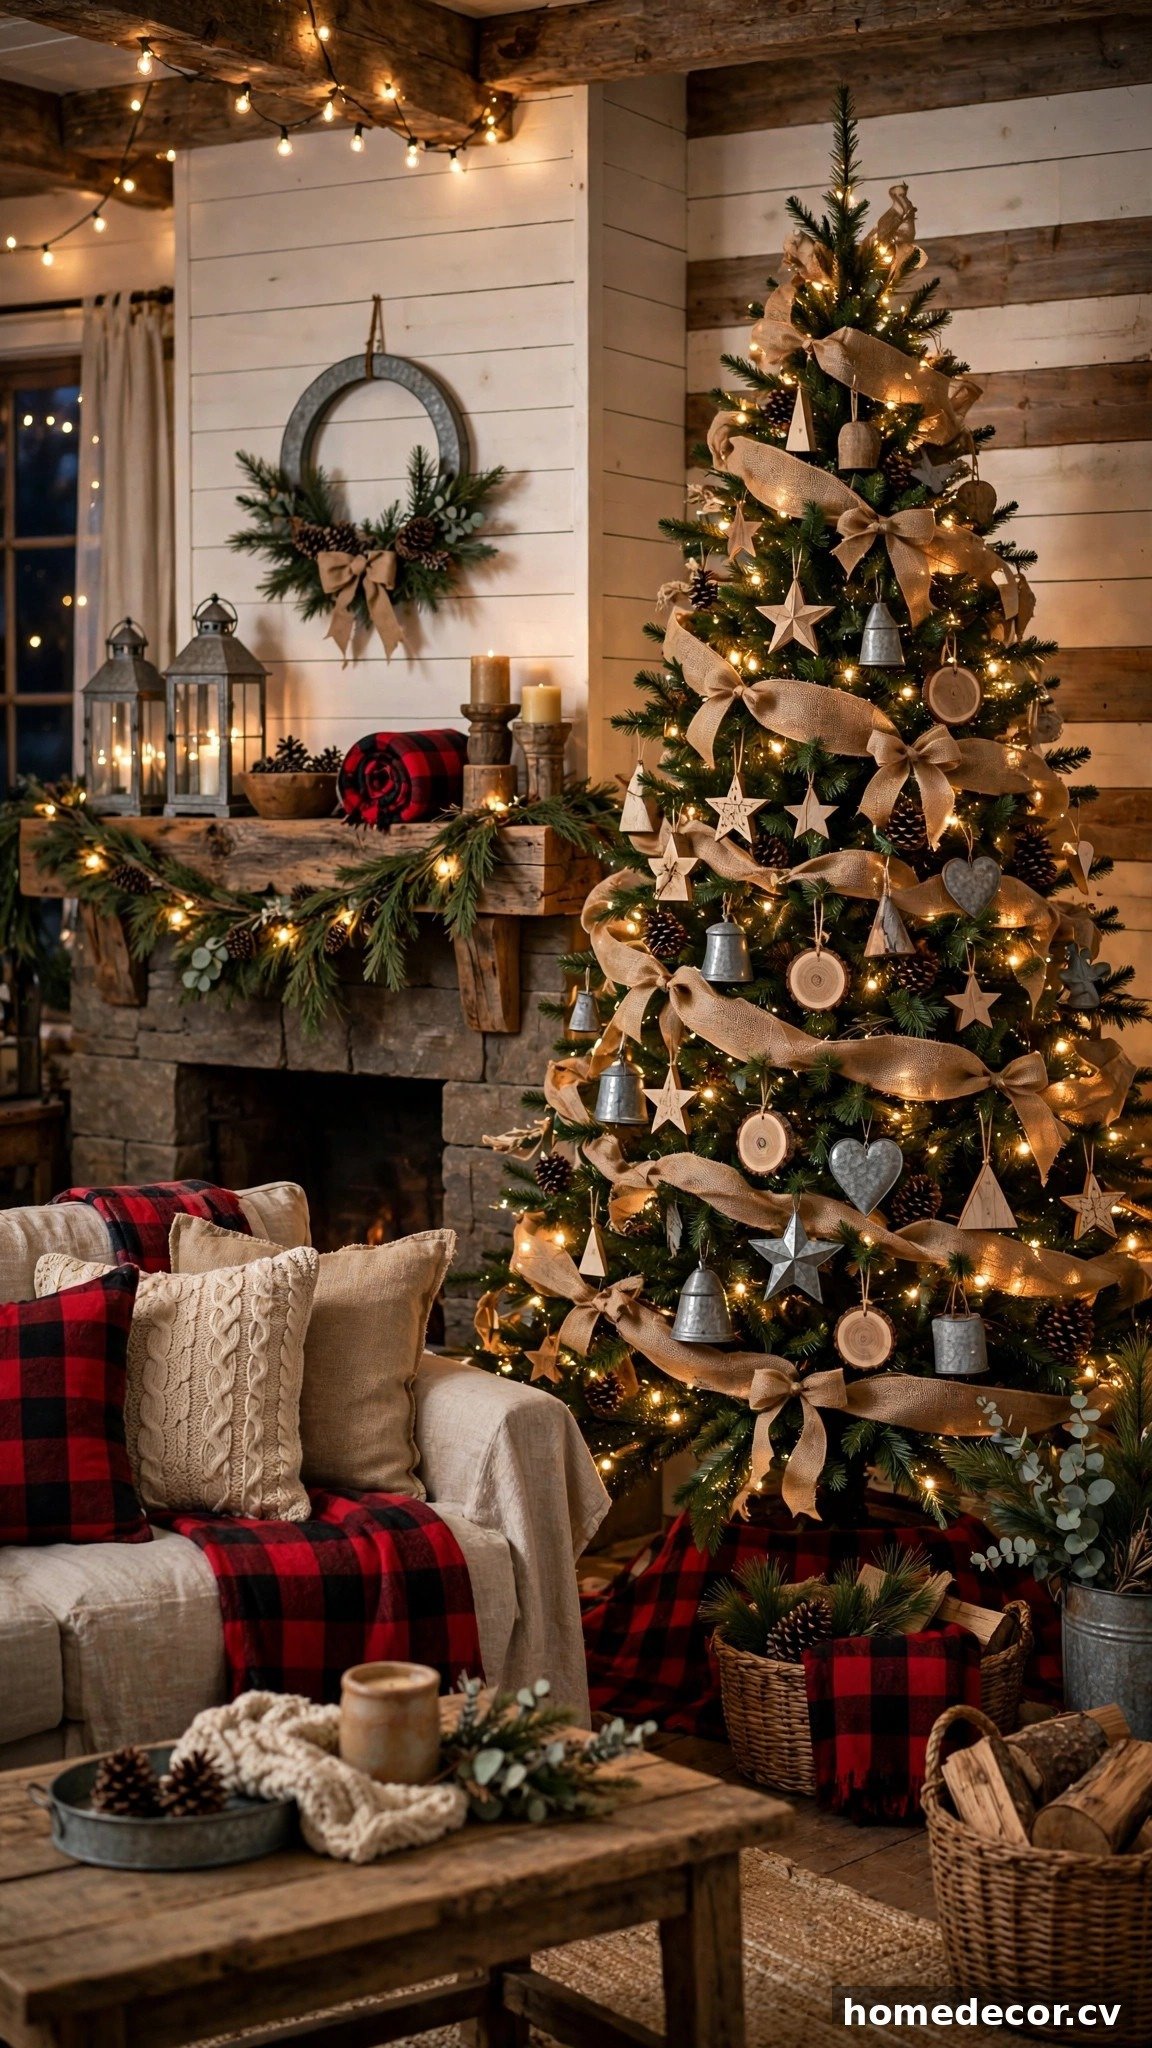
Idea 3: Create a Farmhouse Rustic Tree
A farmhouse Christmas tree is all about cozy textures and handmade charm, and it is wonderfully budget friendly since many decorations can come from nature or your craft drawer. Begin with warm white lights, then add wide burlap ribbon or buffalo check ribbon in loose loops around the tree for that signature rustic feel. Hang wooden ornaments, galvanized metal stars, and pinecones collected from your yard for an authentic touch that costs almost nothing. Dried orange slices and cinnamon sticks tied with twine add both beauty and a gorgeous holiday scent. Keep the color palette tight — creams, browns, deep reds, and greens — so the tree looks curated rather than cluttered.
The secret to nailing the farmhouse look is mixing rough natural textures with a few soft cozy elements. Tuck small sprigs of faux greenery or eucalyptus deeper into the branches to make the tree look fuller and more organic. A galvanized metal tree collar or a wooden crate as the tree base instantly signals the rustic theme before anyone even notices the ornaments. Top the tree with a simple burlap bow or a wooden star instead of a glittery traditional topper. If your home already leans modern farmhouse, this tree will blend seamlessly with your everyday decor and transition beautifully into January with just the ornaments removed.
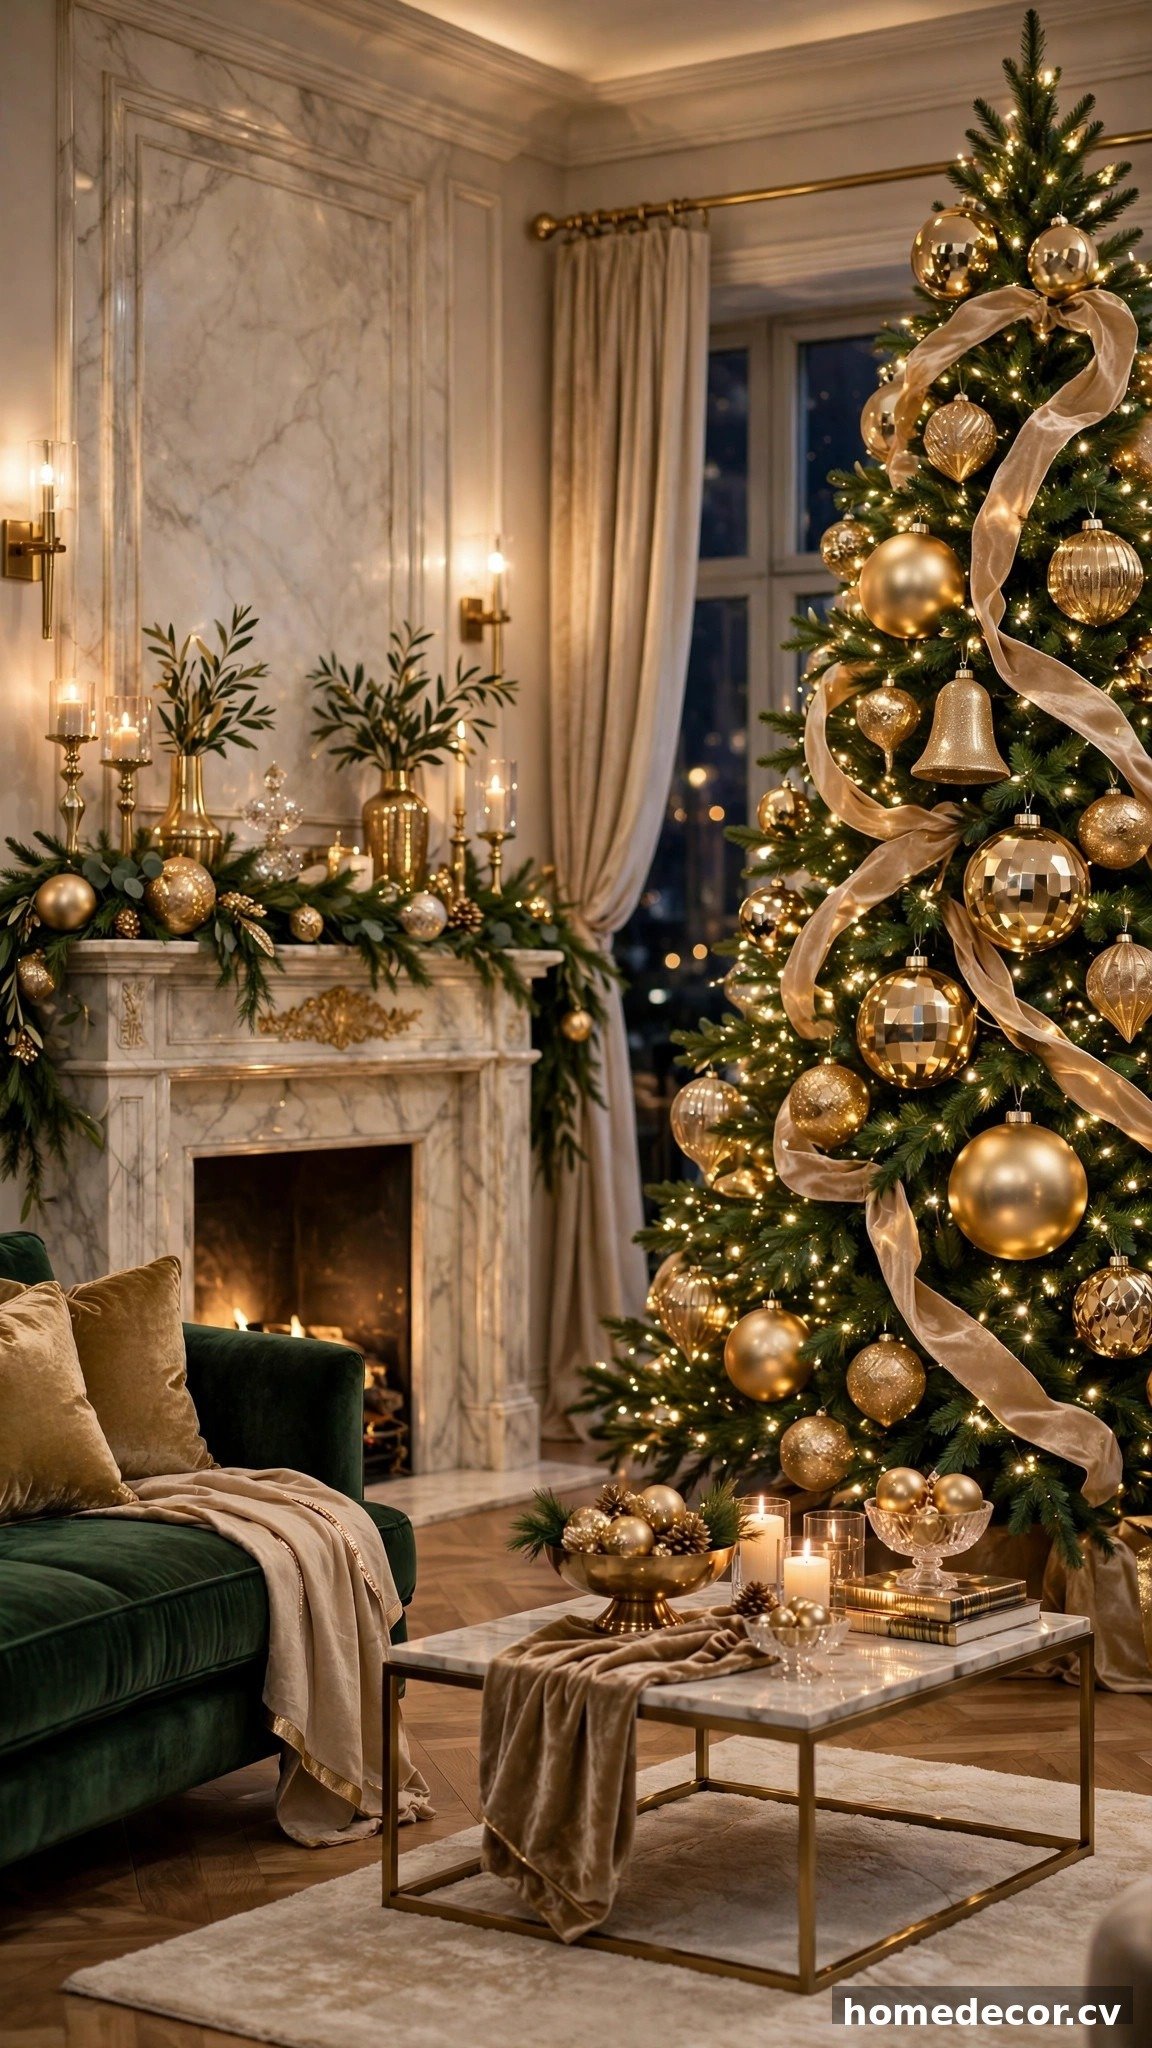
Idea 4: Use Oversized Statement Ornaments
Oversized ornaments are the fastest shortcut to a designer-looking tree because a handful of large pieces fills visual space that dozens of small baubles would need. Choose ornaments at least four to six inches across and hang them first, spacing them evenly around the tree with some tucked deep inside the branches for depth. Large matte balls in champagne, gold, or deep jewel tones create a luxurious base layer that makes everything else you add look more expensive. Because statement ornaments do so much visual work, you can actually use fewer total decorations and still achieve a full, lush appearance. This approach also saves serious decorating time on busy holiday weekends.
Balance is everything when working with oversized pieces, so mix your large ornaments with medium and small ones to keep the tree from looking sparse or top-heavy. Place the biggest ornaments on the lower two-thirds of the tree where the branches are strongest, and reserve the top for lighter, smaller pieces that will not weigh branches down. Add one dramatic element like oversized poinsettia picks or large floral sprays to fill any remaining gaps with color and texture. Step back every few ornaments to check the overall balance from across the room rather than up close. The result is a tree that looks professionally styled with surprisingly little effort.
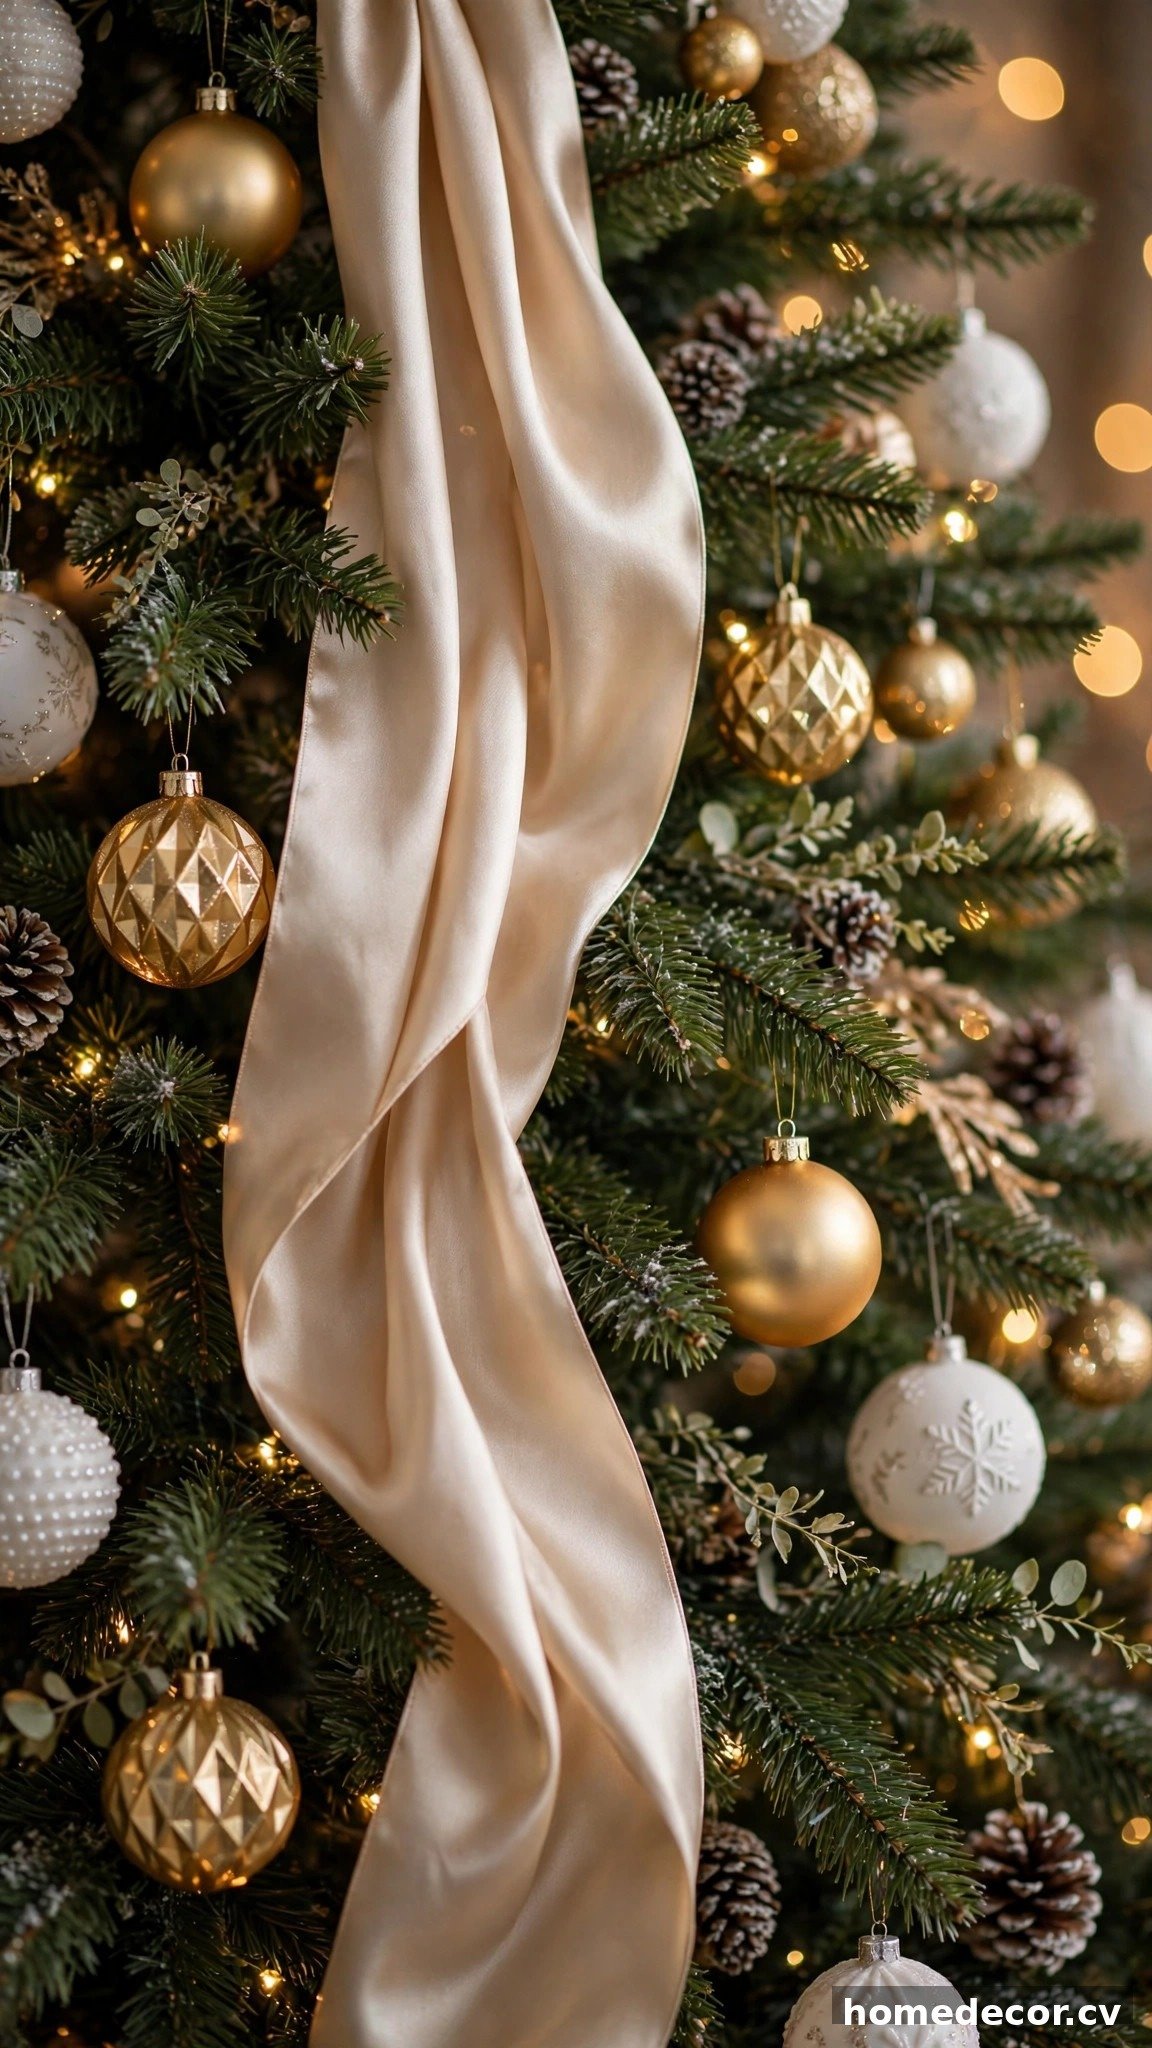
Idea 5: Cascade Wide Ribbon Down the Branches
Ribbon is the secret weapon of professional tree decorators because it adds color, movement, and fullness in one simple step. Choose a wide wired ribbon — at least two and a half inches — since wired edges hold their shape beautifully all season long. Cut the ribbon into manageable lengths of about two feet each, then tuck one end deep into the branches near the top and let each piece cascade downward in a gentle wave. Angle the ribbon pieces slightly so they spiral naturally around the tree rather than hanging in stiff straight lines. Three to four complementary ribbon patterns, like a solid paired with a subtle metallic print, create a rich layered look.
The biggest ribbon mistake is wrapping it tightly around the tree like a maypole, which flattens the branches and looks dated. Instead, think of the ribbon as water flowing down the tree — it should dip in and out of the branches, disappearing and reappearing for a natural, effortless effect. Secure each tucked section with a small piece of floral wire or a branch twist so curious pets and toddlers cannot pull the whole cascade down. For extra polish, coordinate your ribbon with your tree topper and tree skirt so the entire tree feels intentionally designed. When the holidays end, simply untuck the ribbon pieces and store them flat for next year.
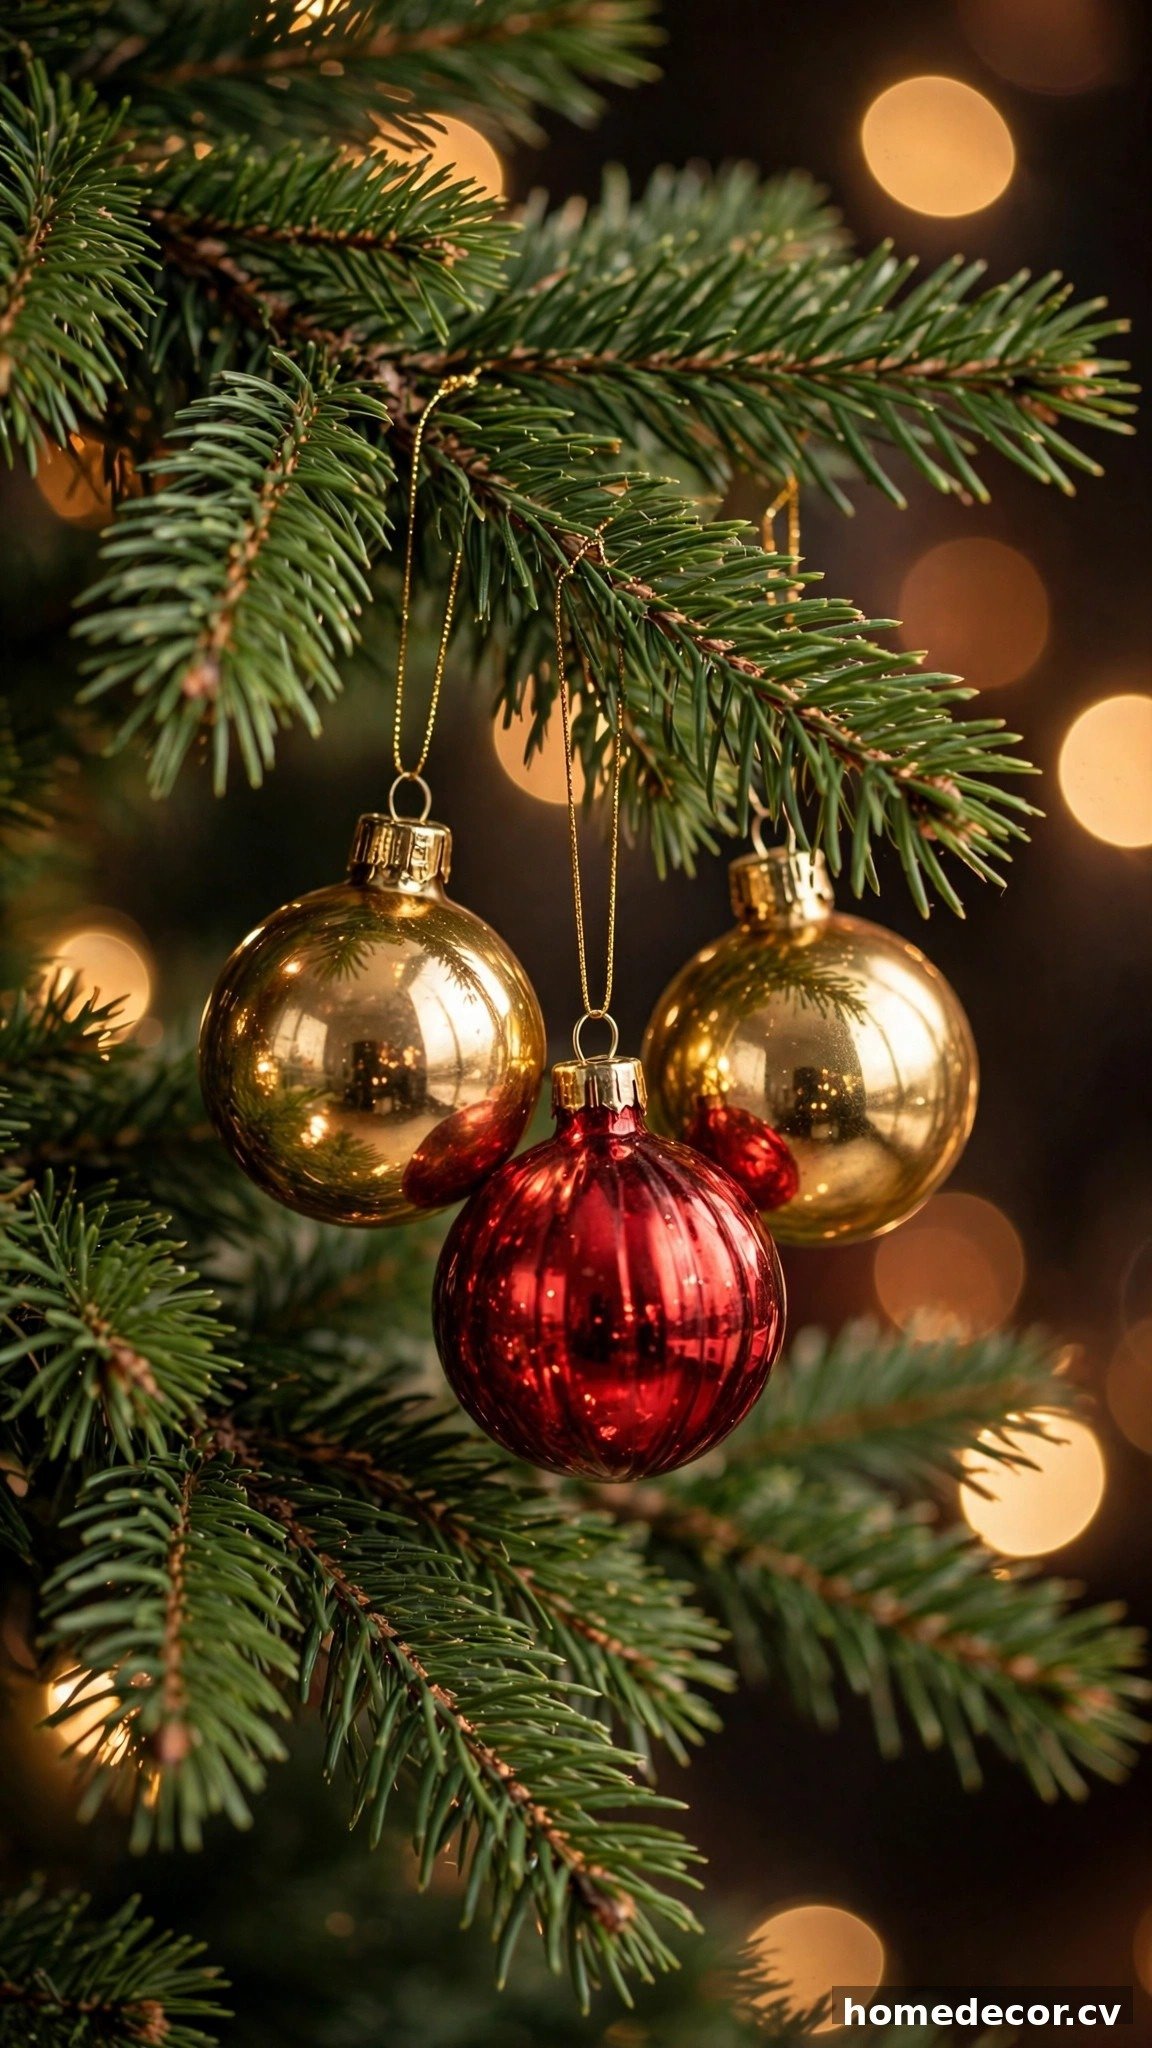
Idea 6: Cluster Ornaments in Threes
Designers group ornaments in odd-numbered clusters because the human eye finds groups of three more pleasing and natural than evenly spaced singles. Instead of scattering individual baubles randomly, gather three ornaments of varying sizes — one large, one medium, one small — and hang them close together on the same branch tip. Mix finishes within each cluster, such as one glossy, one matte, and one glittered piece, so every grouping catches the light differently. Repeat these trios around the tree at different heights, spacing them about a foot apart so each cluster reads as its own little vignette. This technique instantly makes a tree look professionally styled.
Clustering works with any ornament style, from vintage glass heirlooms to modern minimalist baubles, and it is especially helpful when your collection is smaller than you would like. Place your clusters on the outer third of the branches where they catch the most light and stay visible from across the room. Fill the space between clusters with smaller filler ornaments, pine picks, or sprigs of berries to keep the tree looking full without buying more decorations. As a finishing touch, hang one special cluster near eye level on the front of the tree featuring your most meaningful ornaments. Guests will notice the intentional, curated feel even if they cannot name the technique behind it.
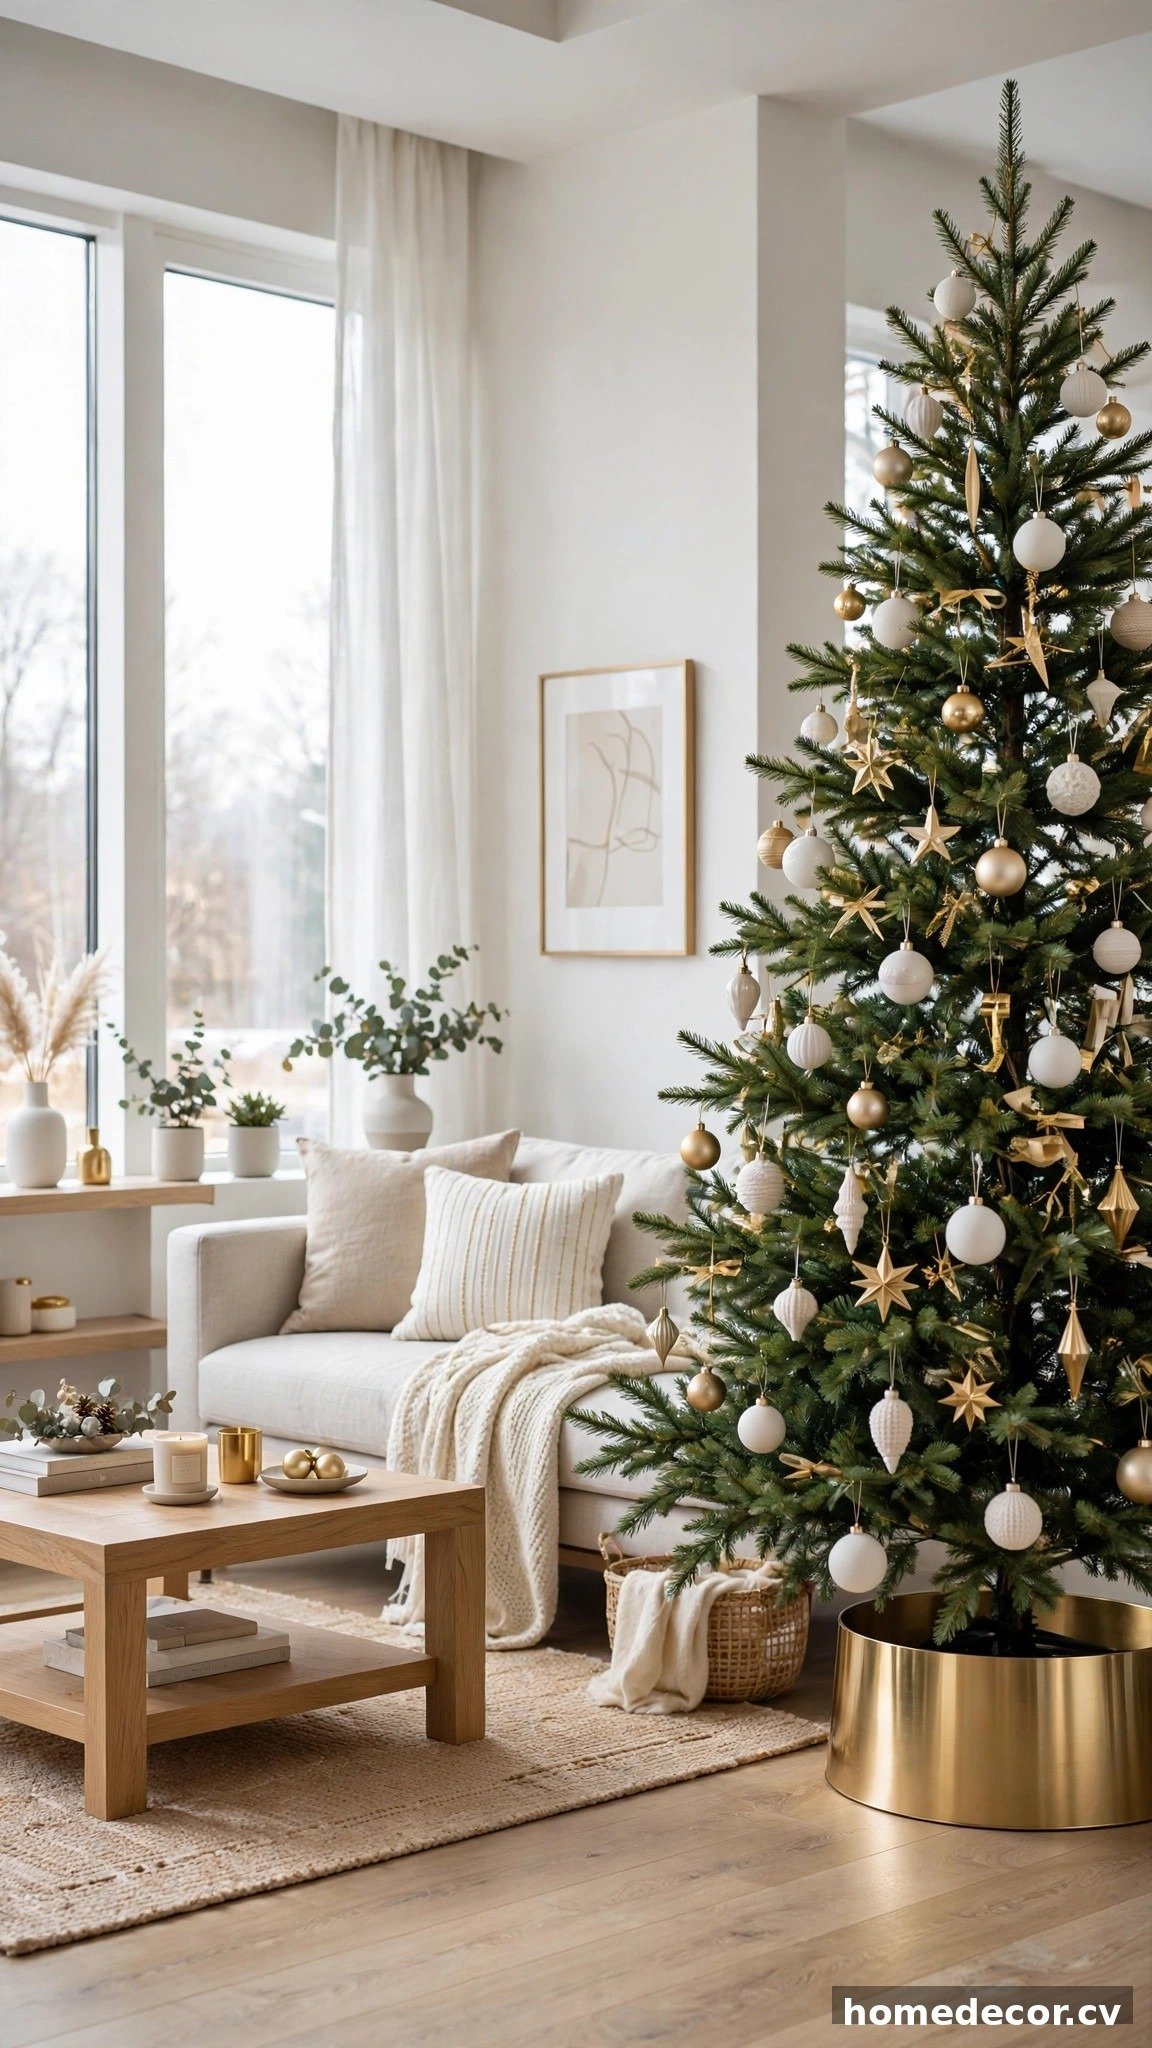
Idea 7: Swap the Tree Skirt for a Modern Collar
A tree collar gives your Christmas tree a clean, modern base that a fabric skirt simply cannot match, and it takes seconds to set up. Unlike skirts that wrinkle, shift, and collect pine needles in their folds, a rigid collar — usually made of metal, wood, or woven rattan — snaps together around the tree stand and stays perfectly in place all season. Measure your tree stand before buying, since collars come in specific diameters and a poor fit looks sloppy. Metal collars in gold, black, or galvanized finishes suit modern and glam trees beautifully, while woven or wooden collars complement rustic and Scandinavian styles. The structured base instantly makes the whole tree look more polished.
One practical bonus of tree collars is that they hide the tree stand completely while leaving the floor around the tree easy to vacuum — no more lifting a heavy skirt to clean up fallen needles. If you have curious pets who love burrowing under the tree, a collar blocks access better than a loose skirt ever could. Style the top edge of the collar with a few small wrapped gifts or a strand of greenery to soften the transition from collar to branches. For renters or anyone short on storage, many collars fold flat or nest inside each other, taking up far less closet space than a bulky skirt. It is a small swap with a surprisingly big visual payoff.
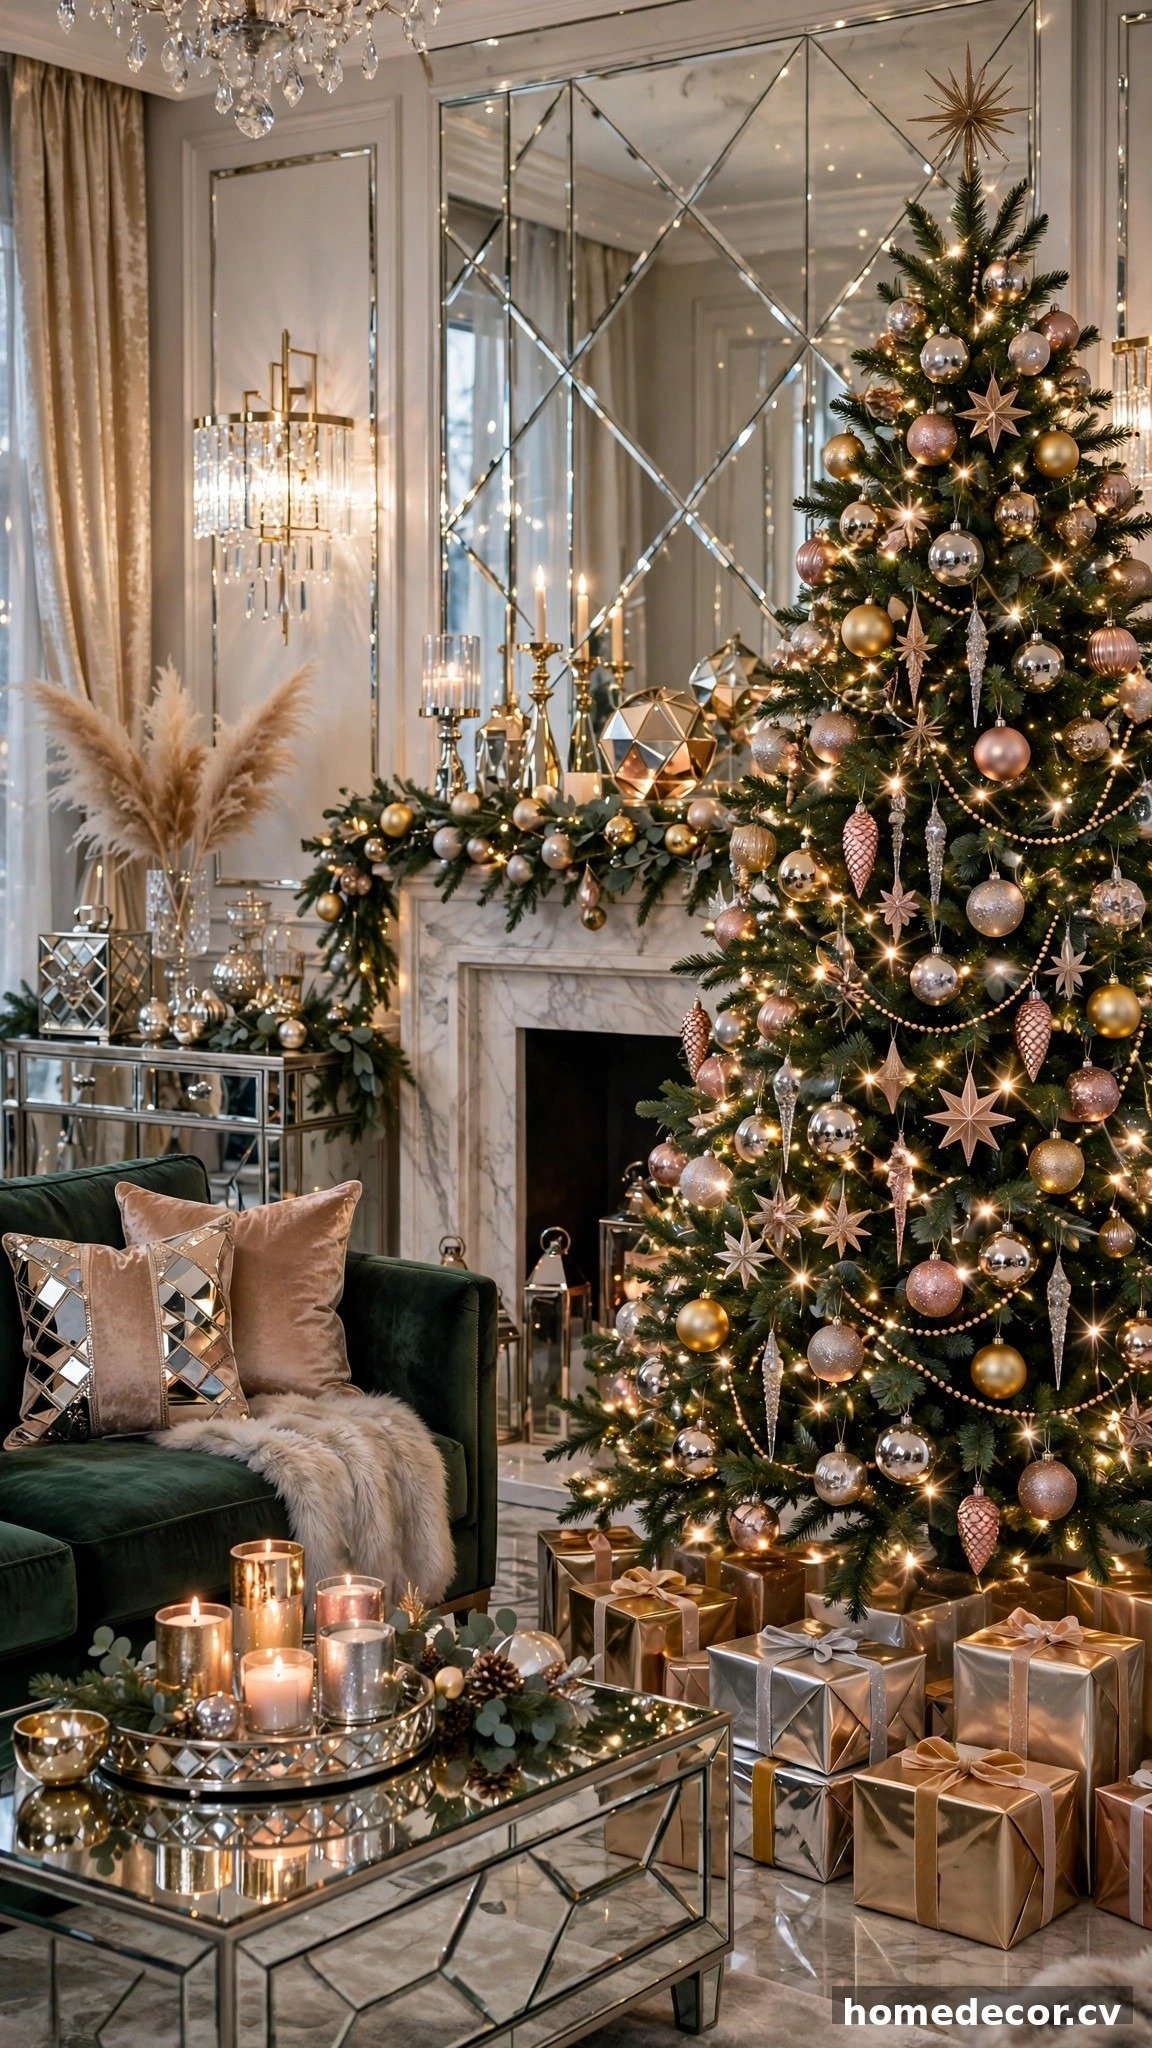
Idea 8: Mix Metallics for Instant Glam
Mixing gold, silver, and rose gold on one tree sounds risky, but done right it creates a rich, expensive-looking glow that single-metal trees cannot match. The trick is choosing one dominant metal — say gold at about sixty percent — and using the other two as accents so the tree feels layered rather than chaotic. Stick to warm white lights, which flatter every metallic finish, and avoid cool white bulbs that can make silver look icy and gold look greenish. Start with your dominant metal ornaments, then weave in the accent metals in small groupings around the tree. A unifying element like champagne ribbon or clear crystal icicles ties all the metals together seamlessly.
Texture matters just as much as color when mixing metallics, so combine shiny, brushed, and hammered finishes for depth that flat ornaments lack. Mercury glass ornaments are perfect for this look because their mottled finish naturally blends silver and gold tones in a single piece. Keep non-metallic decorations minimal — a few white or cream pieces at most — so the metallics stay the undisputed stars. For the tree topper, choose something crystalline or mirrored that reflects all three metals at once, like a starburst or crystal finial. The final effect is pure holiday glamour that looks stunning in both daylight and evening lamplight.
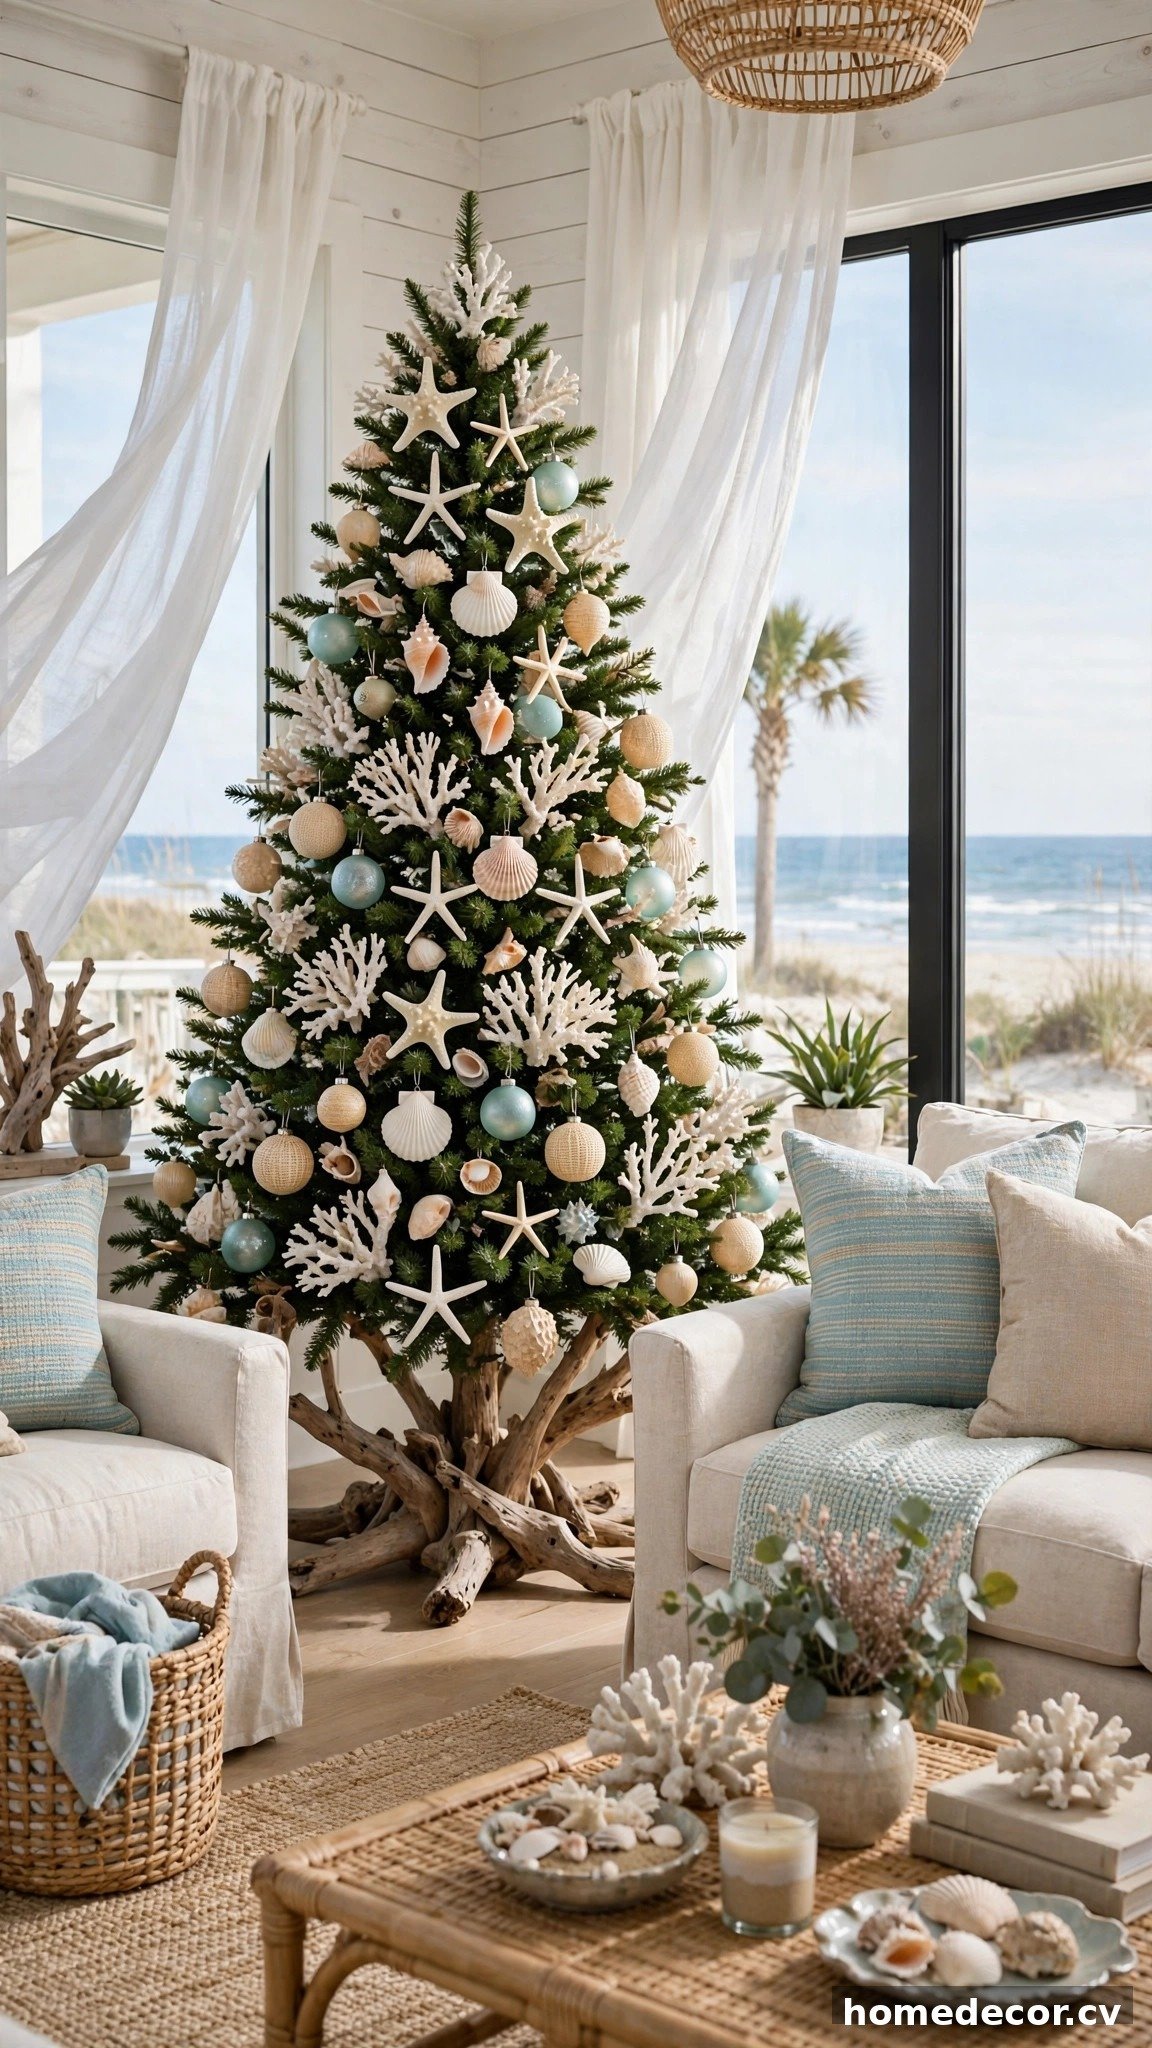
Idea 9: Try a Coastal-Inspired Tree
A coastal Christmas tree brings breezy beach-house calm to the holidays, and it is perfect if you live near the water or just love that relaxed aesthetic. Build your palette around whites, sandy beiges, soft aqua, and sea glass green, skipping traditional red and green entirely for a fresh take on the season. Natural ornaments like starfish, sand dollars, small shells, and pieces of driftwood give the tree authentic coastal character without looking like a themed gift shop. Weave in rope or jute garland instead of tinsel for texture that echoes beach cottage style. White lights keep the whole look airy and bright rather than heavy.
The key to a coastal tree that feels elegant instead of kitschy is restraint — choose a few beautiful natural pieces rather than covering every branch. Mix your shells and starfish with simple glass baubles in sea glass tones so the tree still reads as Christmas, not just beach decor. A driftwood or whitewashed wood tree base replaces the traditional skirt and grounds the theme instantly. Top the tree with a large starfish, a coral-inspired star, or a simple white bow instead of a classic angel. This unexpected theme always gets compliments and photographs beautifully against light, airy interiors. It is a refreshing change that makes your holiday decor feel personal and effortlessly stylish.
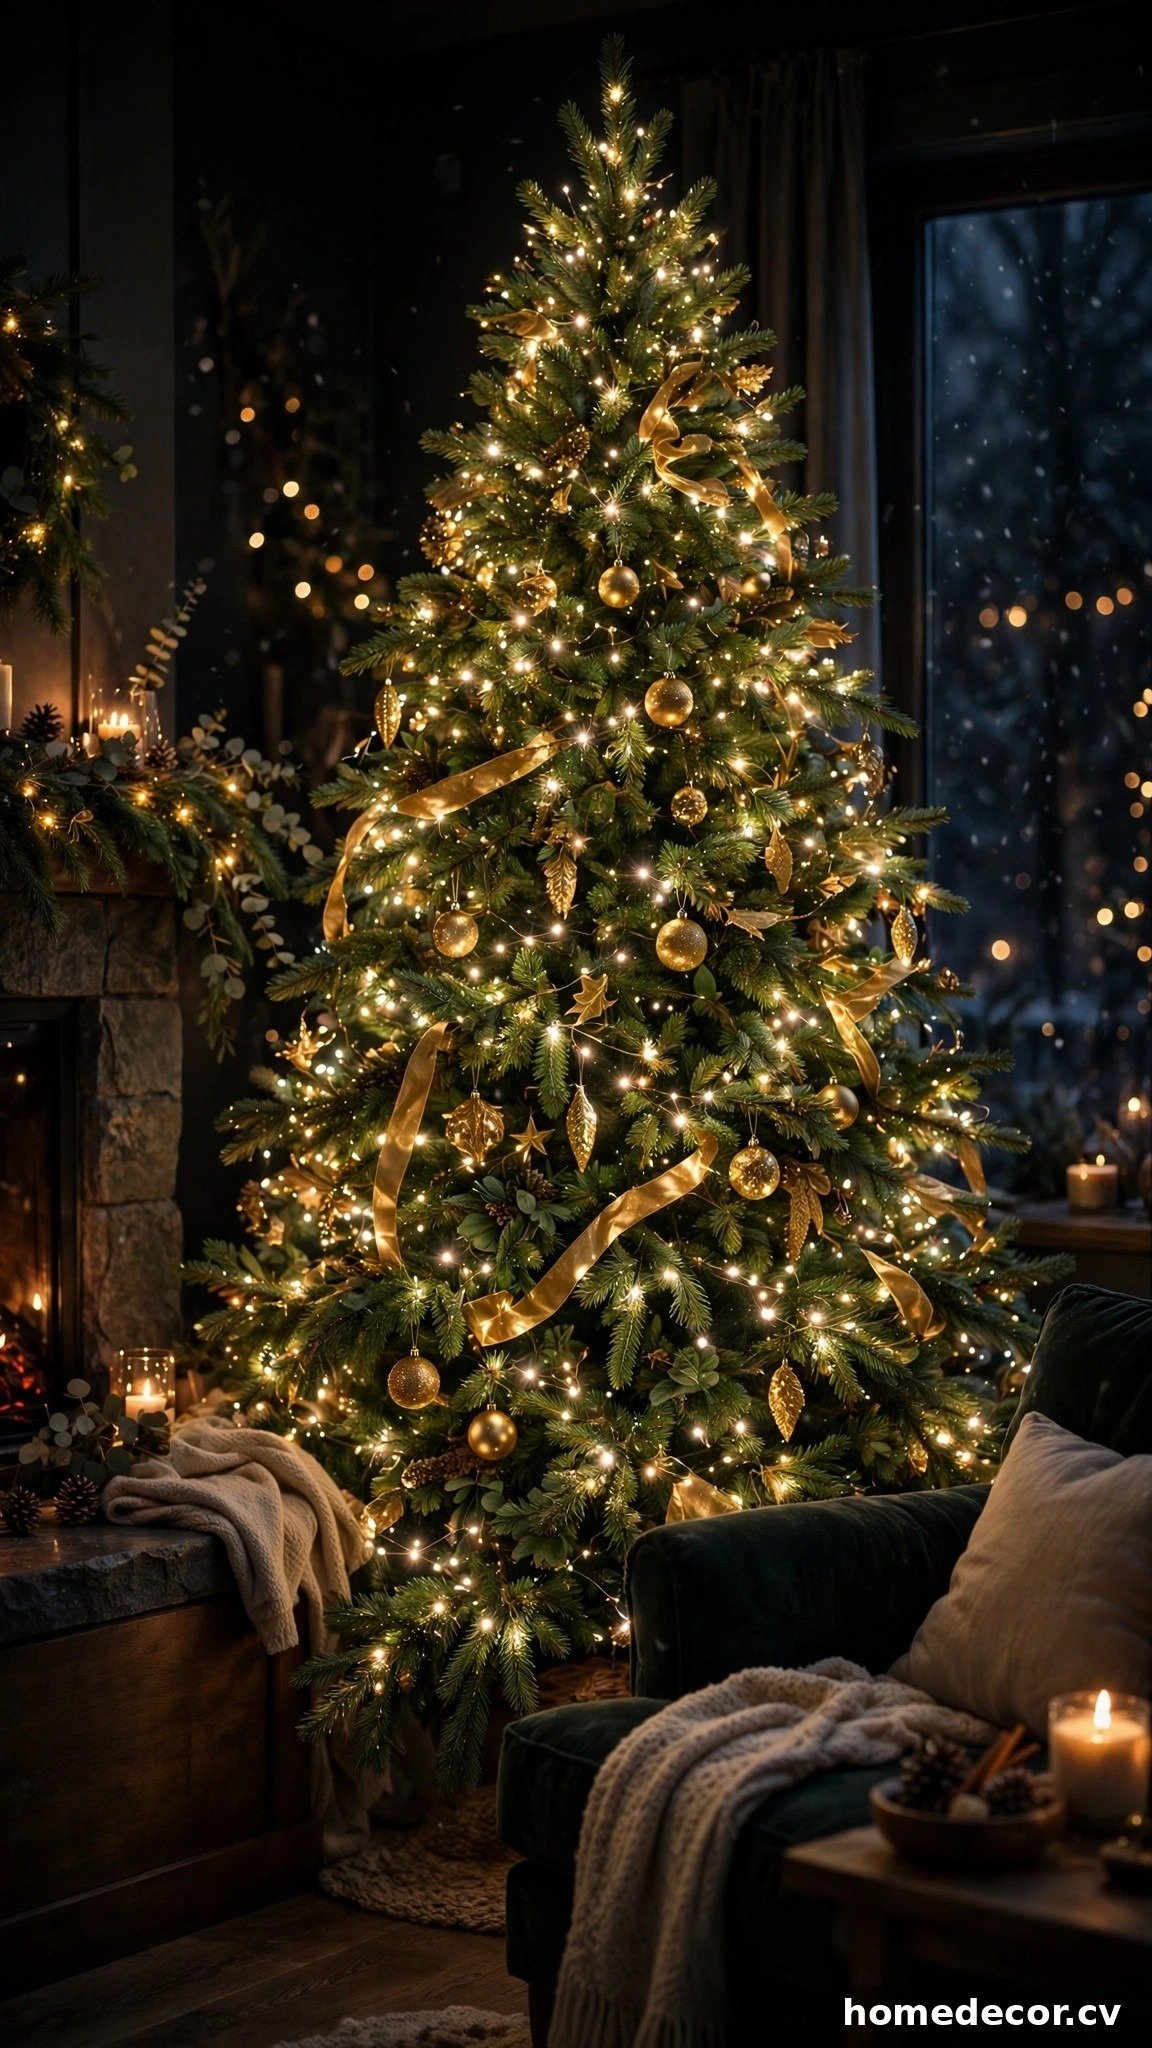
Idea 10: Layer Two Sets of Warm Lights
Most trees look underwhelming simply because they do not have enough lights, and the professional fix is layering two different types together. Start with standard warm white string lights woven deep inside the tree, close to the trunk, which creates a gorgeous inner glow that makes the whole tree seem lit from within. Then add a second layer of smaller fairy lights or micro LEDs on the outer branches for delicate sparkle that catches the eye. Plan on roughly one hundred lights per vertical foot of tree — so a seven-foot tree needs about seven hundred bulbs minimum for that lush, glowing look. Always test every strand before hanging.
Layering lights takes a little extra time, but the evening payoff is enormous — your tree will glow like the ones in holiday movies instead of looking dim and patchy. Work from the top down and from the inside out, stepping back frequently to spot dark gaps before you start hanging ornaments. Battery-operated fairy lights with timers are perfect for the outer layer since they eliminate extra cords and switch themselves on at dusk. Keep spare fuses and a few extra bulbs on hand, because one dead section can dim a whole strand. When the room lights go down, your double-lit tree becomes the undeniable heart of your holiday home.
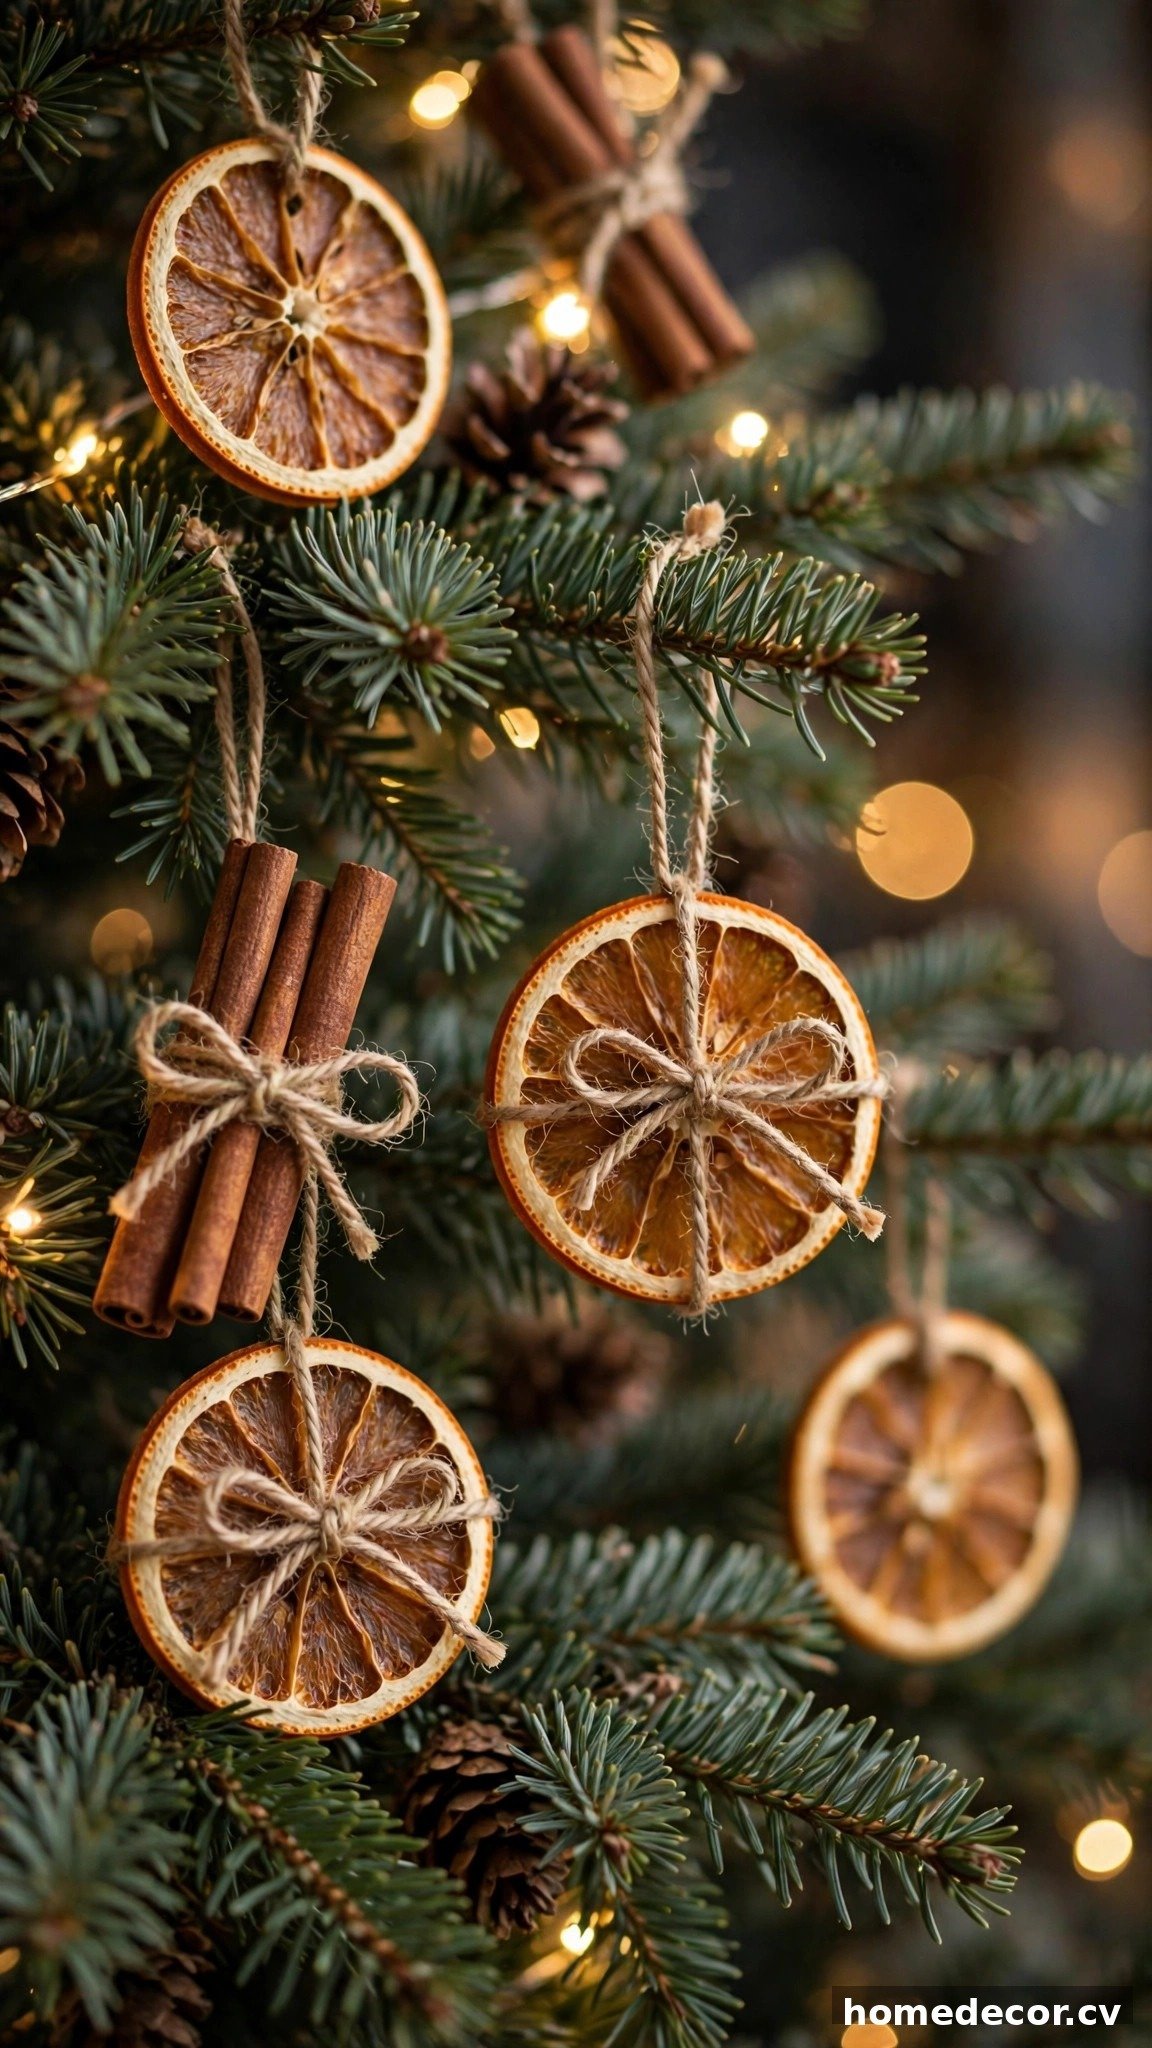
Idea 11: Decorate with Dried Oranges and Cinnamon
Dried orange slices and cinnamon sticks are the ultimate budget Christmas decorations — beautiful, fragrant, and practically free to make at home. Slice oranges about a quarter inch thick, pat them dry, and bake them low and slow at around two hundred degrees for three to four hours, flipping halfway through until they are completely dry and slightly translucent. Thread twine through a small hole near the edge of each slice to create a hanging loop, and tie cinnamon sticks together in bundles of three with the same twine. These natural ornaments look stunning against green branches and fill the room with a subtle spiced-citrus scent.
This natural look pairs beautifully with simple greenery, wooden beads, and warm white lights for a Scandinavian-meets-farmhouse vibe. Because dried oranges are lightweight, you can hang them even on delicate branch tips without weighing anything down. Make a big batch at once since they keep for several seasons when stored in a dry box with tissue paper between layers. For extra fragrance, tuck a few whole dried oranges studded with cloves deeper into the tree where the warmth of the lights releases their scent. It is a sustainable, kid-friendly craft that turns decorating day into a memorable family activity. Plus the gentle citrus and spice fragrance makes the whole house smell like the holidays.
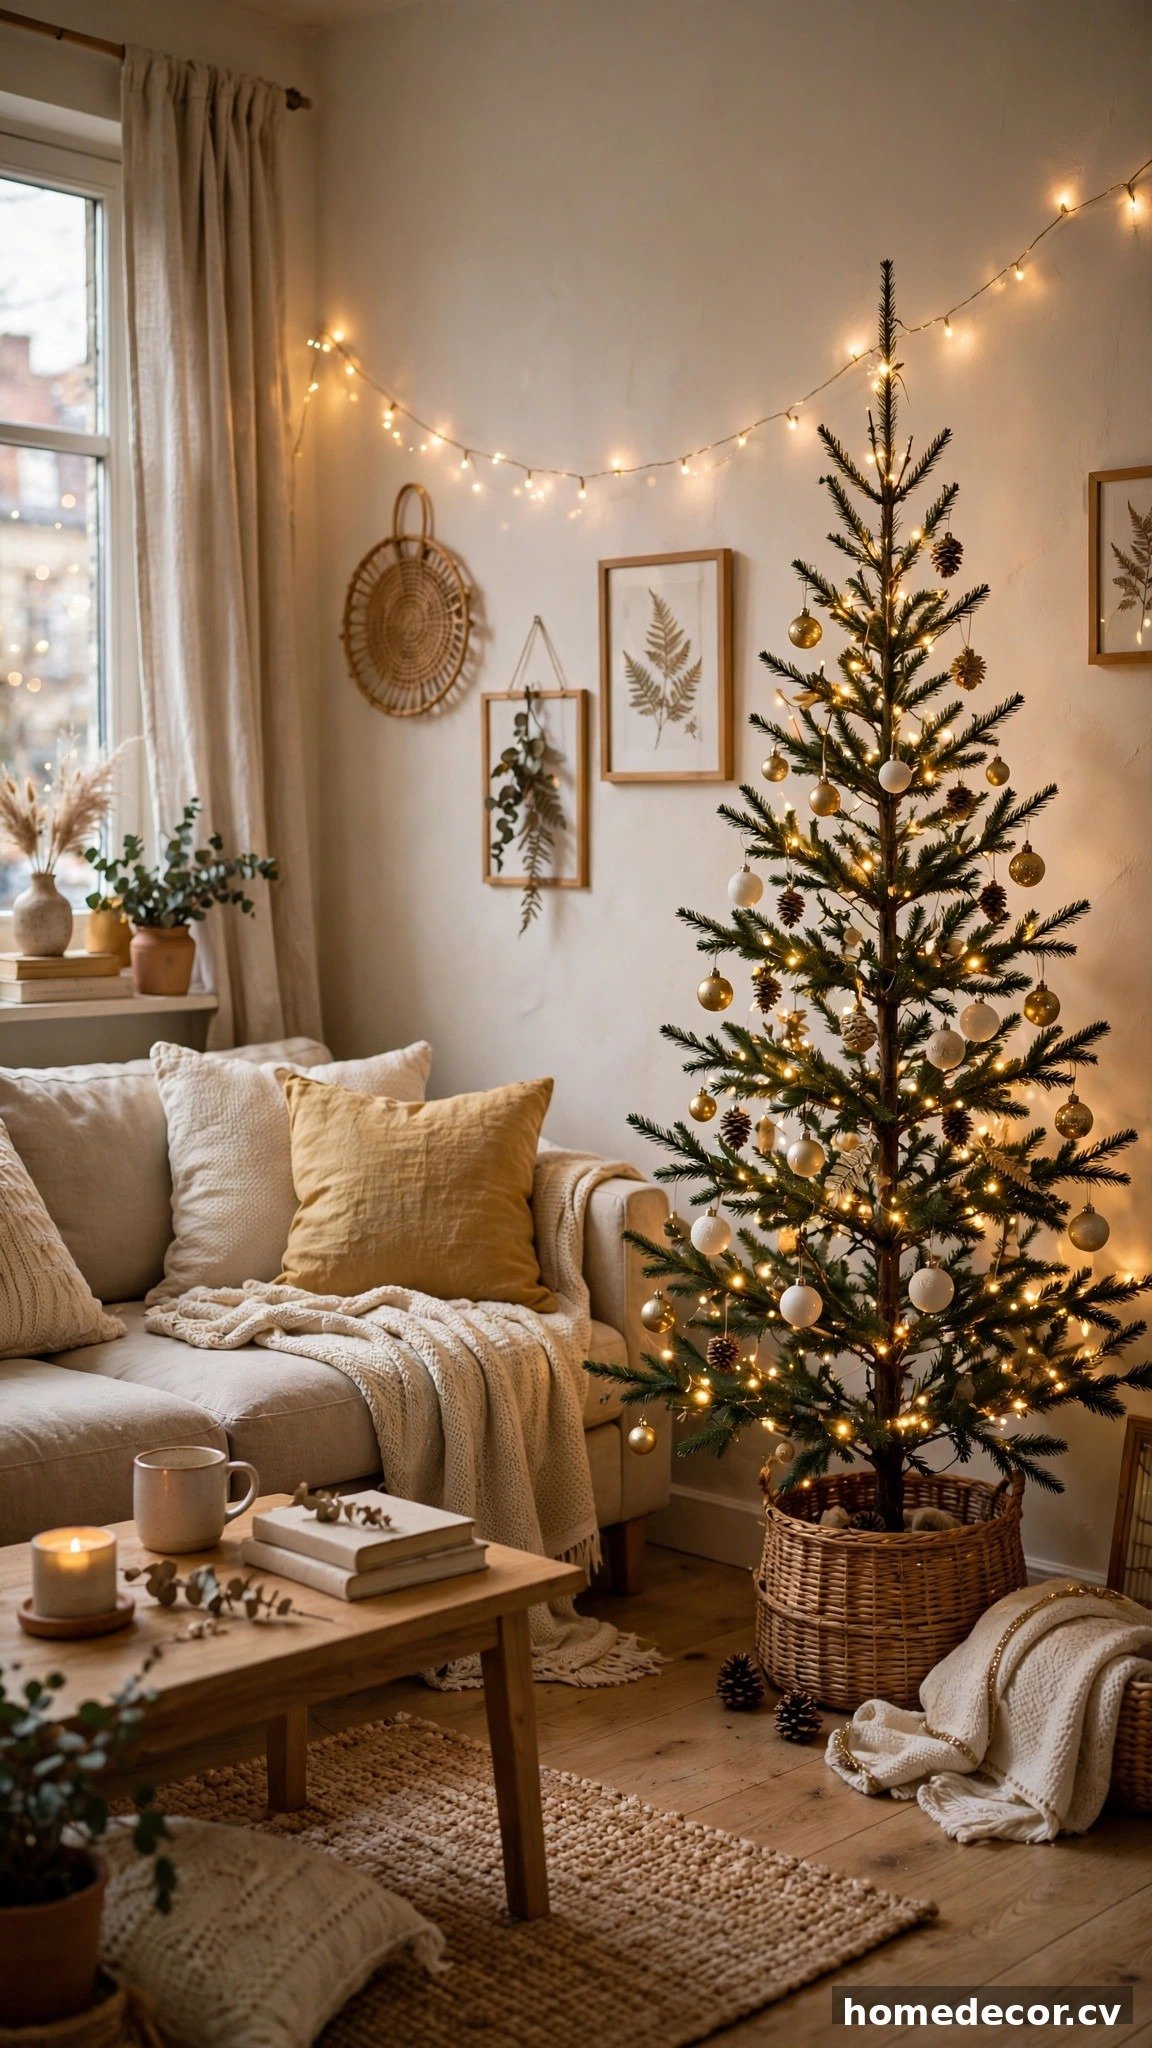
Idea 12: Style a Slim Tree for Small Spaces
A slim or pencil tree is a small-space lifesaver, giving you full Christmas height without eating up precious floor space in apartments and cozy living rooms. Choose a tree no wider than about thirty inches at its base and tuck it into an unused corner, beside a bookshelf, or even in an entryway where a full tree could never fit. Because slim trees have fewer branches, every ornament shows — so invest in slightly nicer pieces and hang them with care rather than crowding the tree. Lights matter enormously here; wrap them a bit more densely than usual so the narrow silhouette still glows richly from across the room.
Decorating a slim tree is all about vertical emphasis, so let ribbon cascade straight down and choose a tall, slender topper that extends the tree’s height visually. Skip oversized ornaments that overwhelm narrow branches and opt for petite baubles, slim icicles, and delicate picks that suit the tree’s proportions. A small tree collar or a pretty basket works better than a wide skirt that would stick out awkwardly past the branches. Place a few wrapped gifts or a lantern beside the base to anchor the arrangement in the room. Small tree, big holiday impact — your cozy space will feel completely festive.
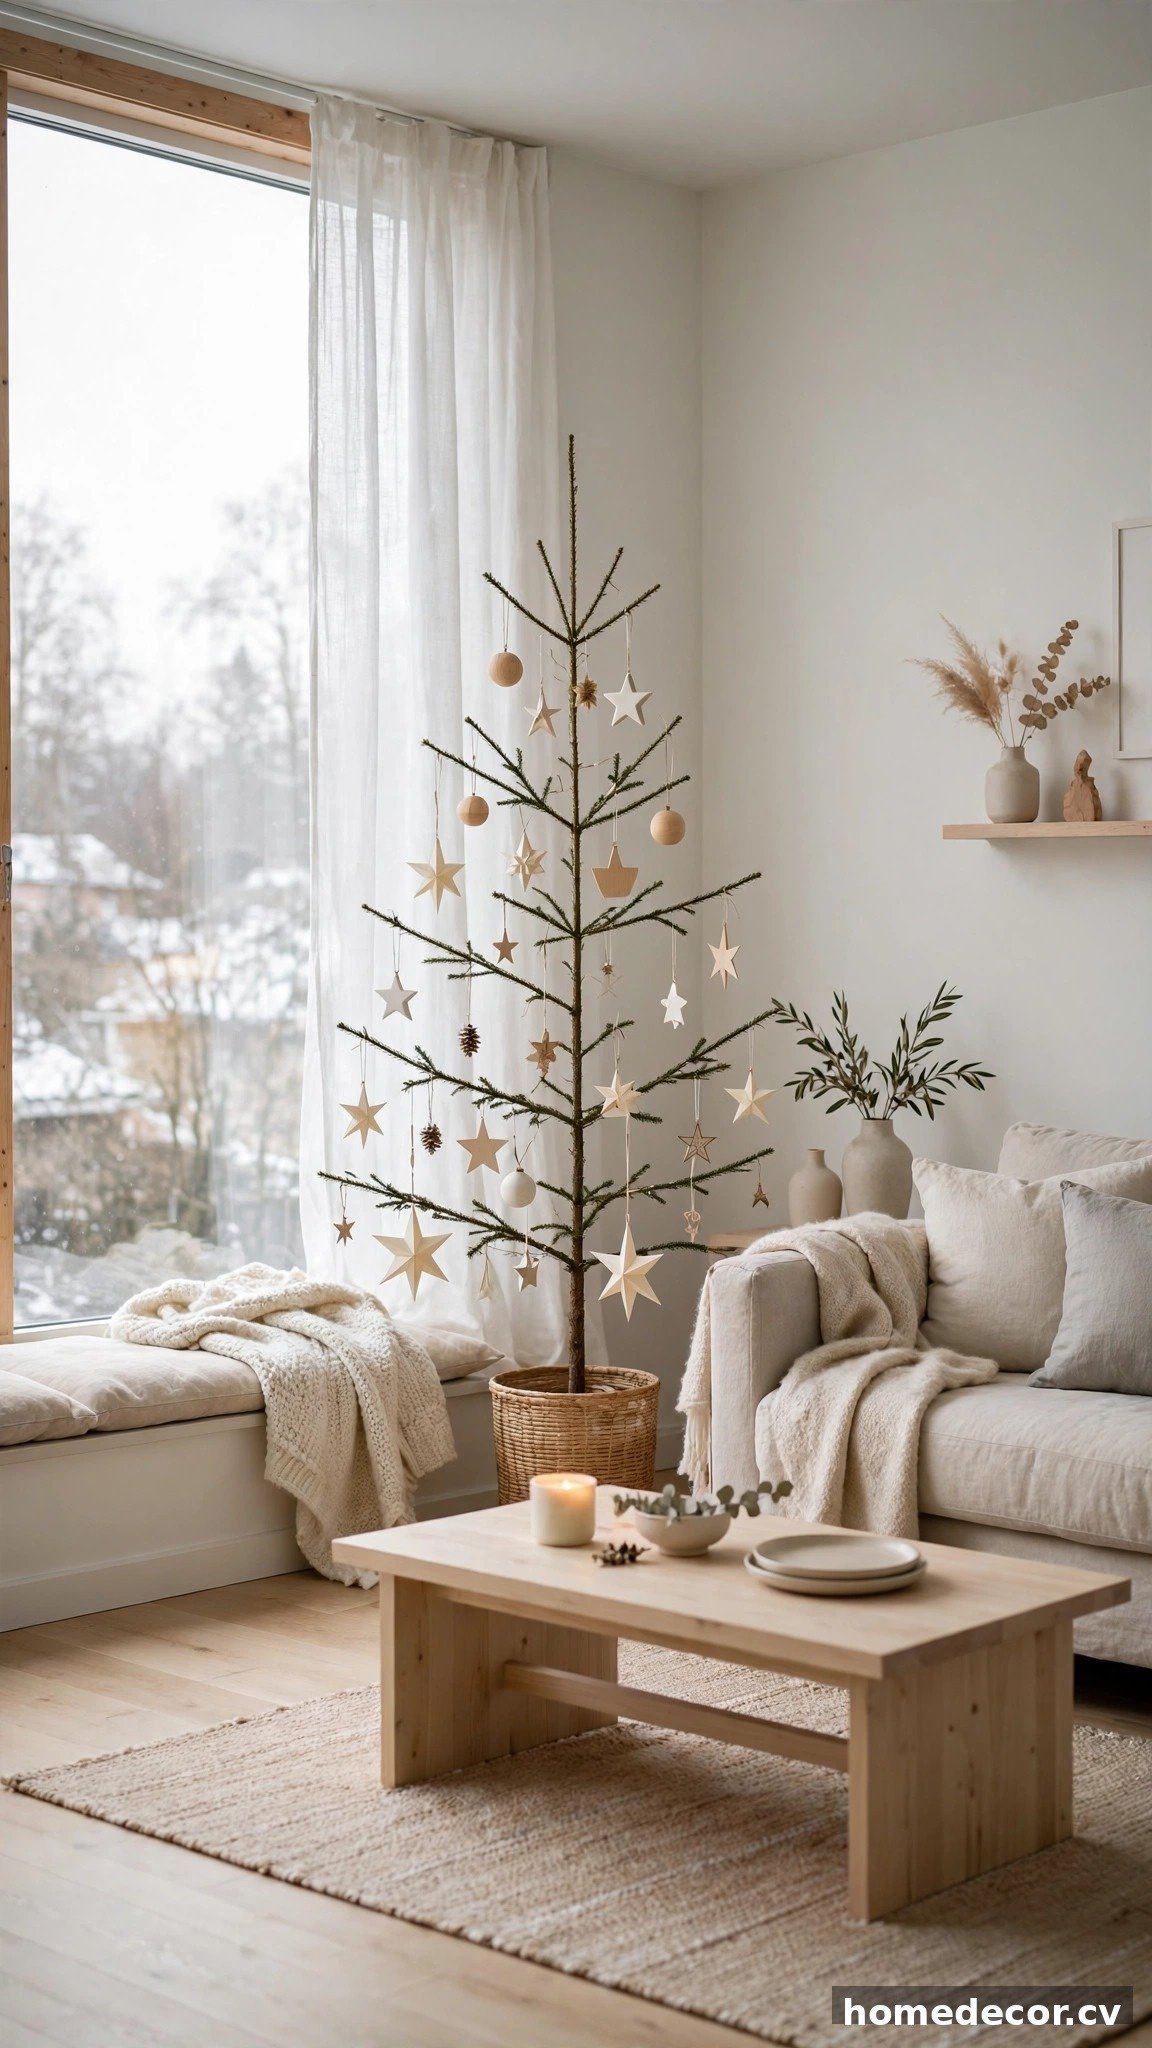
Idea 13: Keep It Minimalist Scandinavian
Scandinavian Christmas style proves that less truly is more — a sparsely decorated tree in a bright, calm room feels more luxurious than an overloaded one. Start with a high-quality tree with good branch structure, since minimal decorating leaves more of the tree visible. Limit yourself to one or two ornament types: simple white baubles, natural wood shapes, or handmade paper stars in cream and soft gray. Hang them with generous space between each piece so every ornament gets its moment. Warm white lights are essential, but use fewer strands than usual for a soft glow rather than a blaze.
The Scandinavian secret is letting negative space do the decorating work, so resist the urge to fill every gap. A simple linen tree skirt or a plain woven basket keeps the base as calm as the branches. Top the tree with a single paper star or leave the top bare for an ultra-modern look that designers love. This restrained approach also means decorating takes under an hour and takedown is equally painless. If your home already favors light woods, whites, and soft neutrals, a Scandinavian tree will feel like a natural extension of your style rather than a seasonal disruption.

Idea 14: Add Personal Photo Ornaments
Photo ornaments turn your Christmas tree into a family storybook, and they become the decorations everyone reaches for year after year. Print favorite photos — vacations, milestones, silly candid moments — in small sizes and slip them into inexpensive wooden or metal frames from the craft store. Hang a few new ones each year so the collection grows with your family, and date the back of each frame so future you remembers exactly when the memory happened. Mix the photo frames with your regular ornaments rather than clustering them all together, so the memories are discovered throughout the tree. This thoughtful mix keeps the tree looking balanced while the photos add warmth and personality everywhere.
Kids absolutely love spotting themselves on the tree, which makes photo ornaments a wonderful way to get little ones excited about decorating. For a polished look, use matching frames in one finish — all natural wood, all gold, or all white — so the photos feel intentional rather than random. Laminate paper prints or use proper photo paper so the images survive years of handling and storage without fading. Grandparents especially treasure receiving a photo ornament as a gift, so make a few extras during your crafting session. Year after year, this tree becomes more meaningful than any designer theme could ever be.
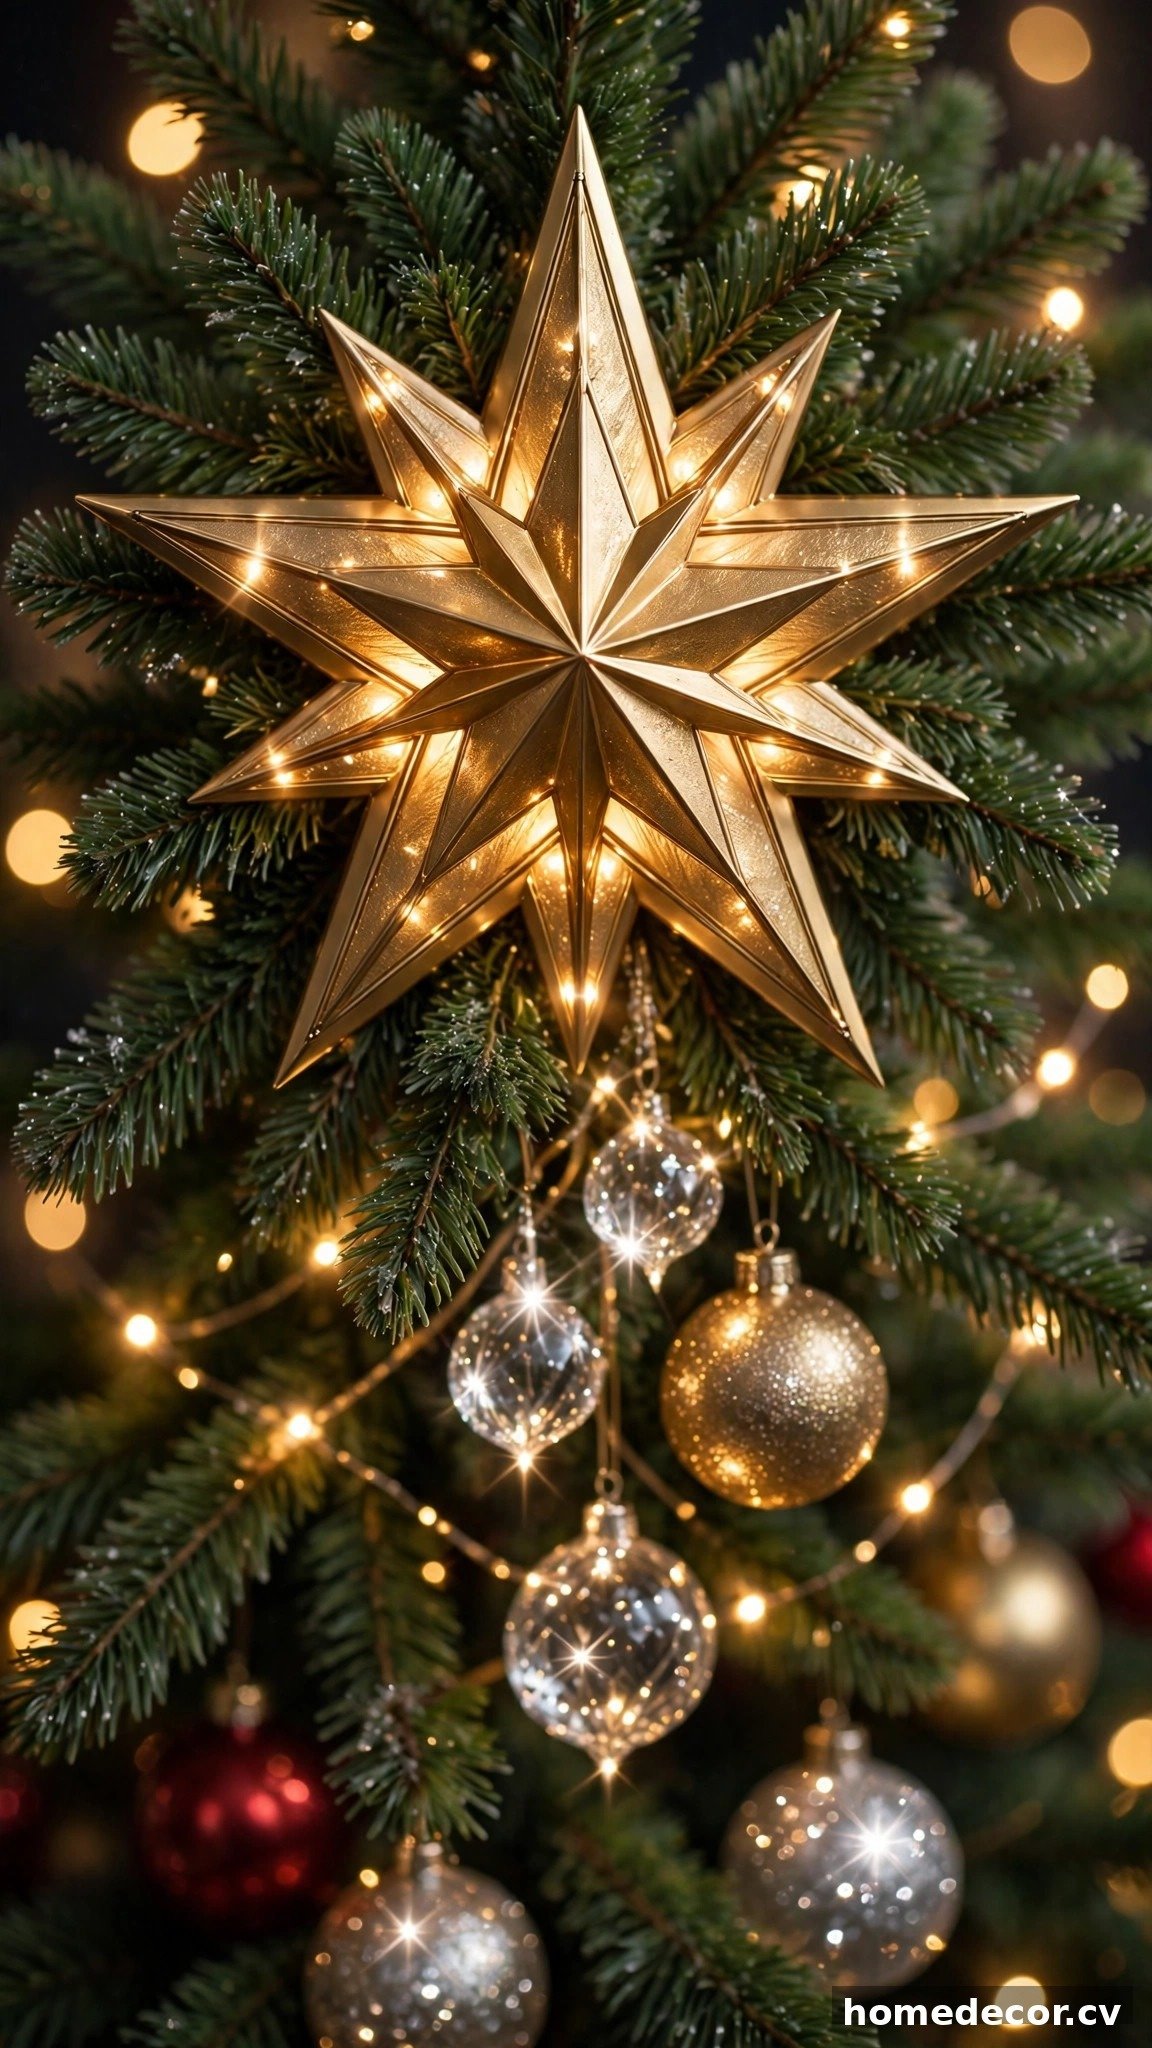
Idea 15: Finish with a Statement Tree Topper
The tree topper is the exclamation point of your Christmas tree, and choosing a bold one instantly elevates the entire design. Scale matters most — a topper that is too small looks lost, so choose one roughly one-tenth the height of your tree, meaning a seven-foot tree deserves a topper around eight inches tall. Classic stars and angels always work, but oversized bows, sparkling finials, and floral sprays give a fresh designer feel. Secure the topper firmly by wiring it to the top branches rather than just balancing it, especially in homes with curious cats. A well-chosen topper draws the eye upward and completes the silhouette.
Coordinate your topper with the rest of your tree rather than treating it as an afterthought — match its finish to your dominant ornament metal or ribbon color. If your tree is heavily decorated, a simpler topper balances the look; if your tree is minimalist, the topper can be the dramatic star of the show. Lighted toppers add extra magic after dark, casting a gentle glow over the upper branches. For a creative twist, try a cluster of tall branches, birch stems, or oversized blooms fanned out from the top instead of a traditional shape. Whatever you choose, the right topper makes your tree feel truly finished.