The best Halloween yards aren’t the ones with the most stuff — they’re the ones with a story. If you’ve been hunting for diy halloween decor outdoor ideas that turn your porch and yard into something spooky without requiring a hardware-store fortune or a full weekend of construction, you’re in exactly the right place.
These 17 ideas are built on three things: clever light, handmade details, and a sense of humor. Cardboard tombstones that lean like a crooked old cemetery. Glowing eyes hiding in your bushes. Cheesecloth ghosts floating in the breeze. Nothing here needs power tools or a big budget — most of it can be built from cardboard, fabric, dollar-store lights, and things you already have. Whether you’re going full haunted mansion or keeping it playful for the little ones, your yard is about to get a personality.
Going beyond the yard? These 12 Funny Outdoor Halloween Decorations That Steal the Show keep the laughs coming, and our 12 Halloween Yard Ideas That Impress Neighbors (Without Terrifying Kids) help you plan the whole front-of-house scene.
Spooky DIY Halloween Decor for Your Front Porch
The porch is your stage — it’s what trick-or-treaters see first, so spend your best ideas here.
1. Build a crooked tombstone cluster from cardboard
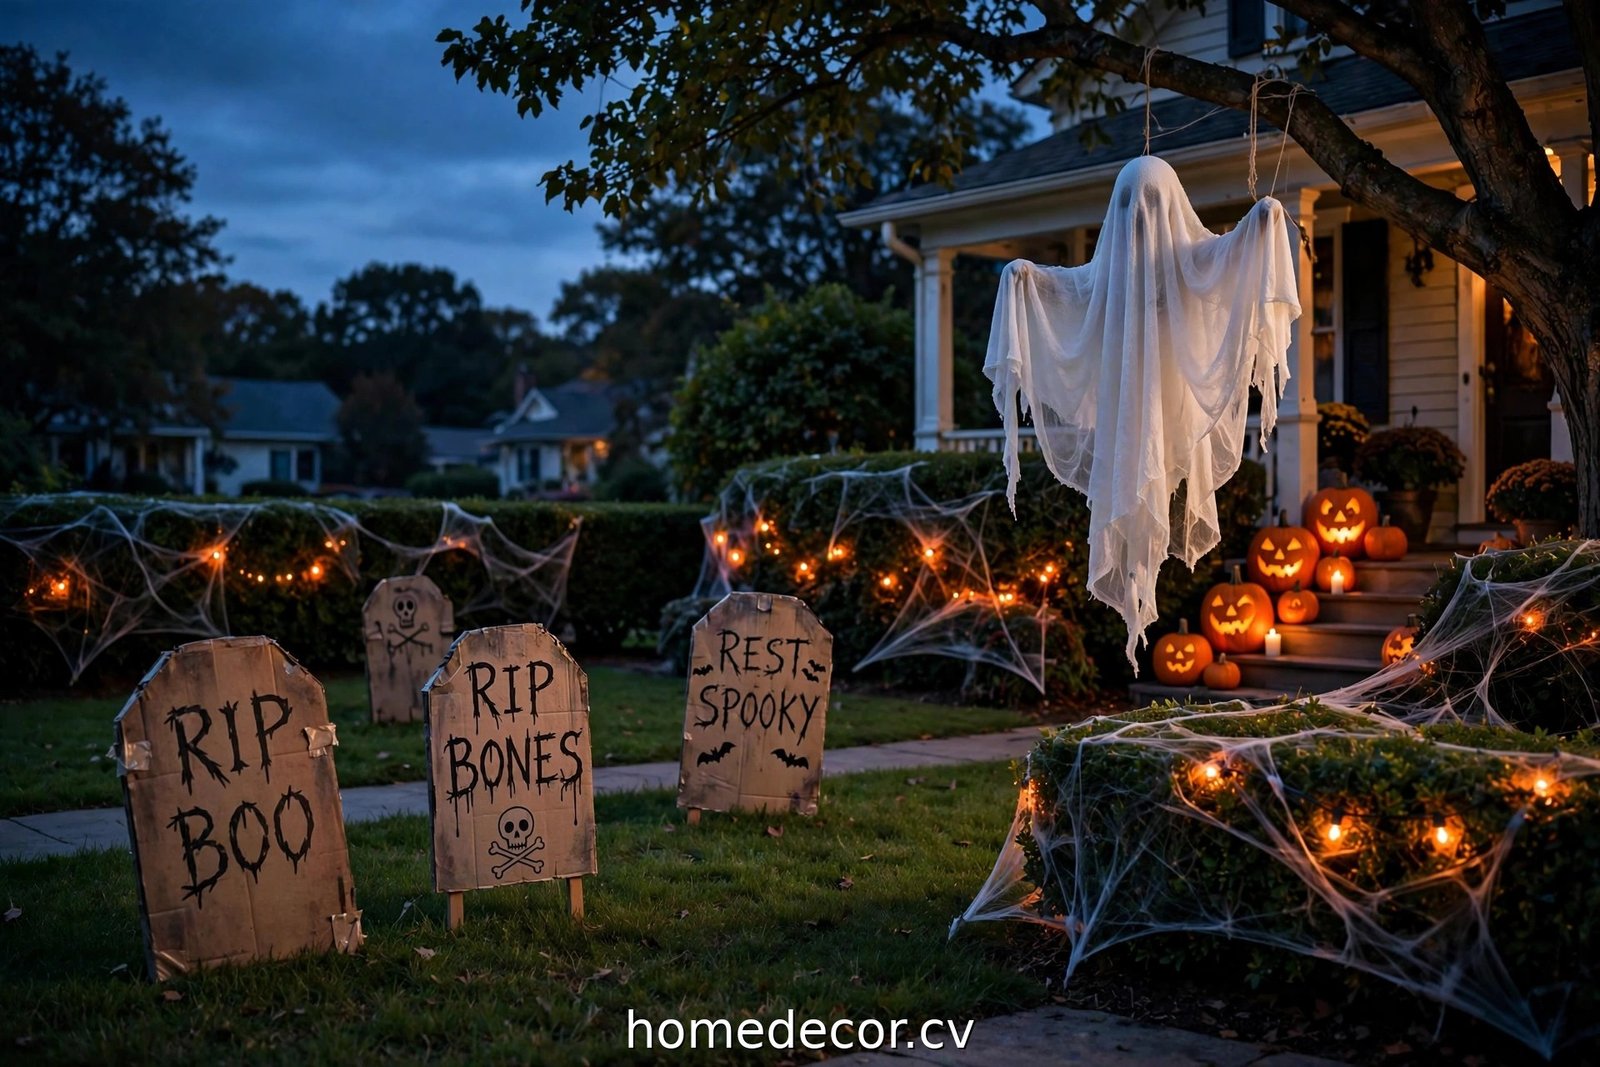
Cut tombstone shapes from cardboard boxes, glue two layers together for sturdiness, and paint them grey with cheap acrylic paint. Write funny epitaphs like “Here Lies Fred — He Finally Got Some Rest” with a black marker. Stick them into the ground near the porch at crooked angles using wooden dowels taped to the back.
Practical tip: Brush a coat of clear outdoor sealant or even diluted white glue over the paint to make them survive a rainy Halloween week. Slightly crooked tombstones look scarier than perfectly straight ones — embrace the lean.
2. Hang cheesecloth ghosts from the porch ceiling
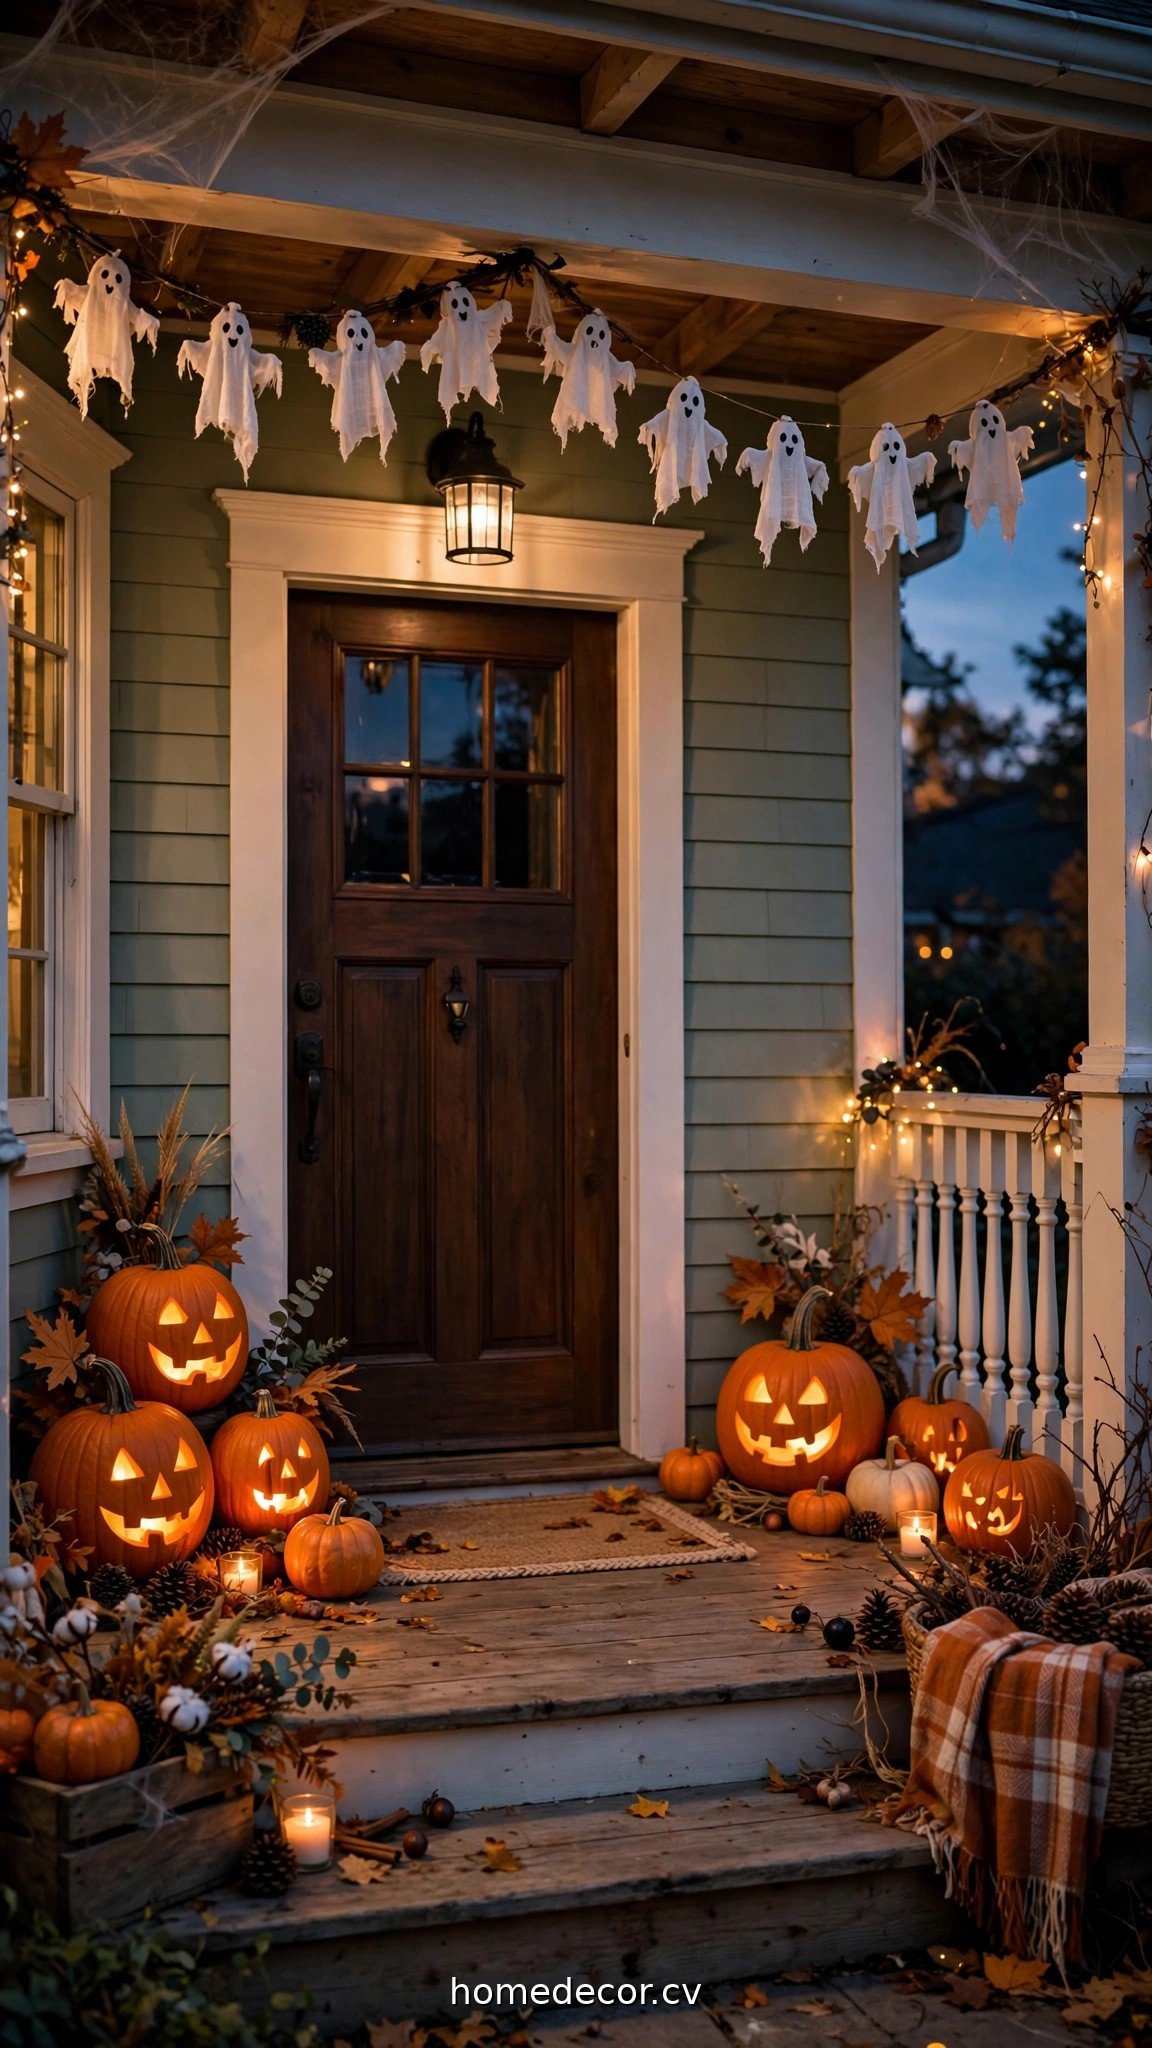
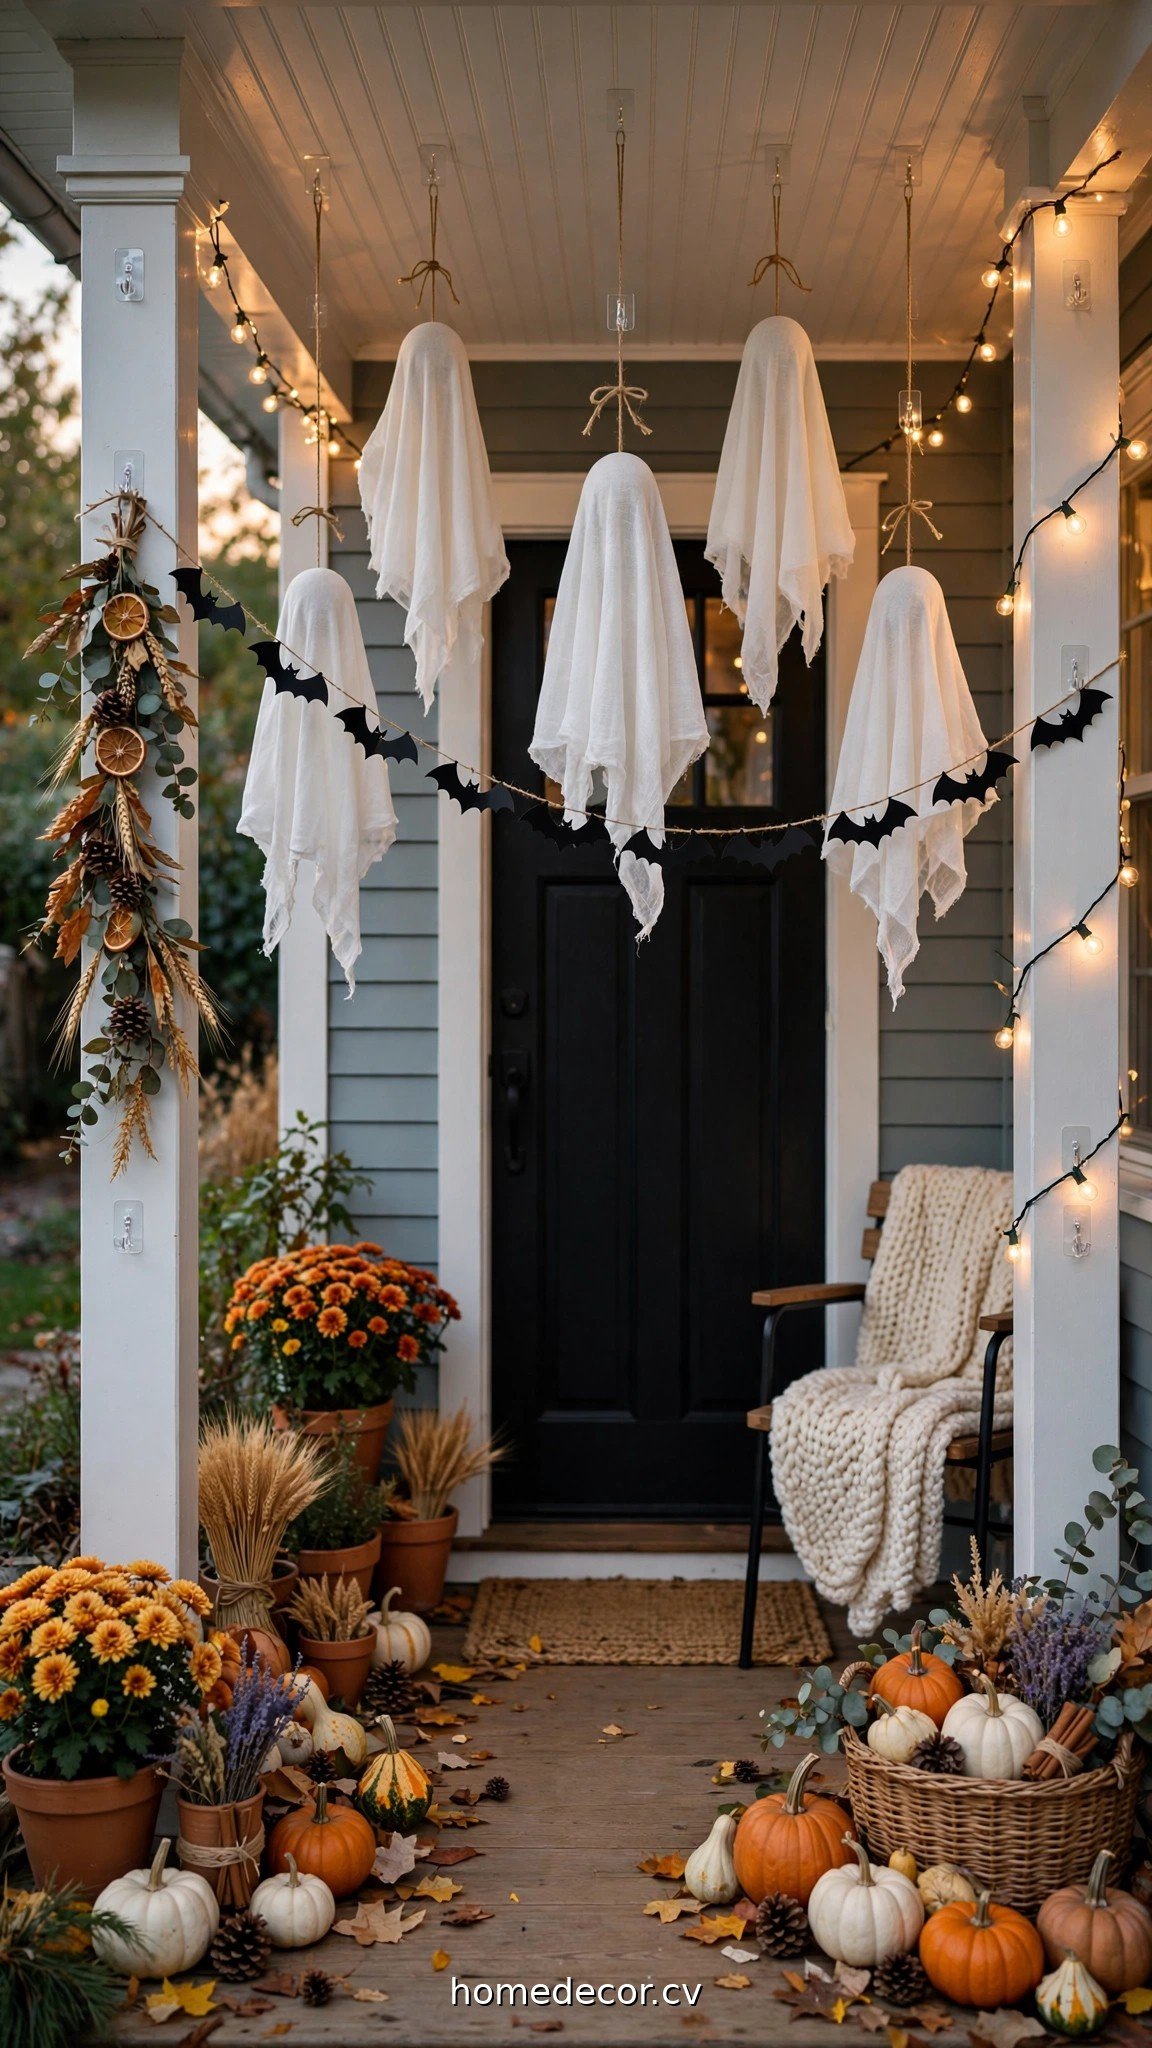
Drape white cheesecloth over an inflated balloon or a foam ball, tie a string at the neck, add two black felt eyes, and hang it from the porch roof with fishing line. Make three or four at different heights. In a light breeze they sway like real spirits.
Practical tip: Hang one right at the edge of the porch so it drifts toward visitors — that unexpected close encounter is what gets the scream. Use LED tea lights behind them at night for a soft glow.
3. Mummify your front door with white crepe paper
Wrap your front door in white crepe paper streamers in random criss-cross directions, leaving a gap for the handle, then add two big googly eyes above it. Ten minutes, a few dollars, and your door becomes a mummy that greets every trick-or-treater.
Practical tip: Tape the streamers to the inside edge of the door frame so nothing peels off your door’s finish. Renters, use painter’s tape — it comes off clean.
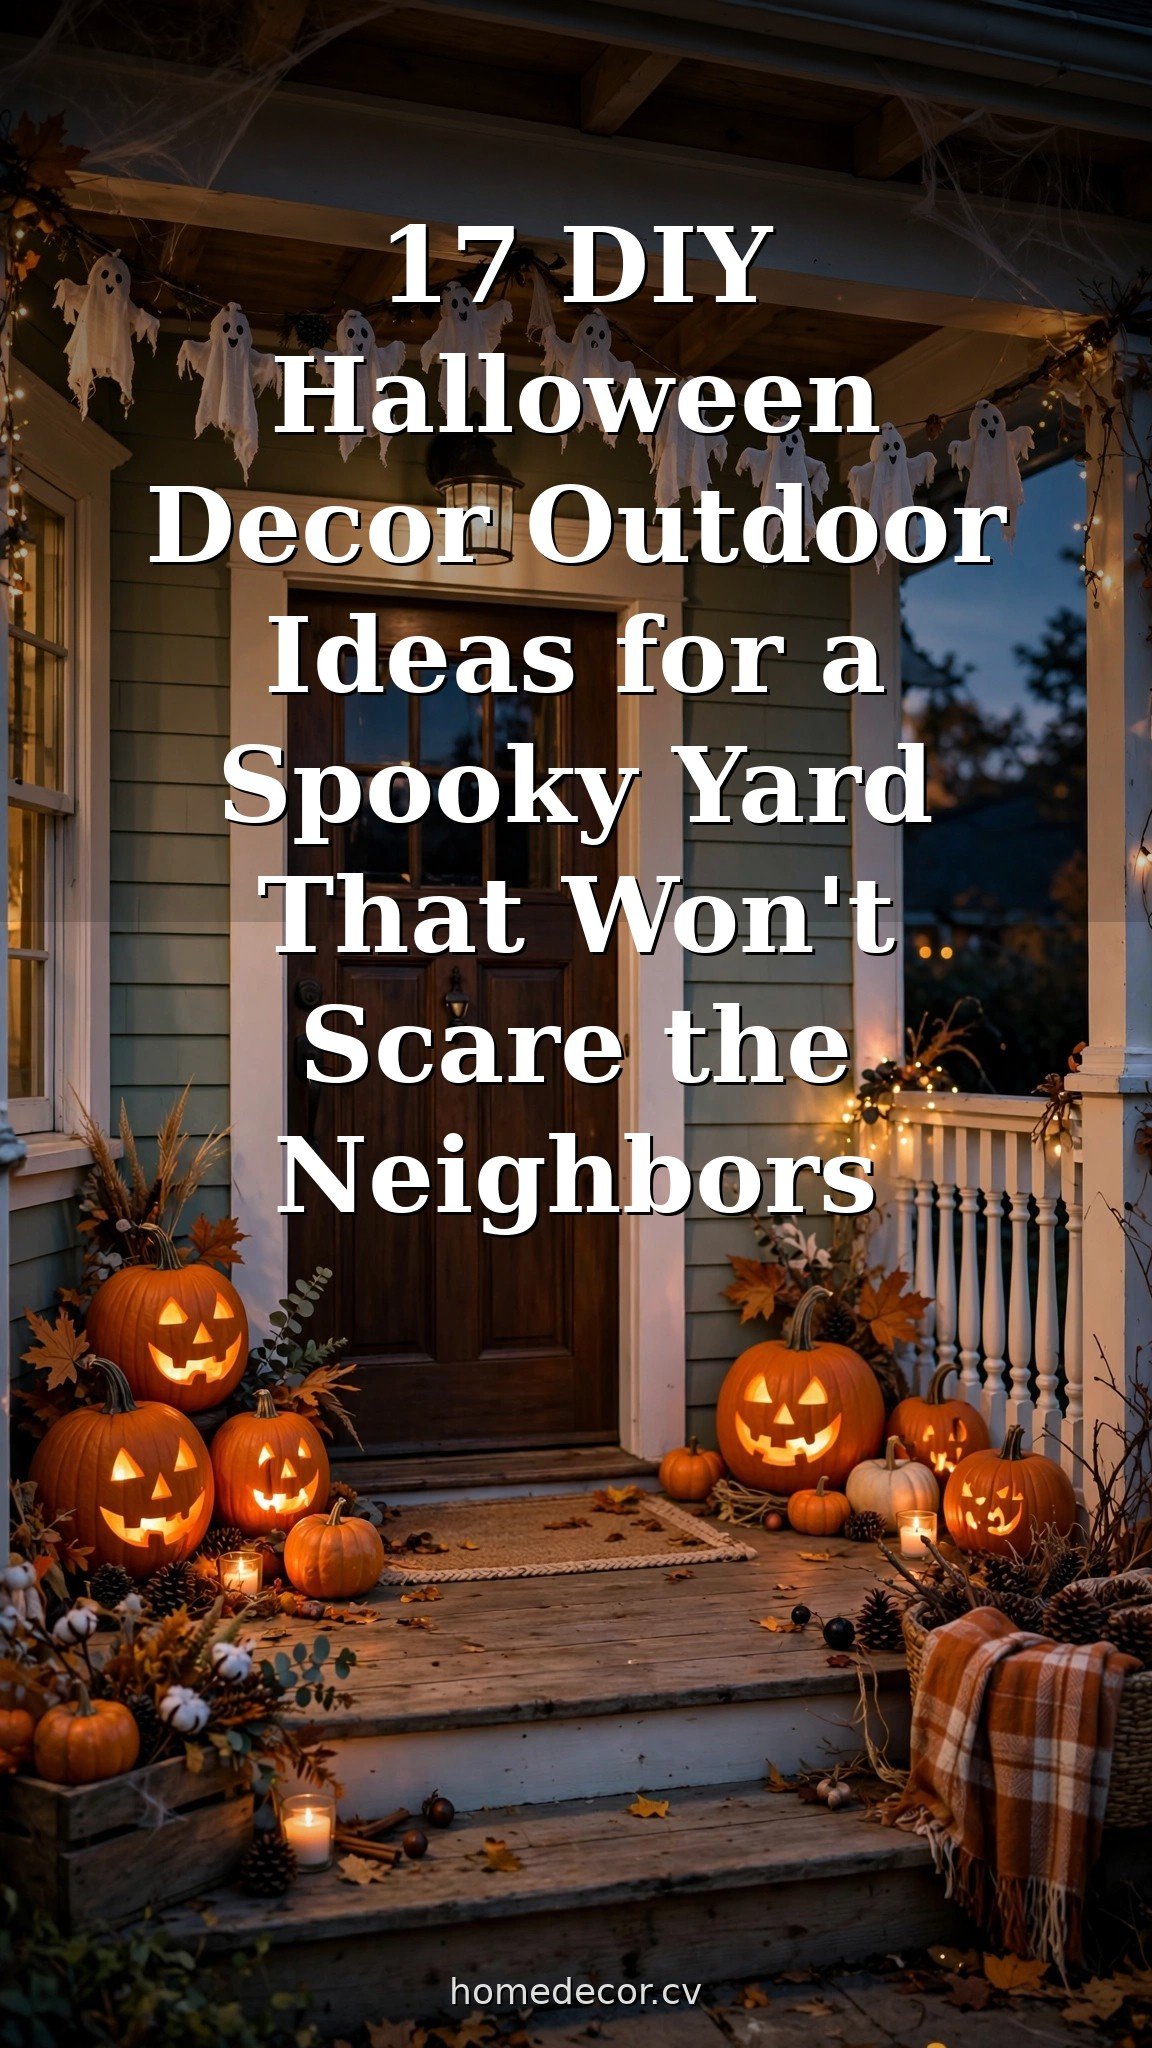
4. Line the porch steps with glowing jack-o’-lanterns
Carve three to seven pumpkins in descending sizes and line them up the porch steps. Use battery-operated LED candles inside each one. Mix silly faces with scary ones — the variety is what makes the display charming rather than repetitive.
Practical tip: Rub the cut edges of your pumpkins with petroleum jelly to slow shriveling — they’ll look fresh a full week instead of two days. And always use LED candles, never real ones, in a lineup this close together.
5. Park a “witch parking” sign by the door
Print or hand-paint a wooden sign that says “Witch Parking Only — All Others Will Be Toad” and prop it next to the porch with a toy broom leaning against it. It’s a classic joke that makes visitors smile before they even ring the bell.
Practical tip: Lean a pair of striped socks stuffed into old boots beside the sign for a “crashed witch” effect — it’s the finishing detail that makes people stop and photograph it.
Haunted Yard DIY Halloween Decor Ideas
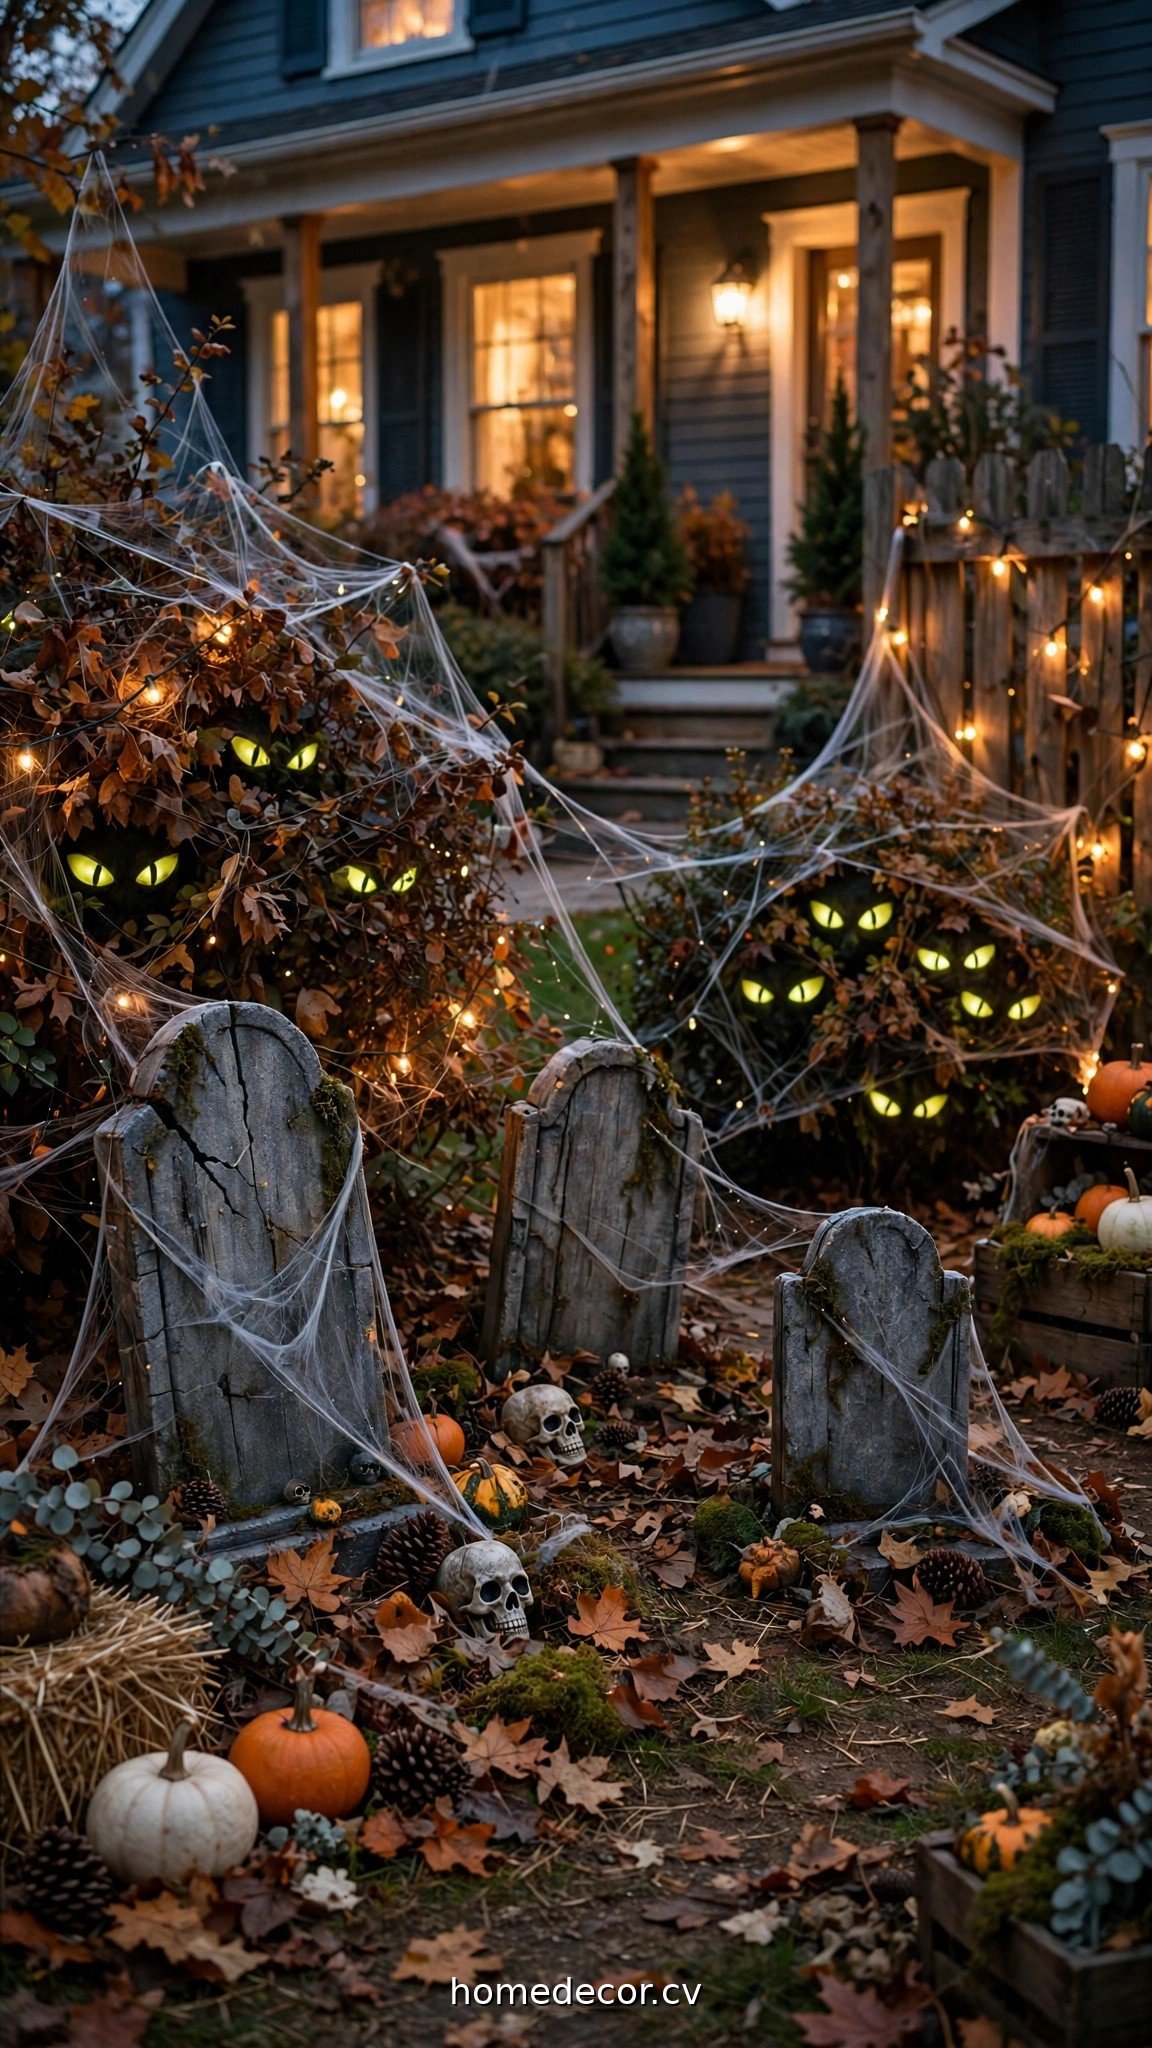
Move past the porch and the yard becomes your haunted set. These diy halloween decor outdoor ideas are designed to be seen from the street.
6. Hide glowing eyes in your bushes
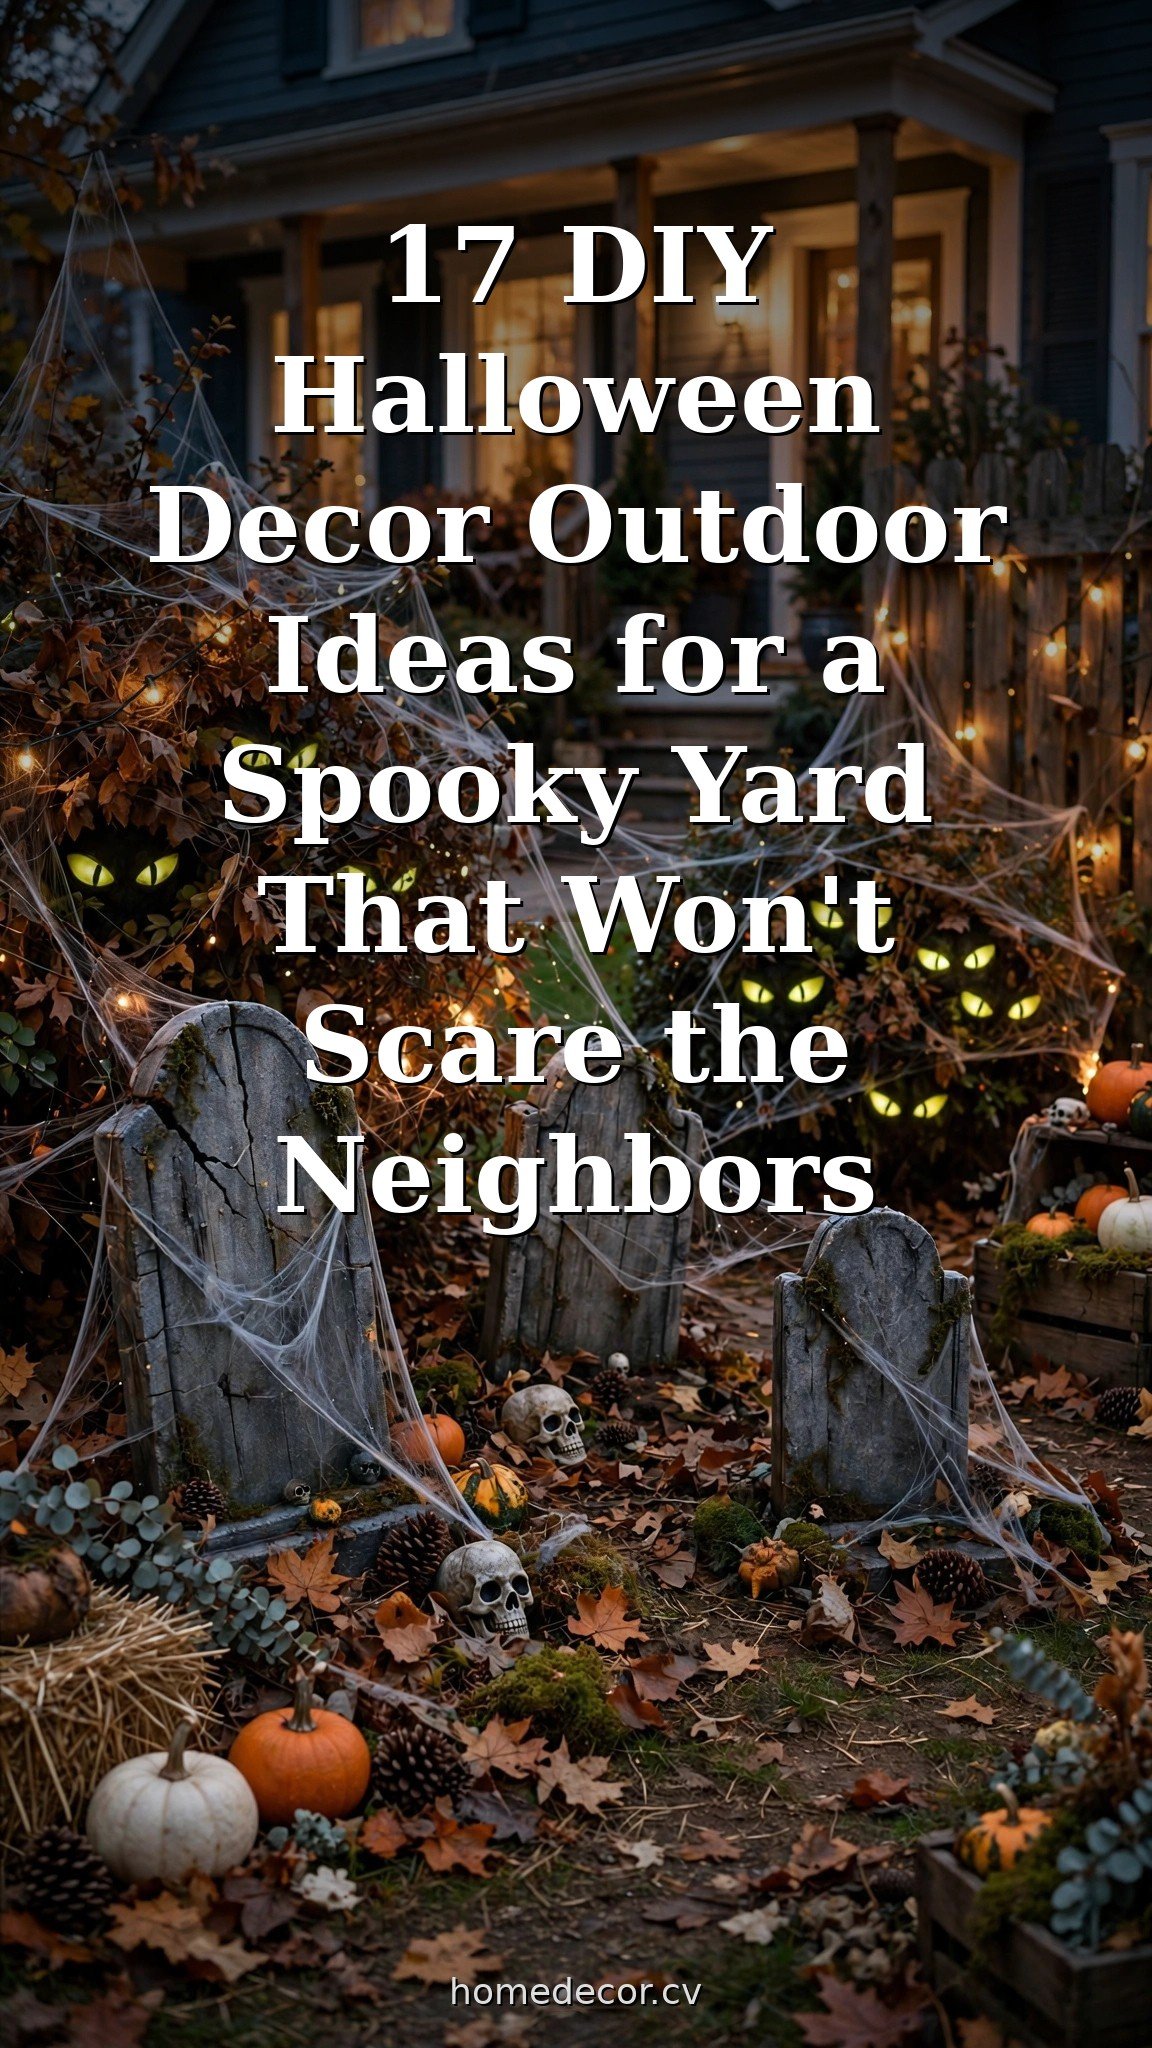
Cut eye shapes from a cardboard tube (paper towel rolls work perfectly), glue red or green LED tea lights inside, and wedge them deep into your hedges and shrubs. From the sidewalk, pairs of glowing eyes stare out of the darkness.
Practical tip: Vary the spacing and heights so some eyes look big and close while others look small and far away — it creates the illusion of creatures lurking at different distances. Timer LEDs mean you never have to switch them on.
7. Drape giant spider webs over the hedges
Stretch bagged cotton spider webbing over bushes, railings, and between trees, then add a few large plastic spiders. The trick is to stretch it thin and uneven — real webs are never symmetrical, so clumpy and stretched looks more convincing than neat.
Practical tip: Pull the webbing into long points and anchor them with small stones or branches on the ground. A web that’s stretched from a high branch down to the lawn looks dramatically bigger than one floating in the middle of a bush.
8. Create a pathway of luminaria ghosts
Cut the bottoms off white paper bags, fold the tops down for a cuff, and draw simple ghost faces on each with a marker. Fill with sand, add an LED tea light, and line your walkway. Dozens of little glowing ghosts guiding visitors to the door is pure magic.
Practical tip: On windy nights, double-bag them or put a glass jar inside instead of sand alone. Nothing kills the mood like a ghost tumbling down the street.
9. Float witch hats on fishing line from a tree
Buy a few inexpensive pointed witch hats, thread fishing line through the tips, and hang them from a large tree branch at different heights. At night with an uplight beneath them, they look like a coven frozen mid-flight.
Practical tip: Stuff the hats with crumpled newspaper so they hold their shape, and hang the lowest one at least seven feet up — low enough to see, high enough that nobody walks into it.
10. Build a skeleton digging its way out of the lawn
Pose a plastic skeleton half-buried in the yard — arms reaching up out of the dirt or mulch — and pile loose soil and leaves around it. Add one of your cardboard tombstones right behind it. It’s the single most photographed yard display you can make.
Practical tip: Prop the skeleton’s torso against a hidden stake so it stays upright through October wind. A skeleton lying flat reads as “messy”; one clawing its way up reads as “haunted.”
Window, Door and Lighting Effects
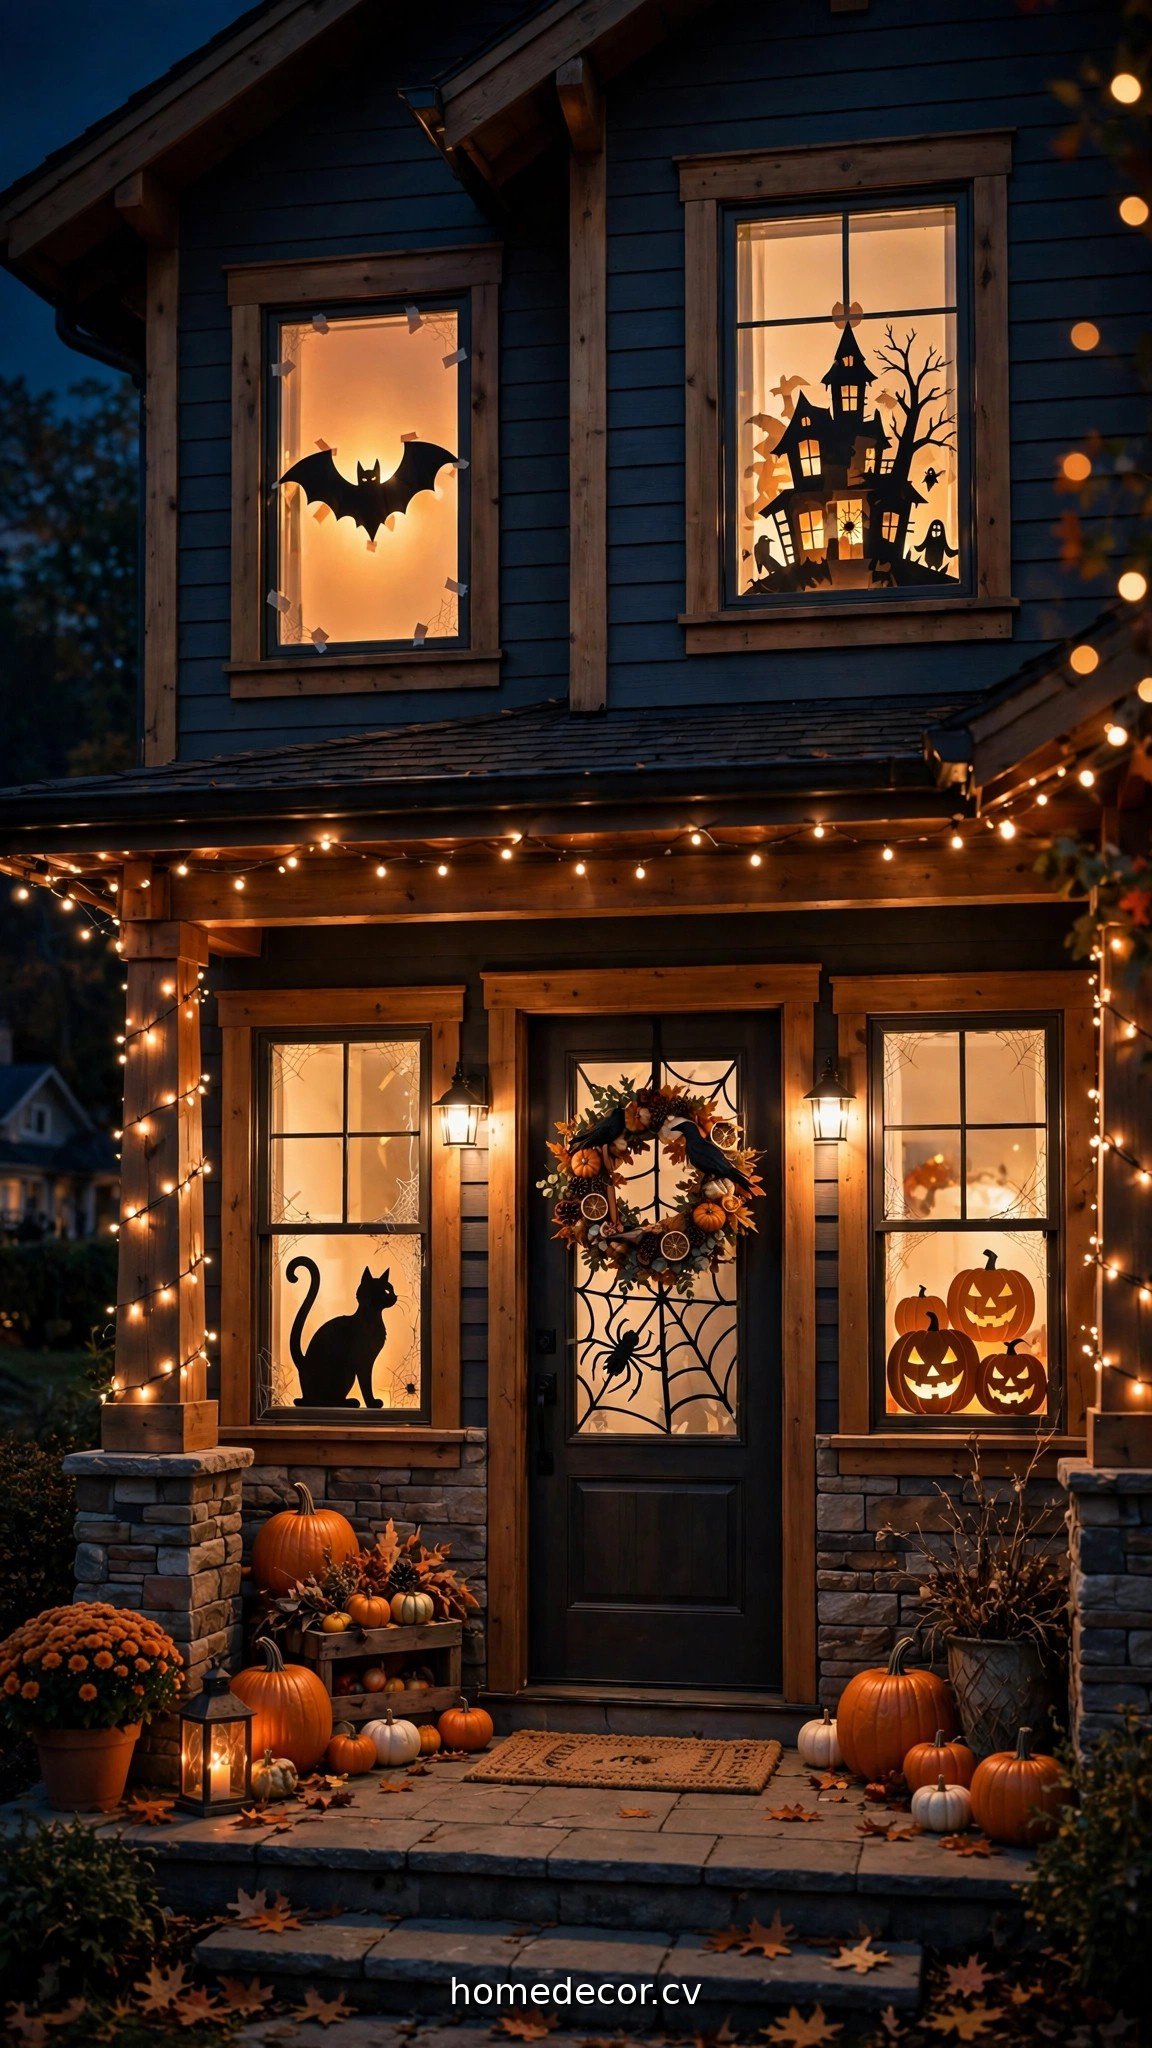
Light is what turns a yard from “decorated” into “haunted.” These effects do the heavy lifting after dark.
11. Cut spooky silhouettes for your windows
Cut bat, cat, witch, and haunted-tree silhouettes from black poster board and tape them inside your windows, then turn the room lights on behind them. From the street, your whole house becomes a glowing haunted diorama.
Practical tip: Cut the shapes slightly oversized so the black fills the window frame edge to edge — even a small gap of plain light breaks the illusion. One well-lit silhouette window beats five dim ones.
12. Wash the house in colored light
Aim a cheap LED flood light or even colored smart bulbs at the front of your house. Deep orange makes everything look like firelight; purple turns an ordinary hedge into something sinister. Green is the classic “toxic” horror movie look.
Practical tip: Place the light low and point it upward — uplighting creates the dramatic long shadows that flat, even lighting never will. One well-placed colored light transforms the whole house more than a dozen small props.
13. Add a ground fog effect with a fog machine and ice
A small home fog machine aimed low across the lawn creates the creeping-mist look of every horror film. For thicker fog that hugs the ground, run the fog through a cheap cooler filled with ice before it exits — the cold makes it dense and low.
Practical tip: Fog looks best with colored uplighting behind it. Set it on a timer to puff every few minutes rather than running constantly — you’ll use far less fog fluid across the month.
Renter-Friendly and Budget Finishing Touches
14. Make a pumpkin tower topiary
Stack three pumpkins (real or foam) in decreasing sizes on a tall planter, securing them with a wooden dowel through the centers. Wrap fairy lights around the stack. It’s elegant enough for a front door that needs to stay classy while still saying Halloween.
Practical tip: Use foam pumpkins if the tower needs to last all October — they’re light, they don’t rot, and the whole stack survives rain. Save the real carved pumpkins for the week of Halloween.
15. Stick window clings and decals for instant impact
Bats, spiders, dripping blood, and cracked-glass decals go up in minutes on windows and the glass storm door, peel off with no damage, and cost almost nothing. Cluster them at odd angles rather than in neat rows for a chaotic, lived-in haunt feel.
Practical tip: Clean the glass with rubbing alcohol first and the clings will grip far better and last the whole season. This is the ultimate renter move — zero damage, zero holes, zero landlord conversations.
16. Line the driveway with skull luminaries
Glue plastic skulls onto mason jars, drop an LED tea light in each, and line them along the driveway edge. Skulls plus candlelight is a look that needs no explanation — instantly spooky, endlessly reusable.
Practical tip: Hot glue holds the skulls on, but a removable mounting putty works nearly as well and lets you reuse the jars for Christmas luminaries in December. Buy for two holidays at once.
17. Add a motion-activated jump scare (the friendly kind)
Hide a small motion-activated sound box or a talking skeleton near the candy bowl. Keep it funny rather than terrifying — a skeleton that says “take one… I dare you” gets laughs from kids and adults alike.
Practical tip: Test the volume from the sidewalk before Halloween night. A jump scare that’s too loud becomes a noise complaint; one at conversational volume becomes the neighborhood legend.
Keep Exploring
Ready to take your spooky season further? These will help:
- 12 Funny Outdoor Halloween Decorations That Steal the Show
- 12 Halloween Crafts for Adults: Sophisticated, Spooky DIYs
- 12 Easy Fall Entryway Decor Ideas That Welcome Guests In
Frequently Asked Questions
How can I decorate my yard for Halloween on a tight budget?
Cardboard, black paint, LED tea lights, and cotton webbing cover most of this list for very little money. Focus your spending on one statement piece — a fog machine, a colored flood light, or a good plastic skeleton — and build everything else from dollar-store supplies. Lighting does more scary work than props ever will.
How do I make DIY Halloween decor survive bad weather?
Seal painted cardboard with outdoor sealant or diluted white glue, use foam pumpkins instead of real ones for long-term displays, and stake everything down. Anything lightweight should be brought inside if high winds are forecast — a flying ghost in the neighbor’s yard is funny once, but not twice.
Is DIY outdoor Halloween decor renter-friendly?
Almost entirely yes. Use removable adhesive hooks instead of nails, painter’s tape on doors and windows, and freestanding or staked pieces in the yard rather than anything screwed down. Window clings, luminaria, and glowing bushes leave zero trace when the season ends.
When should I put up outdoor Halloween decorations?
Most people start the first week of October and take everything down the first weekend of November. If you’re using real carved pumpkins, wait until the last week — they only last about a week before shriveling. Foam and plastic pieces can go up as early as late September.
A Haunted Yard Without the Haunted Price Tag
These diy halloween decor outdoor ideas all share one philosophy: light first, handmade second, and store-bought props last. A yard full of glowing eyes, drifting ghosts, and crooked tombstones feels genuinely haunted — and costs a fraction of one of those giant inflatables. Start with the porch this weekend, add the yard next week, and let the neighborhood watch your haunted house grow. Browse our Seasonal & Holiday Decor category for more ways to make every season at home feel a little more magical.