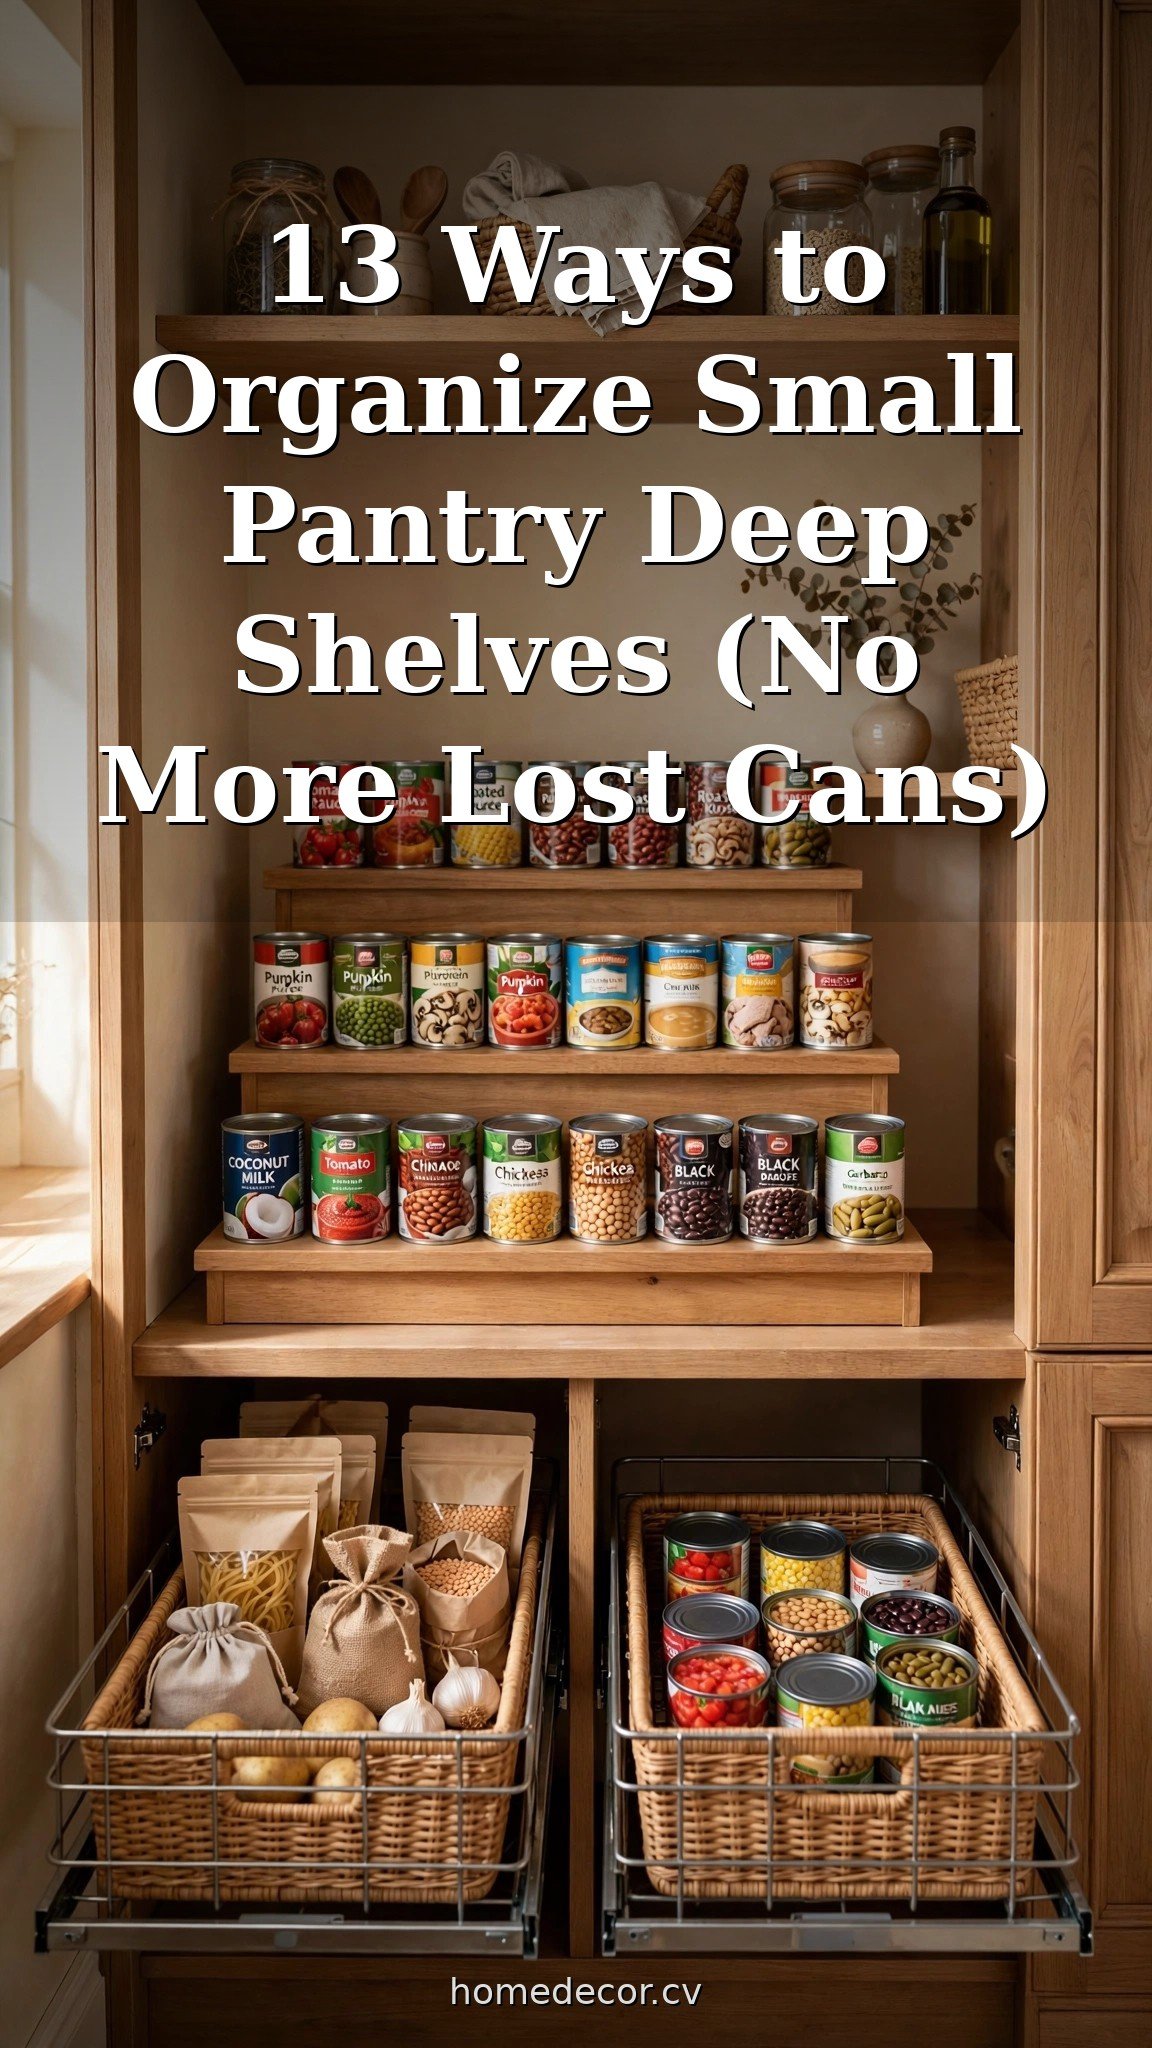
Deep pantry shelves are where good groceries go to disappear. You know the drill: you buy a second jar of pasta sauce because you couldn’t see the first one, and three months later you find both — plus a third — fossilizing in the dark back corner. Learning how to organize small pantry deep shelves isn’t about buying a dozen gadgets; it’s about making the back of every shelf as reachable as the front.
These 13 ideas turn deep, awkward shelves into a pantry where everything is visible, reachable, and actually gets used. Most cost very little, and every one of them pays for itself the first time you stop throwing away duplicate purchases.
Struggling with other tiny kitchen zones too? These 12 Kitchen Counter Styling Ideas That Look Expensive keep your surfaces pretty while the pantry stays practical, and our 15 Coffee Station Ideas for Small Kitchens That Stay Organized carve order out of the busiest corner.
Pull-Outs and Risers: Bring the Back Shelf to You
The core problem of deep shelves is reach. These solutions fix that by making the back row come to you.
1. Use pull-out bins as DIY drawers
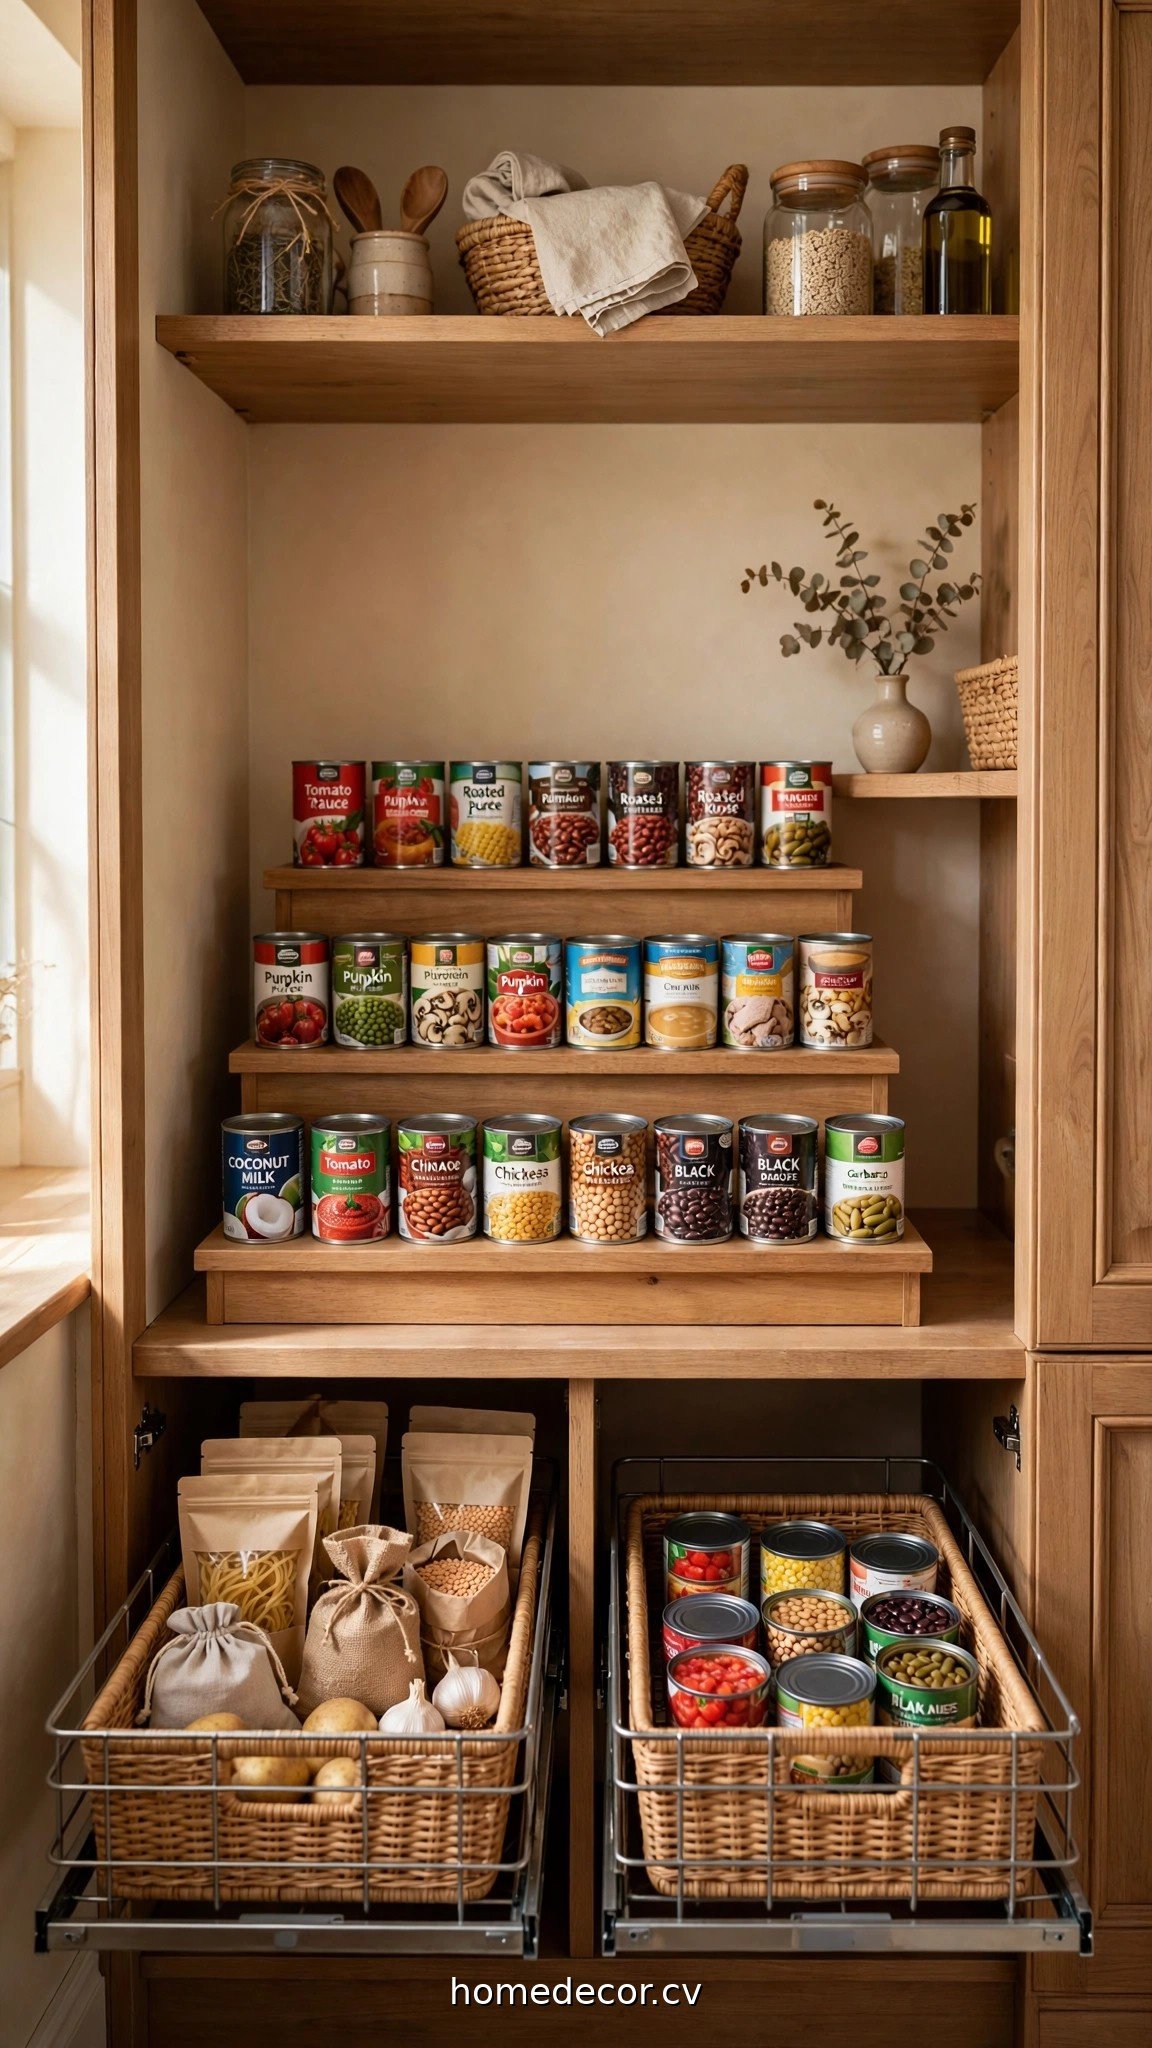
Long, narrow bins that slide out turn a deep shelf into a drawer. Group similar items in each bin — one for canned tomatoes, one for baking supplies — and pull the whole bin forward to see everything at once instead of excavating.
Practical tip: Choose bins with handles and low front walls so you can see contents at a glance. Measure shelf depth first and leave 2-3 cm of clearance so bins slide without scraping.
2. Add tiered risers for cans and jars
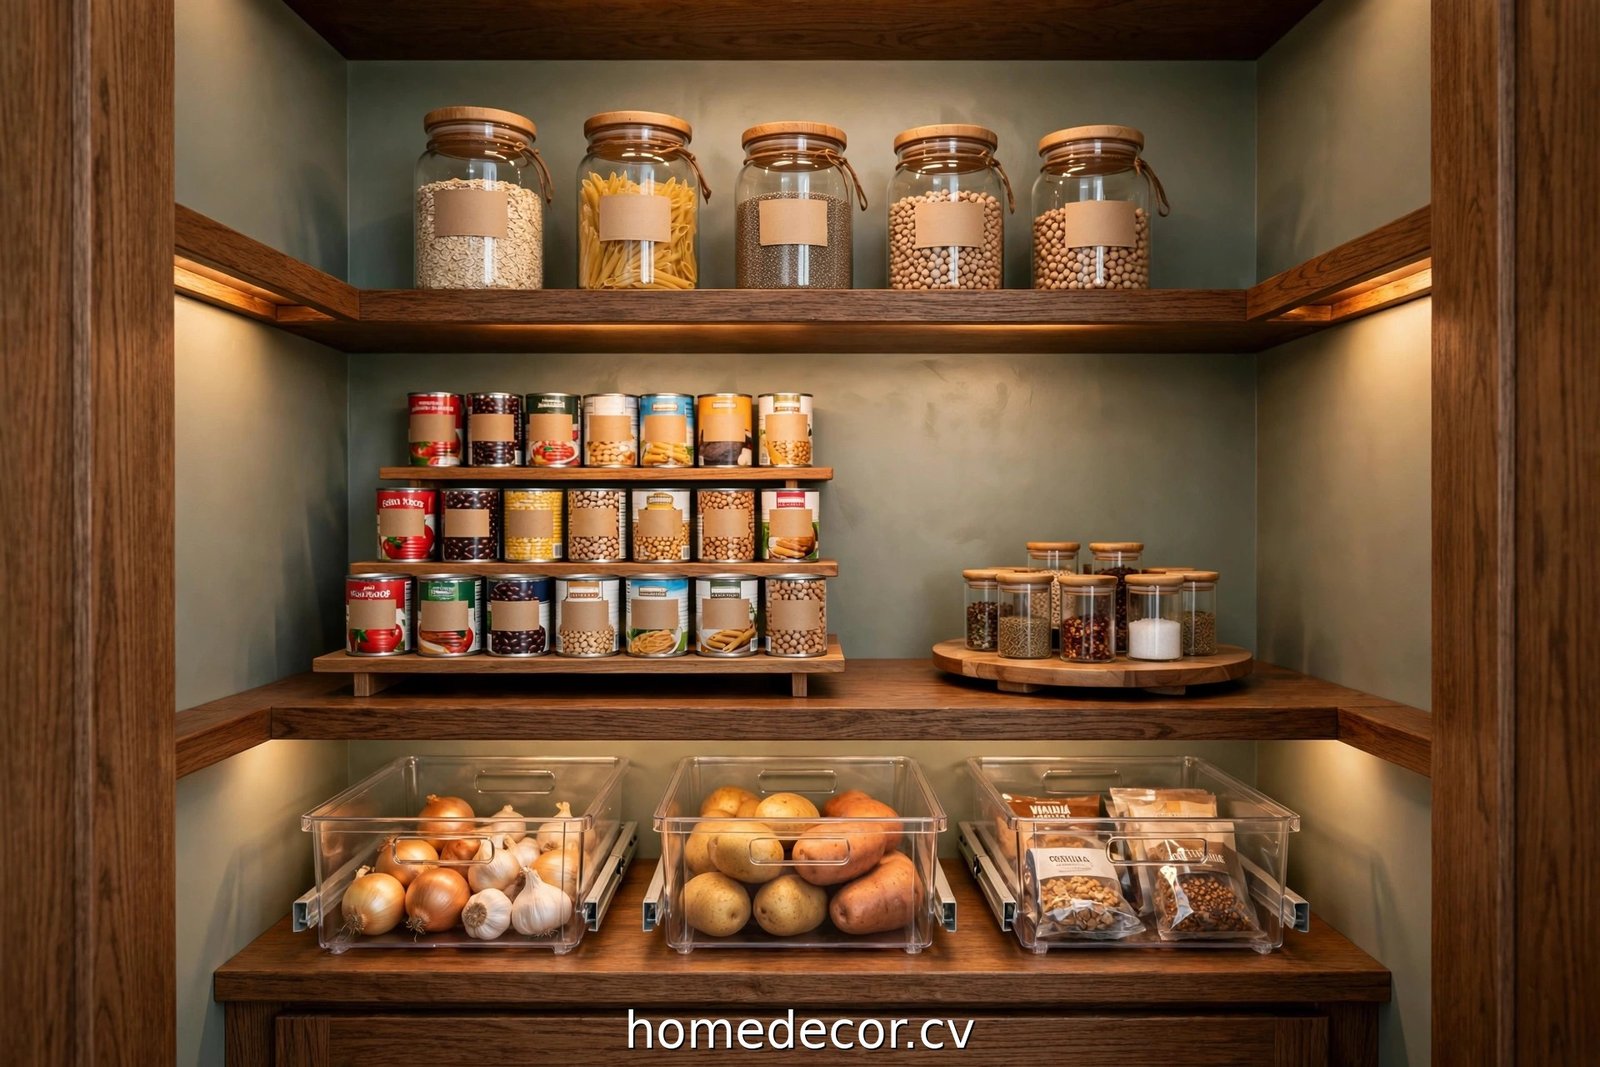
A simple stepped riser (two or three tiers) at the back of a deep shelf lifts the rear rows so every can is visible like stadium seating. No more mystery cans hiding behind the front row.
Practical tip: Expandable bamboo or wire risers adjust to your shelf width. Put the tallest items at the back and shortest at the front — counterintuitive, but the tiers make the tall ones fully visible.
3. Install a lazy susan for oils, sauces, and condiments
A turntable on a deep shelf means you spin instead of reach. Bottles of oil, vinegar, soy sauce, and hot sauce — the things you grab daily — live on the susan where one spin shows you every option.
Practical tip: Use a lazy susan with a raised rim so bottles don’t slide off mid-spin, and keep it to one category per turntable or it becomes a spinning junk drawer.
4. Try slide-out shelf inserts for the deepest shelves
For shelves deeper than 50 cm, add-on sliding shelf inserts (the kind that mount with adhesive or screws to the existing shelf) give you a proper pull-out drawer without renovating. They’re the closest thing to a custom pantry on a budget.
Practical tip: These work best on the lowest deep shelf where you store heavy items like bulk rice, flour, and potatoes — pulling beats lifting every time.
Zones, Labels, and Systems That Keep It Working
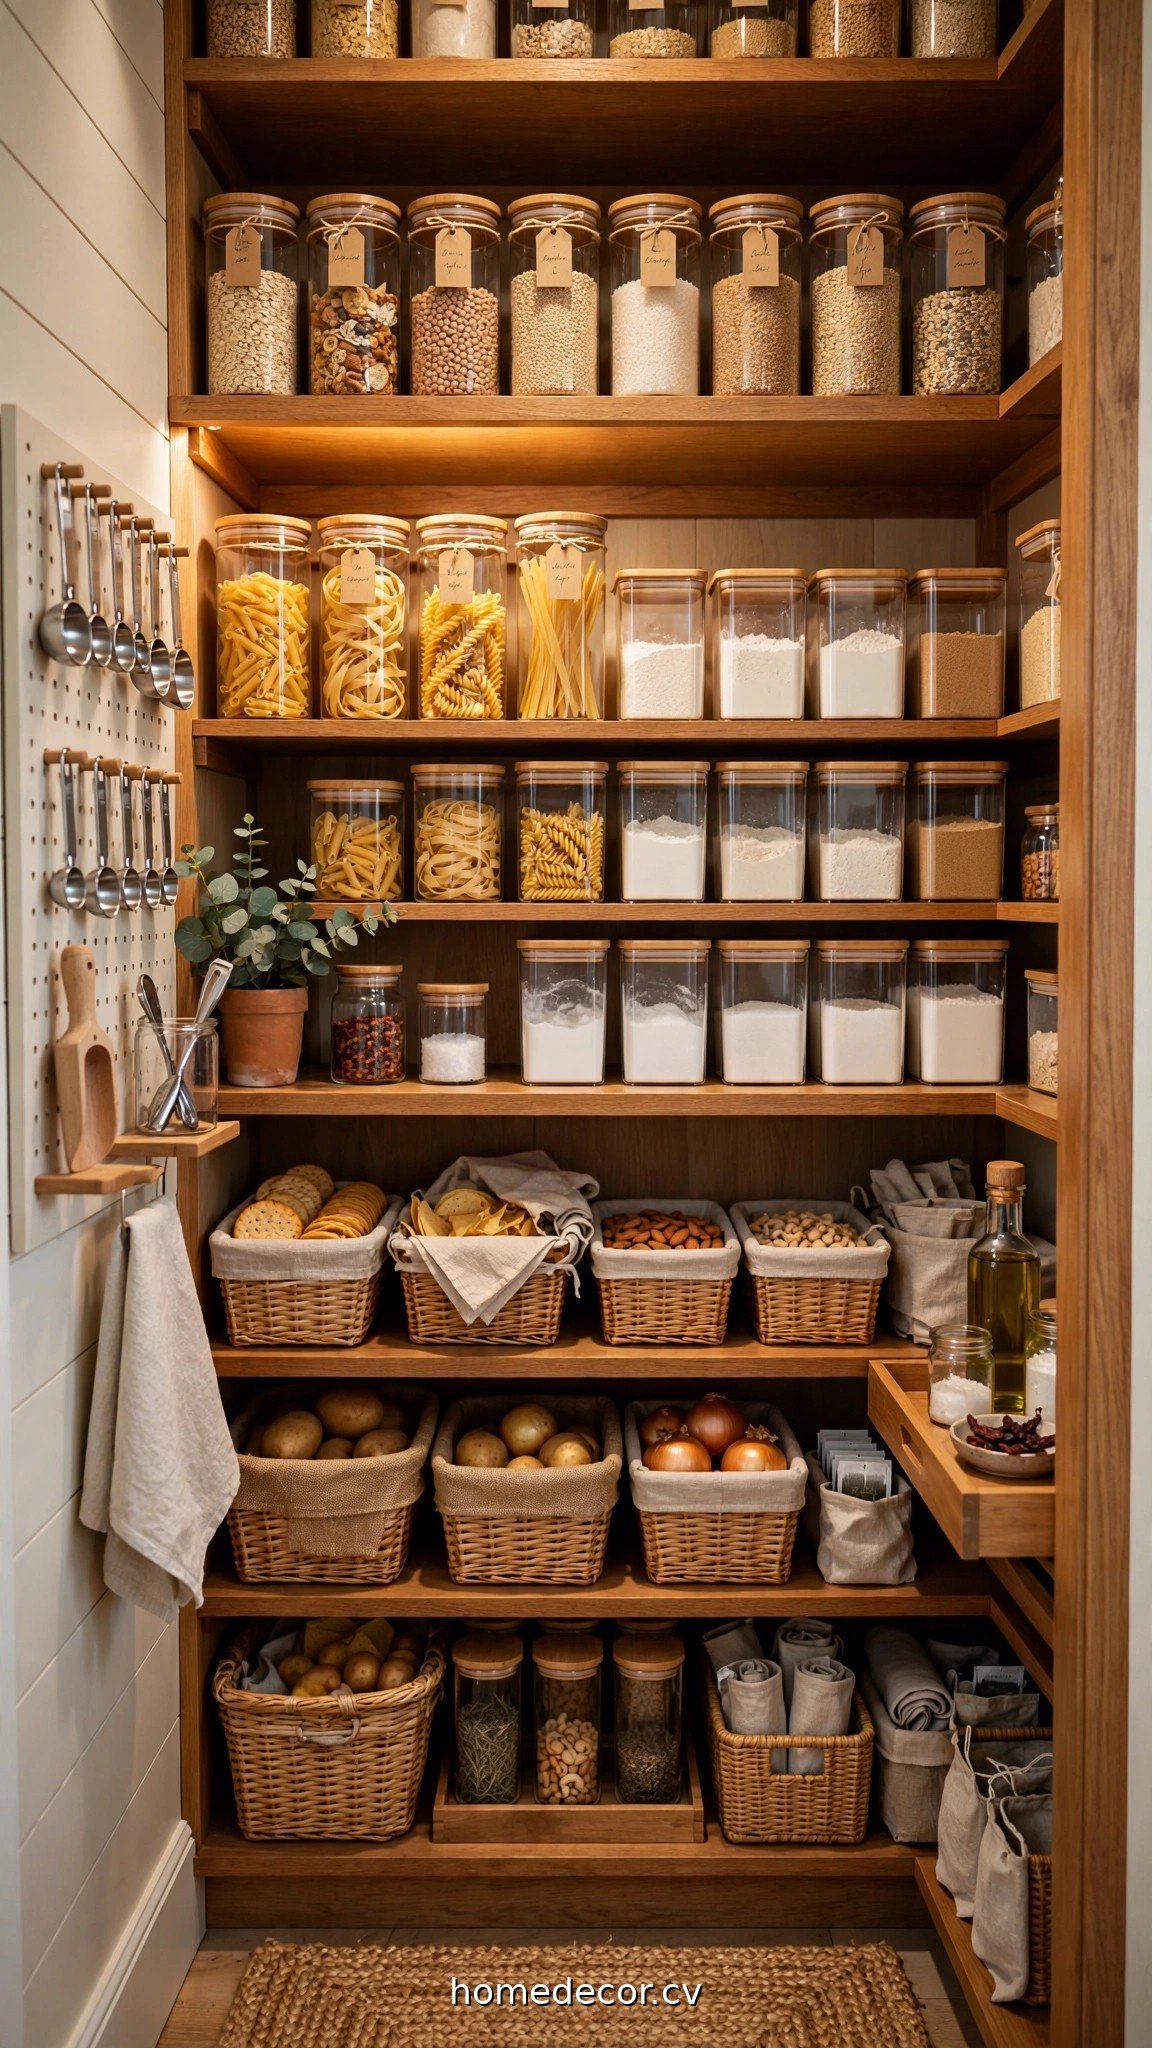
Organizers without a system just become expensive clutter. These ideas give your pantry a logic that survives real life.
5. Divide shelves into zones by use
Assign every shelf a job: breakfast on one, dinner ingredients on another, snacks at kid height, baking supplies together. When everything has a zone, putting groceries away takes seconds and finding things takes even less.
Practical tip: Put daily-use zones at eye and hand level, occasional-use zones (holiday baking, bulk backup) high and low. The deep back of each zone holds the backups; the front holds what’s open.
6. Label everything — bins, jars, and shelf edges
Labels are the difference between an organized pantry and a pantry that stays organized. Label bins by category, jars by content and date, and even the shelf edge with the zone name so everyone in the house puts things back in the right place.
Practical tip: A chalk marker on glass jars and removable label stickers on bins let you update labels when contents change — no sticky residue, no commitment issues.
7. Decant dry goods into clear, matching containers
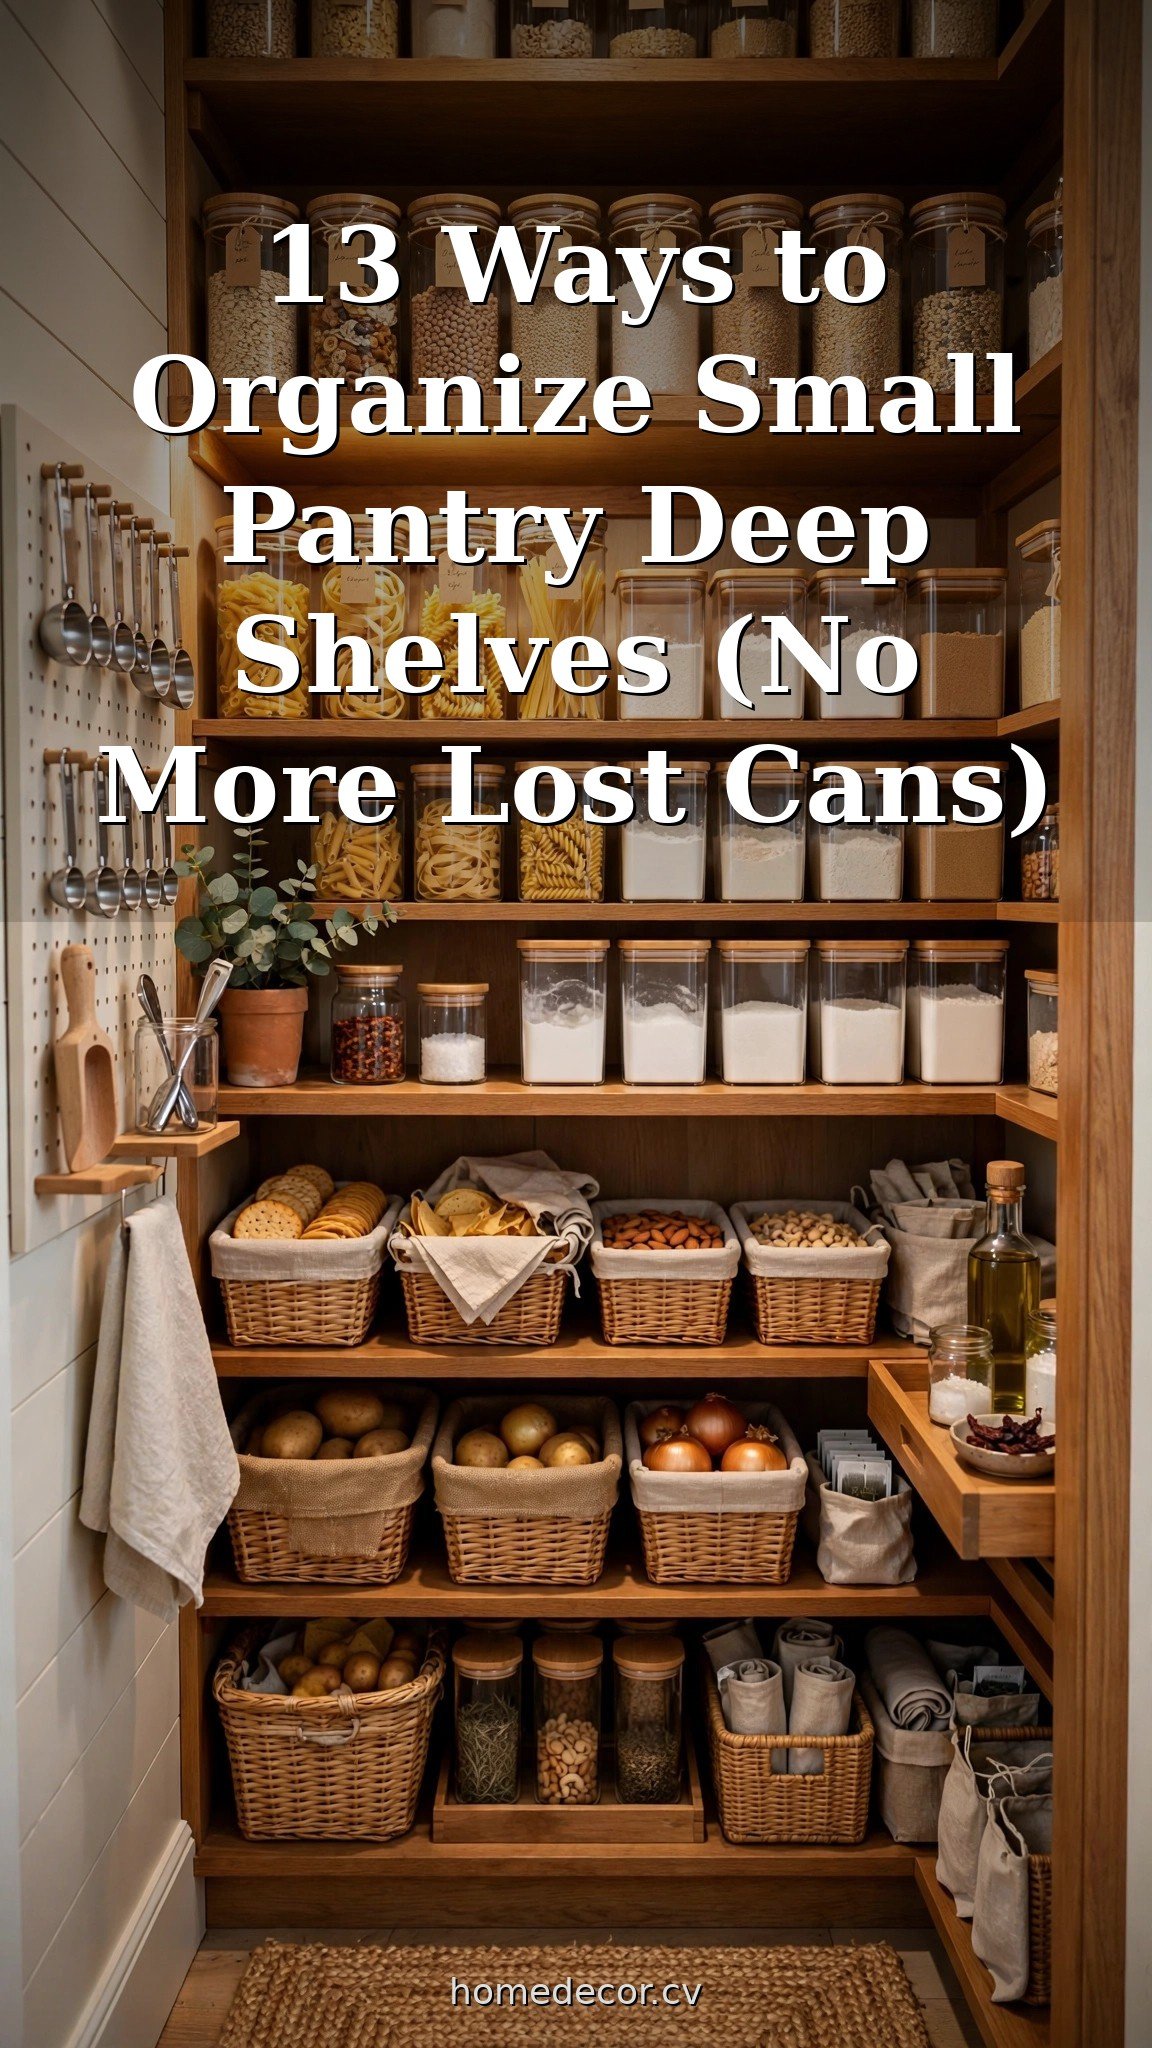
Flour, rice, pasta, cereal, and snacks go into clear airtight containers so you can see exactly how much is left. Matching containers look calm and orderly, and you stop buying duplicates because the level is always visible.
Practical tip: Only decant what you use regularly — decanting everything is a project that dies halfway. Start with the five staples you buy most.
8. Run a first-in, first-out rotation
New groceries go behind existing ones, always. This simple habit — like grocery stores use — means older items get used first and nothing expires in the back. It takes three extra seconds when unpacking bags.
Practical tip: When you decant, write the purchase month on the jar lid with a chalk marker. At a glance you know what’s oldest without digging for expiry dates.
9. Keep a small “use it up” basket at the front
Designate one small basket for items that need using soon — the half bag of lentils, the can nearing its date, the sauce you opened last week. When you’re stuck for dinner, the basket decides for you, and food waste drops fast.
Practical tip: Check the basket every Sunday and plan one meal around it. It’s the easiest meal-planning system that actually sticks.
Small Details That Solve Deep-Shelf Headaches
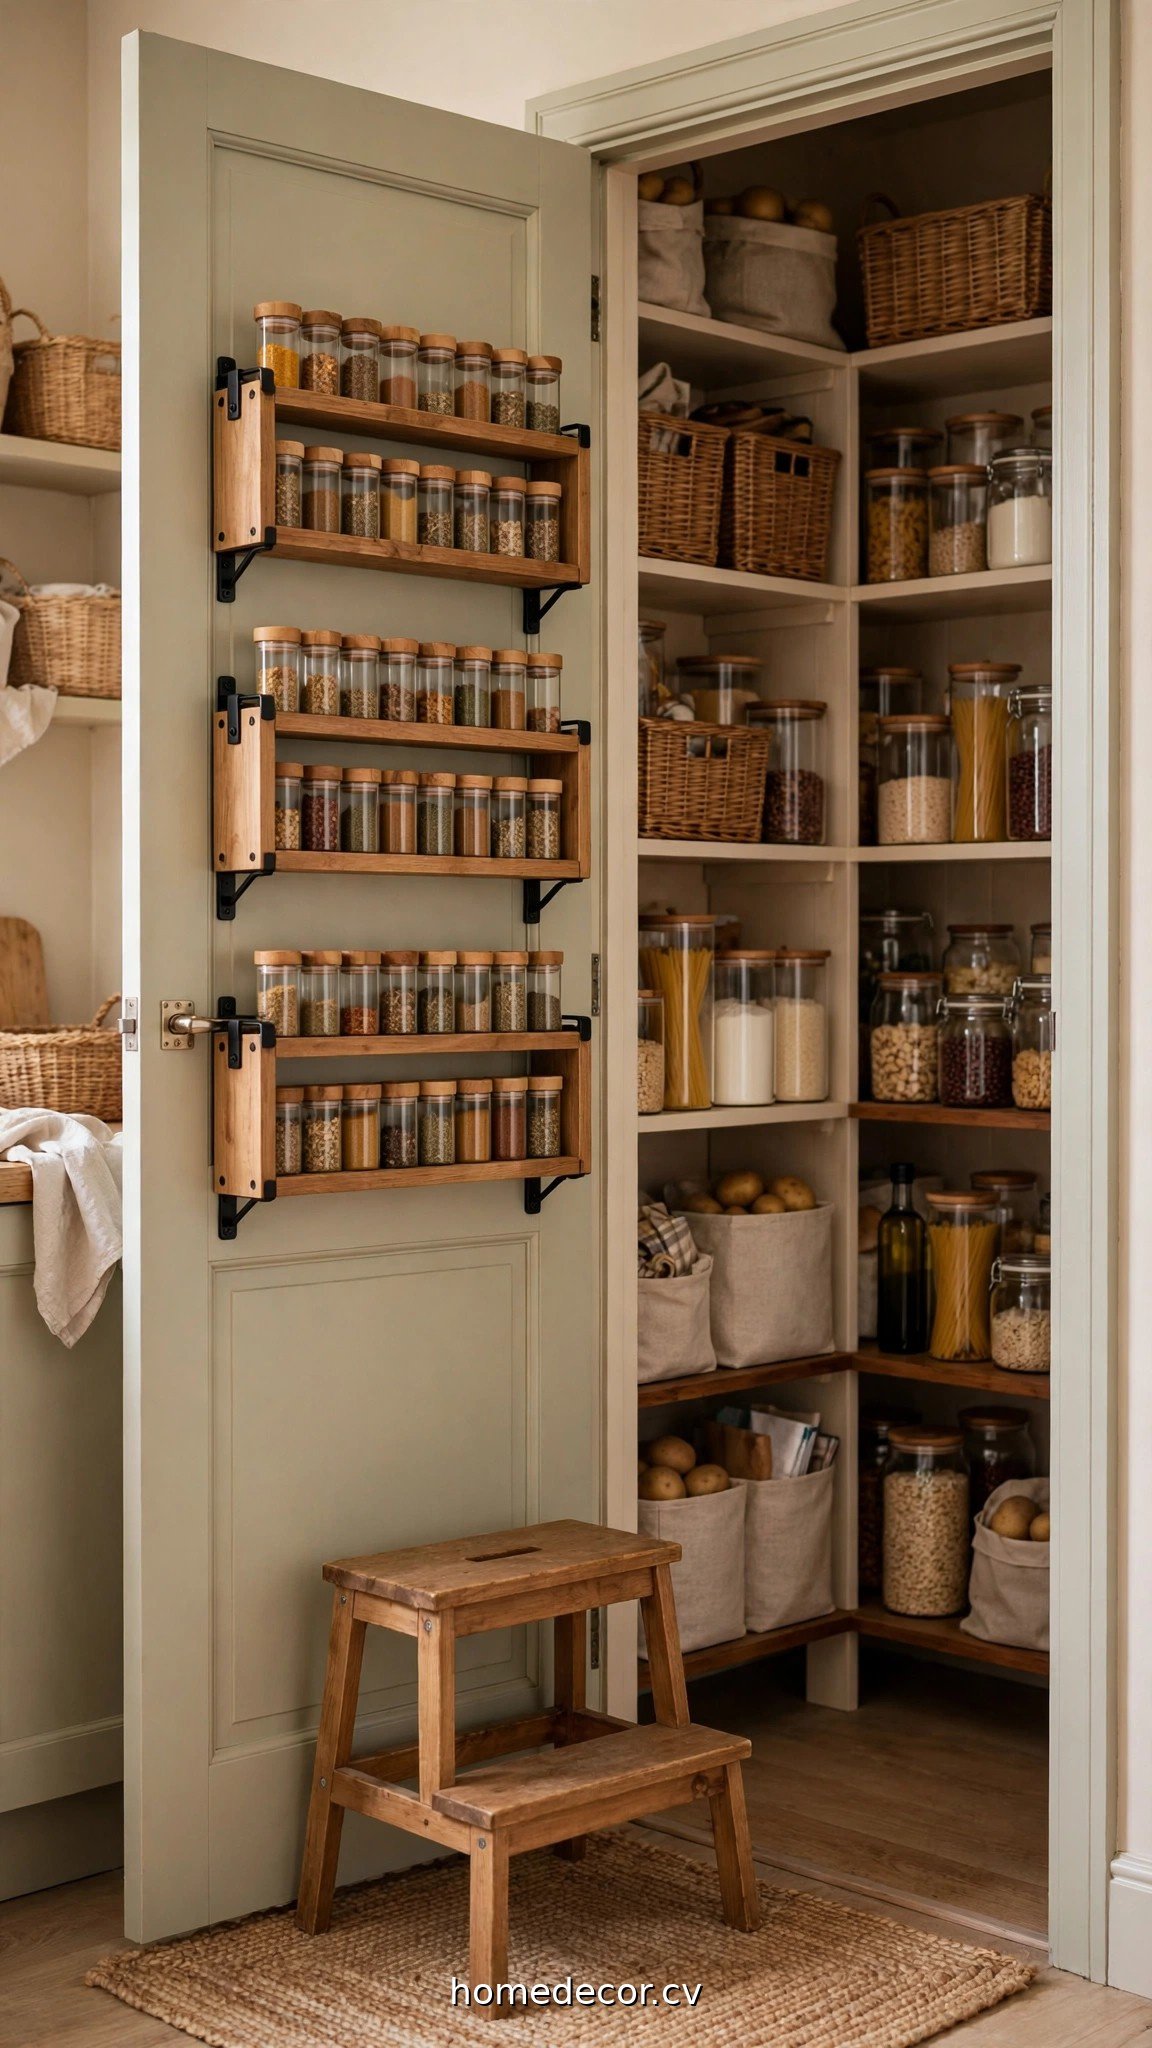
These finishing touches handle the awkward realities — doors, heights, and the stuff that never quite fits.
10. Use the pantry door for shallow storage
The back of the pantry door is free real estate. Mount slim racks for spices, packets, wraps, and small bottles. It takes pressure off the deep shelves and keeps high-frequency small items at your fingertips.
Practical tip: Keep door storage shallow (under 8 cm) so the door still closes easily, and don’t hang anything heavy — door hinges aren’t built for bulk.
11. Add battery-powered motion lights inside
Deep shelves are dark shelves, and dark shelves hide food. Stick-on motion-sensor LED lights under each shelf make every corner visible the moment you open the door. You’ll be amazed what you find in there.
Practical tip: Warm-white puck lights with motion sensors are cheap, need no wiring, and the batteries last months. Place one toward the back of each deep shelf where the darkness lives.
12. Keep a folding step stool nearby for high deep shelves
High deep shelves are the worst combination — hard to see and hard to reach. A slim folding step stool stored in the gap beside the fridge or inside the pantry door makes the top shelf actually usable instead of decorative.
Practical tip: Store everyday items no higher than you can comfortably reach; reserve the top deep shelf for true backups and seasonal items you touch monthly, not daily.
13. Do a ten-minute reset every month
Even the best system drifts. Once a month, pull everything off one shelf, toss expired items, wipe the shelf, and put things back in their zones. Ten minutes per shelf keeps the whole pantry honest.
Practical tip: Tie the reset to something you already do — the first grocery run of the month, or rent day. Habits that piggyback on existing routines are the ones that survive.
Keep Exploring
Love these ideas? Here are a few more you might enjoy:
- 12 Kitchen Counter Styling Ideas That Look Expensive
- 14 Small Bathroom Organization Ideas That Maximize Every Inch
- 11 Under Kitchen Sink Organization Ideas for a Clutter-Free Cabinet
Frequently Asked Questions
What’s the best way to organize deep pantry shelves?
Combine pull-out bins or sliding inserts (to fix the reach problem) with zoning by use and clear labeling (to fix the chaos problem). Add tiered risers for cans and a lazy susan for bottles. The formula is simple: make the back reachable, give everything a zone, and label it.
How do I stop losing food in the back of deep shelves?
Use a first-in, first-out system — new items always go behind old ones — and keep a “use it up” basket at the front for items nearing expiry. Clear containers let you see quantities at a glance, and motion-sensor lights eliminate the dark corners where food hides.
Should I decant everything into matching containers?
No — only decant the dry staples you buy regularly, like flour, rice, pasta, and cereal. Decanting everything is expensive and time-consuming. For everything else, the original packaging inside a labeled bin works perfectly well.
How often should I reorganize my pantry?
A full reorganize once or twice a year is plenty, but do a quick ten-minute reset monthly: toss expired items, wipe shelves, and return strays to their zones. Small, regular resets beat one exhausting annual overhaul every time.
A Pantry That Works as Hard as You Do
Deep shelves stop being a black hole the moment the back becomes reachable and every item has a zone. Start with one shelf — pull-out bins, a riser, some labels — and you’ll feel the difference the same day. Expand the system shelf by shelf, and grocery waste, duplicate purchases, and pantry frustration all shrink together. For more kitchen order, explore our Kitchen & Bathroom Decor category for ideas that make every corner of your kitchen work smarter.