Your kitchen counter is the hardest-working surface in your home — it’s where the coffee gets made, where kids do homework, and where guests naturally gather while you cook. The good news is that these kitchen counter styling ideas prove you don’t need a renovation to make it look expensive. With a few trays, one good cutting board, and some ruthless editing, even a tired laminate counter in a rental can look like it belongs in a magazine.
The secret designers use is simple: style in zones, keep about 70 percent of the counter clear, and give every object a job — pretty or practical, ideally both. Below you’ll find 12 ideas grouped into three steps: build your foundation with trays and boards, add warmth with plants and texture, then keep it all functional so the kitchen still works on a busy Tuesday night.
Styling the sunny ledge above your sink too? These 12 Ideas for Kitchen Window Sills (Herbs, Plants & Cozy Displays) pair perfectly with a styled counter, and a dedicated 15 Coffee Station Ideas for Small Kitchens That Stay Organized can turn one corner into your favorite morning ritual.
Build the Foundation: Trays, Boards & Backdrops
Every styled counter starts with a base layer that makes everything else look intentional.
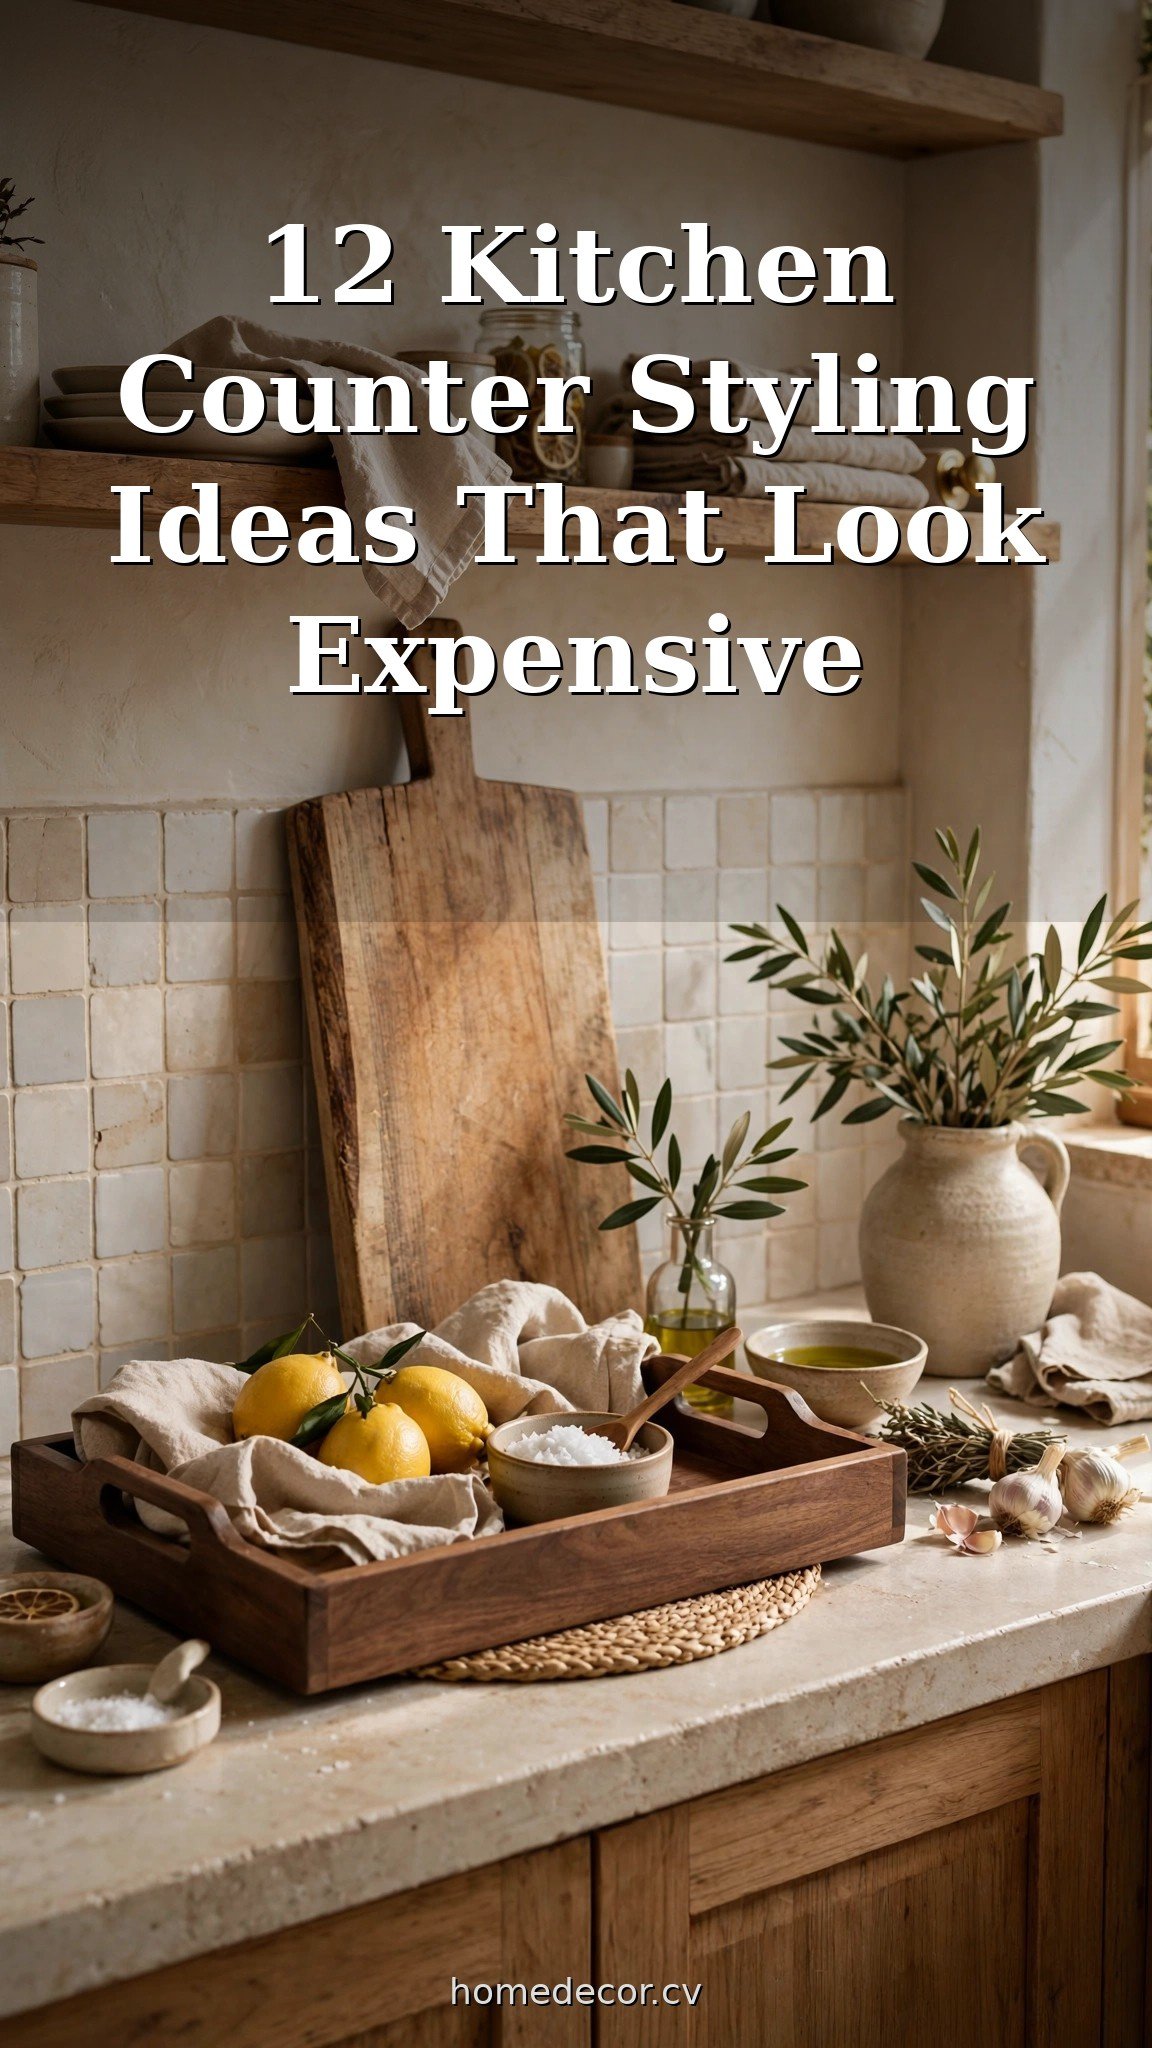
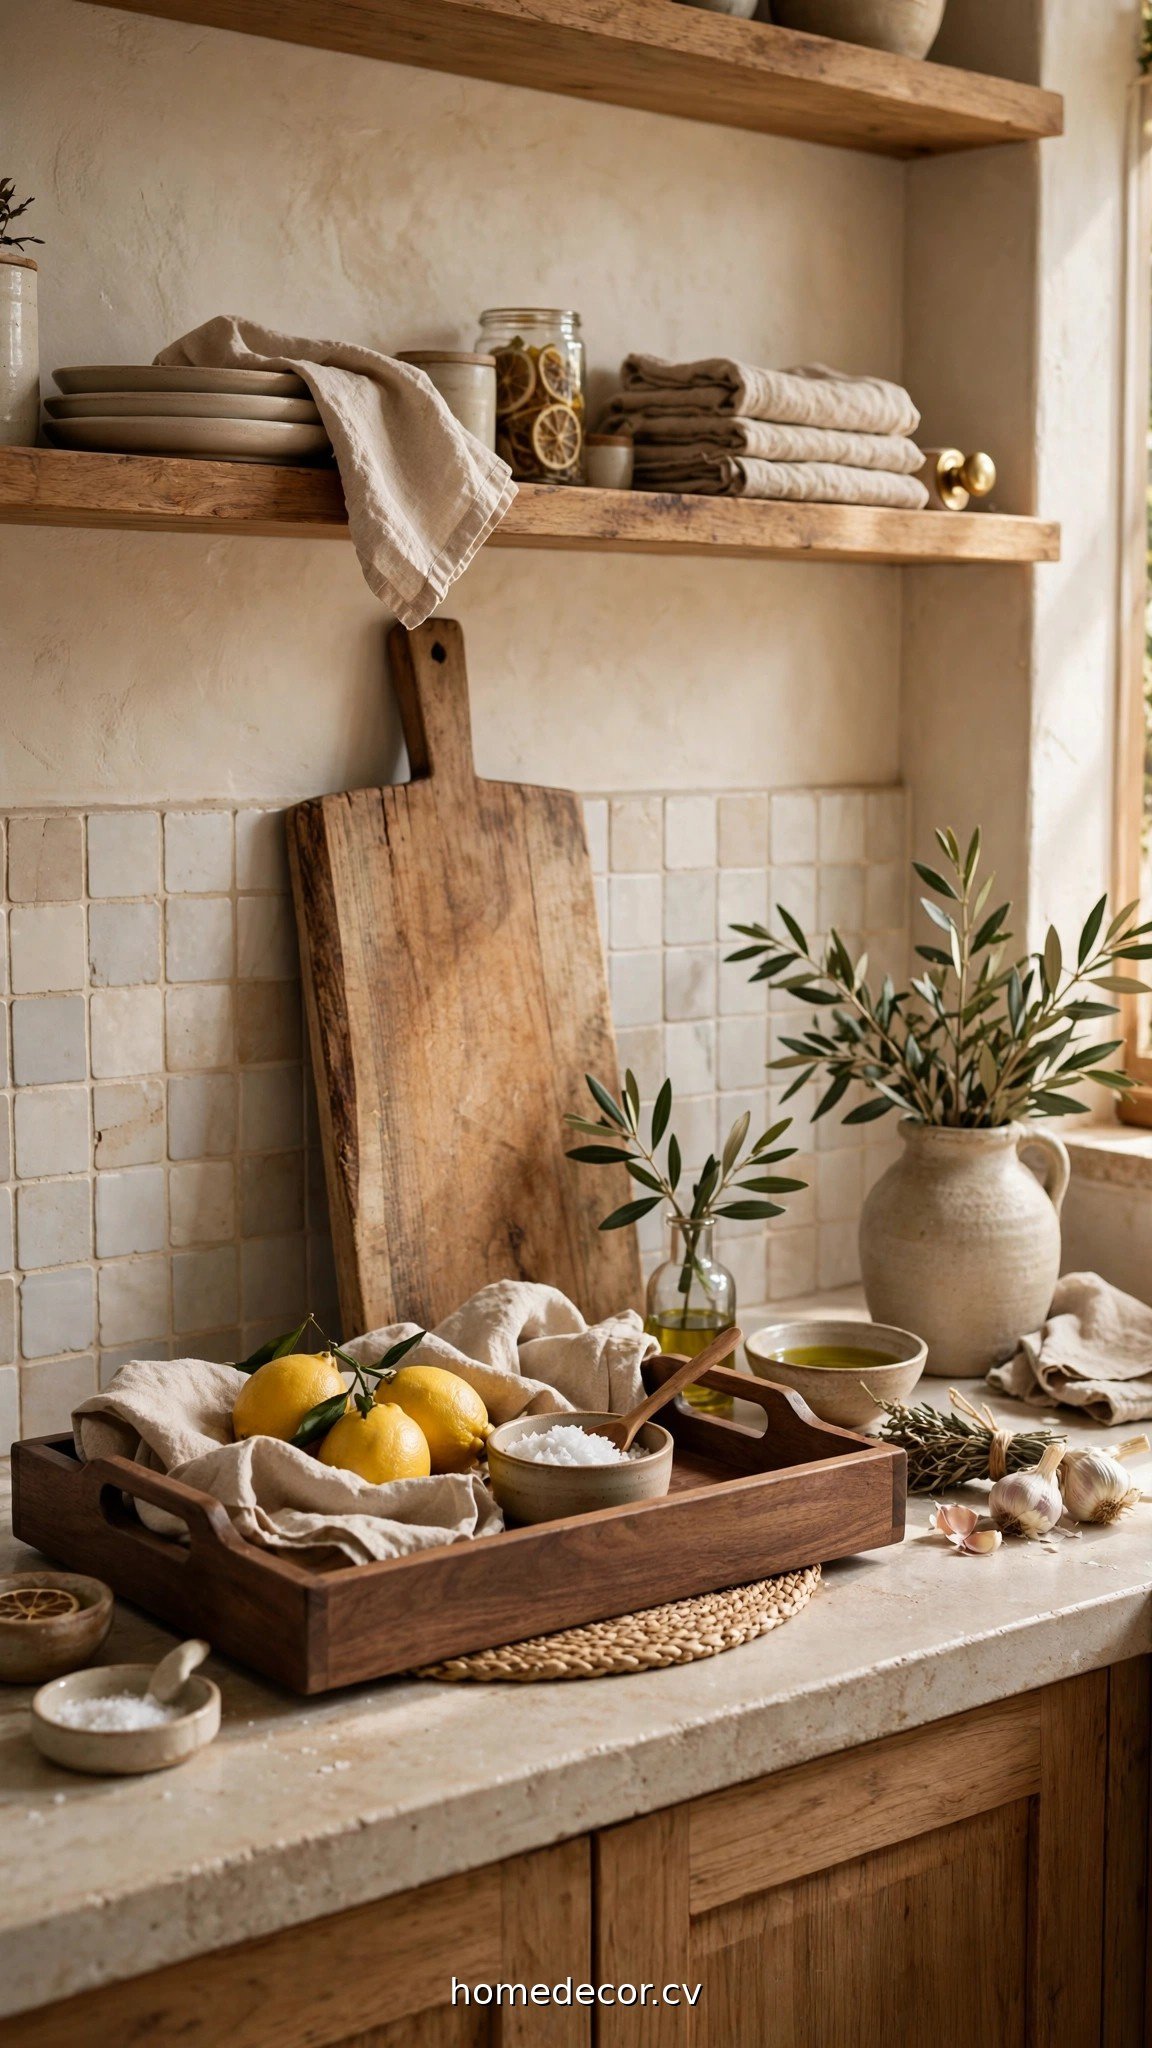
1. Corral the everyday clutter onto one wooden tray
Your olive oil, salt cellar, and pepper mill look like clutter when scattered — and like a styled vignette when grouped. Place a medium wooden or rattan tray near the stove and gather the bottles you reach for daily onto it. The tray creates a visual boundary that tells the eye “this is intentional,” and when you need to wipe the counter, you lift one thing instead of twelve.
Practical tip: Choose a tray with a lip or handles so bottles don’t slide, and line it with a washable cloth or silicone mat — oil drips happen, and the liner saves the wood underneath.
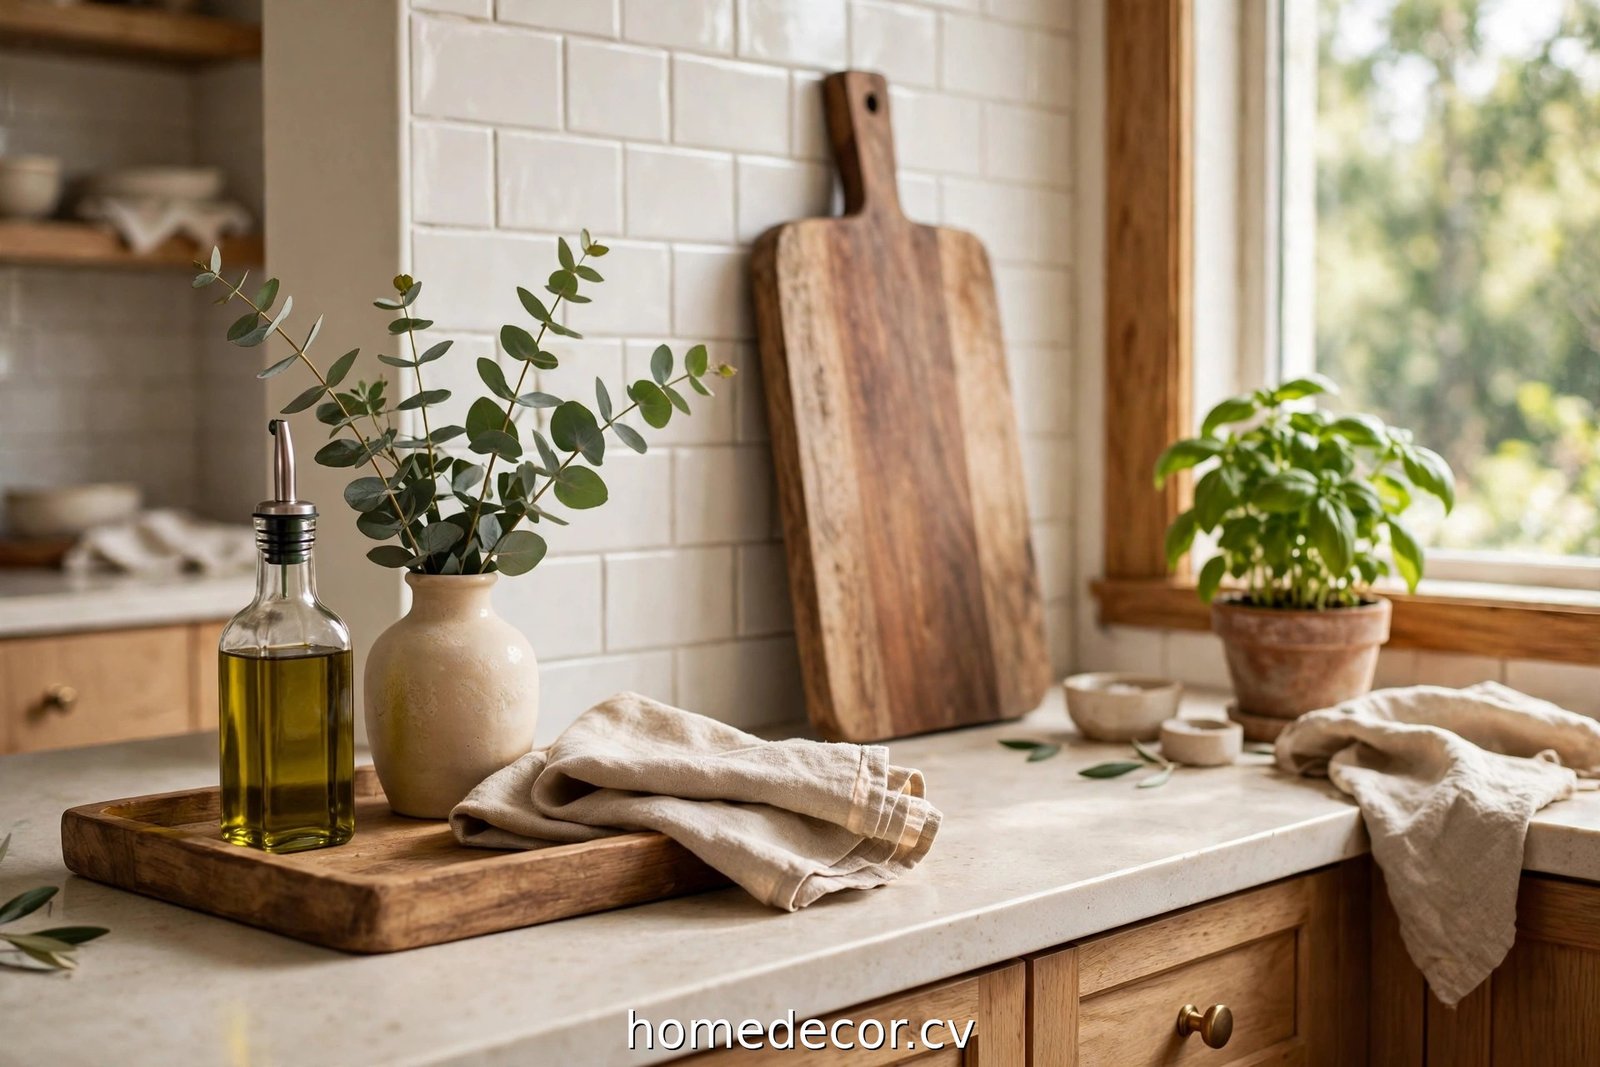
2. Lean a large cutting board against the backsplash
One oversized wooden cutting board, leaned casually against the backsplash, adds instant warmth and height for about the price of a pizza. It fills that awkward dead space between the counter and the upper cabinets and gives your kitchen the layered look designers charge hundreds for.
Practical tip: Layer two boards — a large wooden one behind, a smaller marble or acacia board in front — for depth. Stored upright, boards stay looking new far longer than flat-stacked ones.
3. Lay a runner or large slab as a styling base
A long marble pastry slab, a woven runner, or even a large wooden platter under your vignette anchors the whole arrangement the way a rug anchors a seating area. It defines the “styled zone” and protects the counter underneath from rings and scratches.
Practical tip: In rentals with dated counters, a generous runner or slab visually “replaces” the countertop beneath it — the eye reads the pretty surface, not the laminate.
4. Edit first: follow the 70-percent-clear rule
Before adding a single pretty thing, remove everything that doesn’t earn its place. The most expensive-looking kitchens aren’t the fullest — they’re the most edited. Aim to keep roughly 70 percent of your counter surface completely clear, and style only the remaining 30 percent near the stove, sink, or one corner.
Practical tip: Do the “box test”: put every counter item in a box for three days. Only return what you actually reached for. Donate or relocate the rest — your kitchen will instantly look bigger.
Add Warmth With Plants, Texture & Everyday Objects
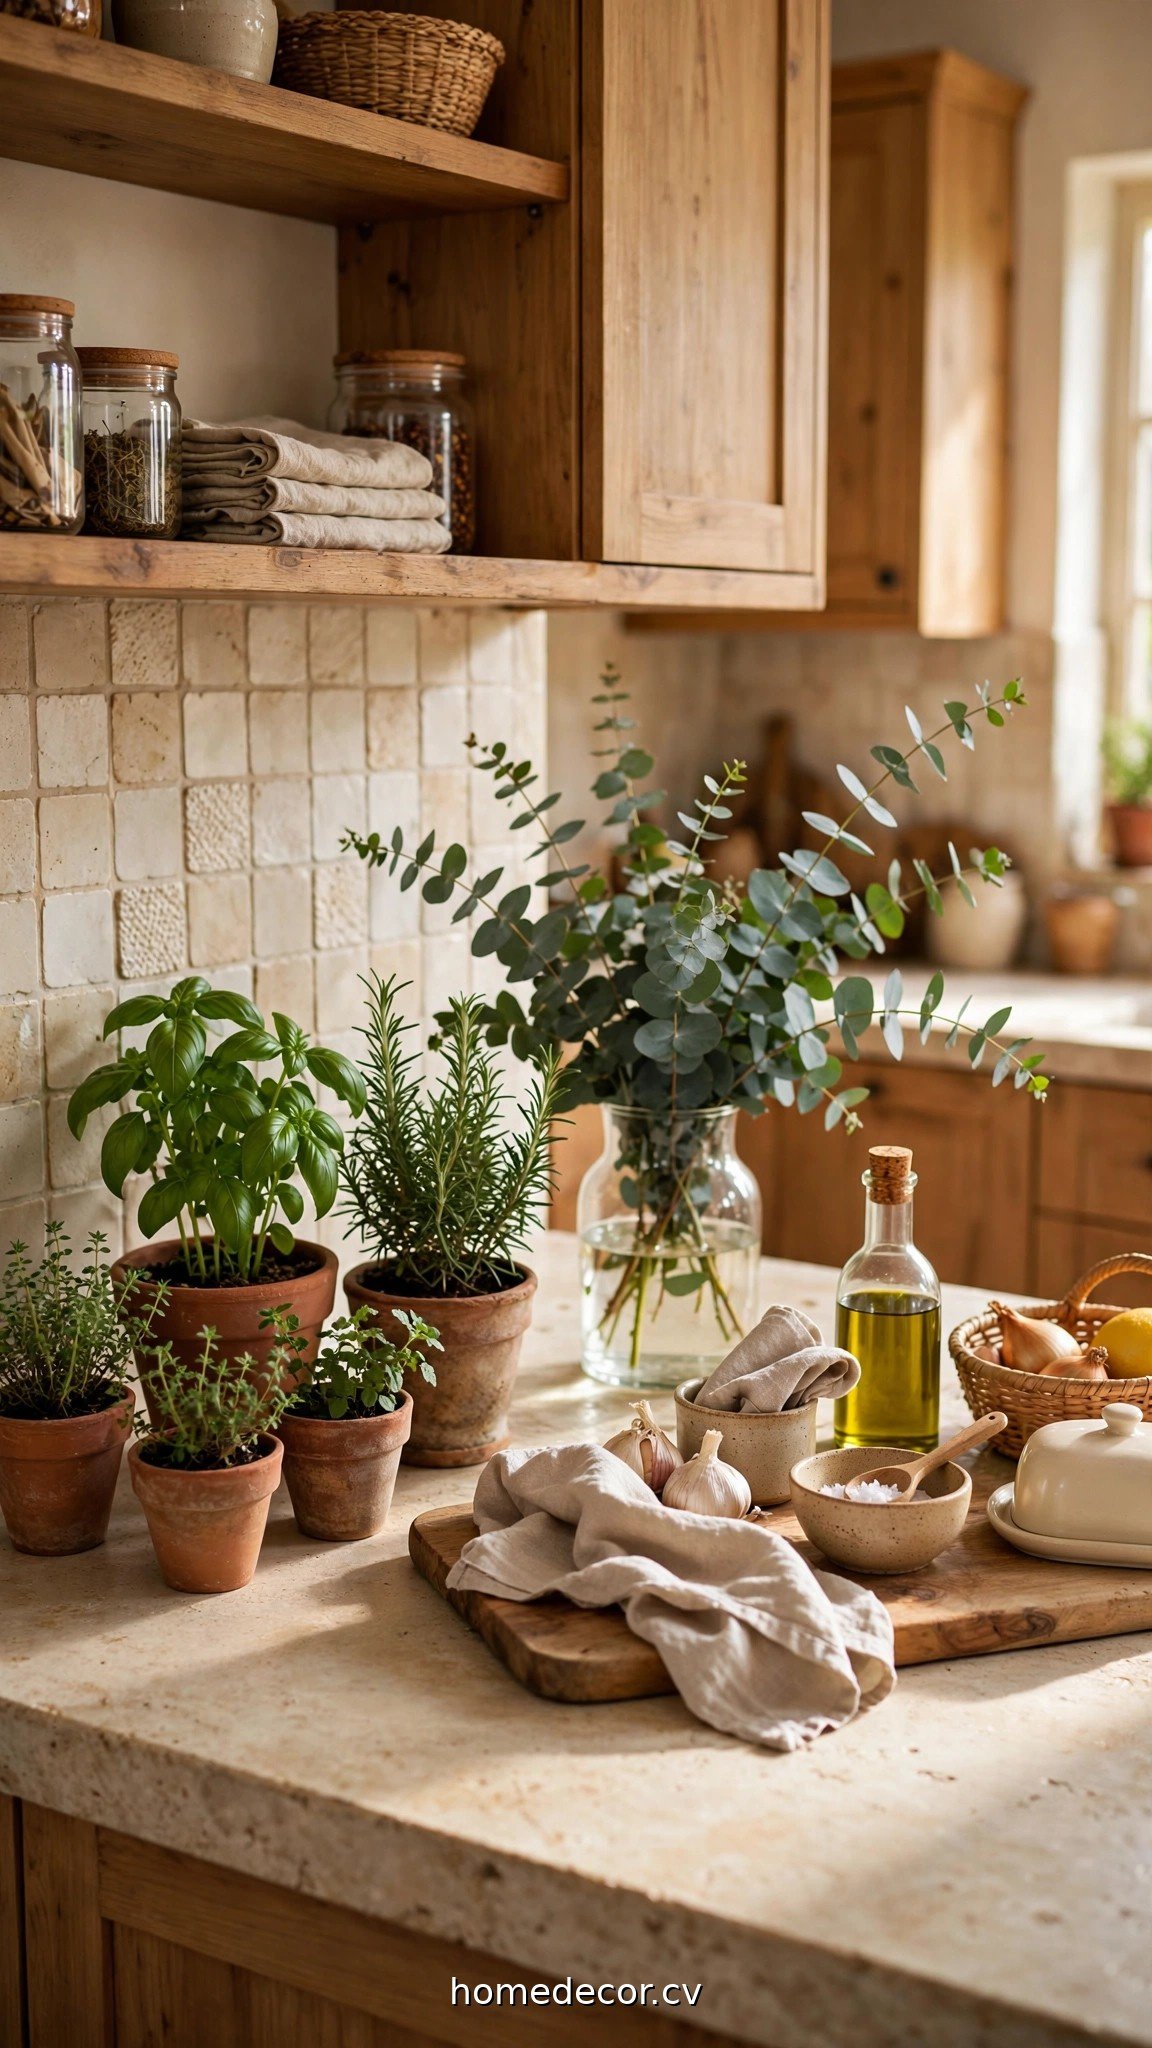
With the foundation set, it’s time for the layer that makes a kitchen feel alive.
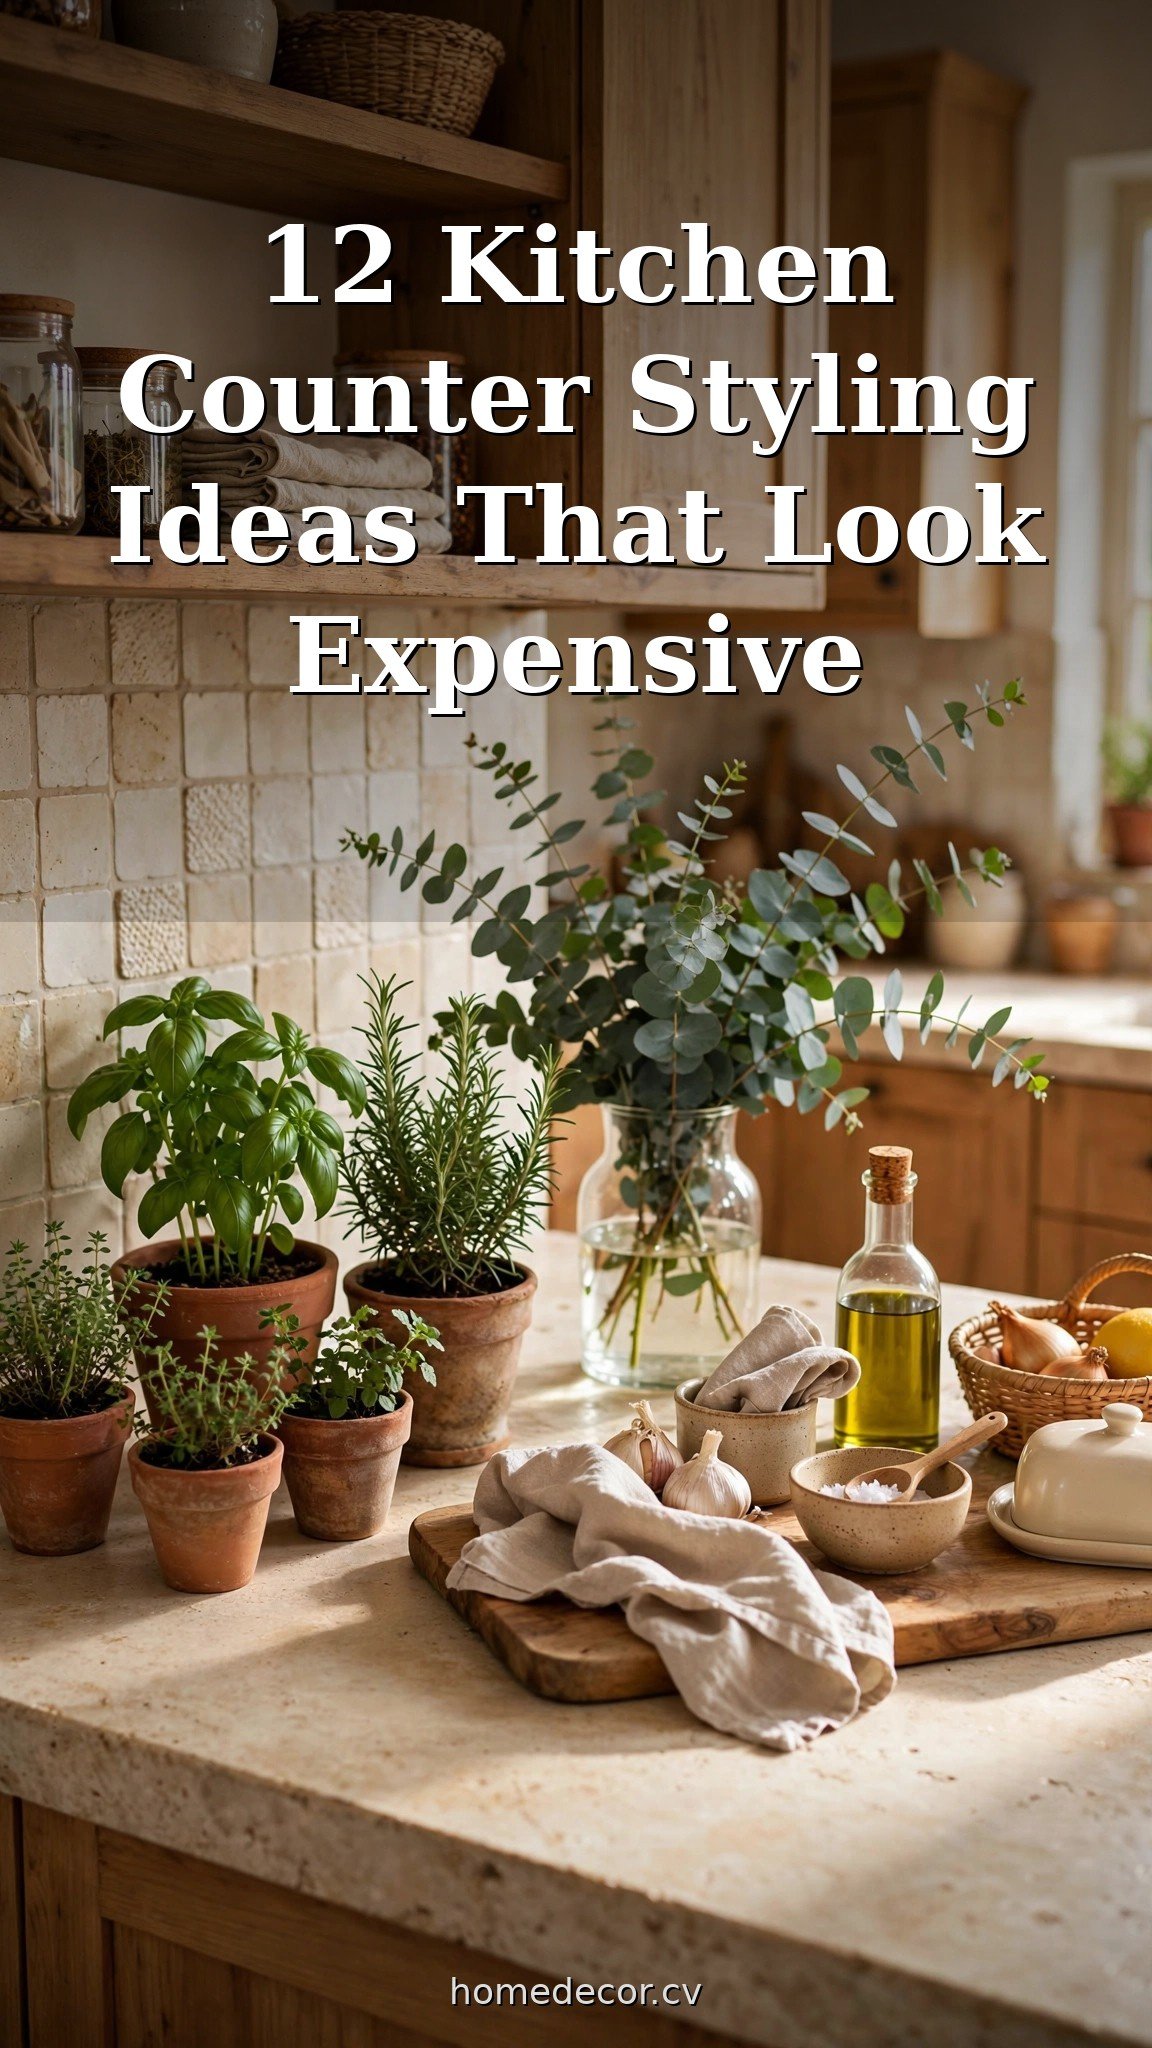
5. Grow a trio of herbs by the window
Three small matching pots of basil, mint, and rosemary on the brightest stretch of counter add life, scent, and actual usefulness. Uniform pots — plain terracotta, white ceramic, or tin — keep the grouping looking styled rather than scattered.
Practical tip: Herbs want at least four hours of sun and hate wet feet. Set pots on a small saucer or tray and water only when the top inch of soil feels dry.
6. Put tall branches in a simple vase
A single tall vase with eucalyptus, olive branches, or even foraged twigs adds the height every styled counter needs — and costs next to nothing. Dried or faux stems work beautifully in kitchens, where real flowers wilt fast near the heat of the stove.
Practical tip: Keep the arrangement narrow and tall rather than wide and bushy so it doesn’t eat precious prep space. One statement stem beats a crowded bouquet.
7. Stack pretty cookbooks or add a cake stand
Two or three cookbooks with attractive spines, stacked horizontally, create a pedestal for a small plant or candle. A cake stand does the same job vertically — use it to elevate fruit, a plant, or your most-used olive oil into a proper display.
Practical tip: Put the heaviest book on the bottom and keep stacks to three or fewer — taller towers topple when you’re cooking in a hurry.
8. Keep a bowl of seasonal fruit in view
A wooden or ceramic bowl of lemons, apples, or oranges is the oldest styling trick in the book because it works: color, shape, and a reminder that the kitchen is for living. Refill it weekly and it never looks tired.
Practical tip: Choose one fruit type per bowl for a curated look — a bowl of only lemons or only green apples reads far more “styled” than a mixed fruit salad.
Keep It Functional: Style Around Real Cooking
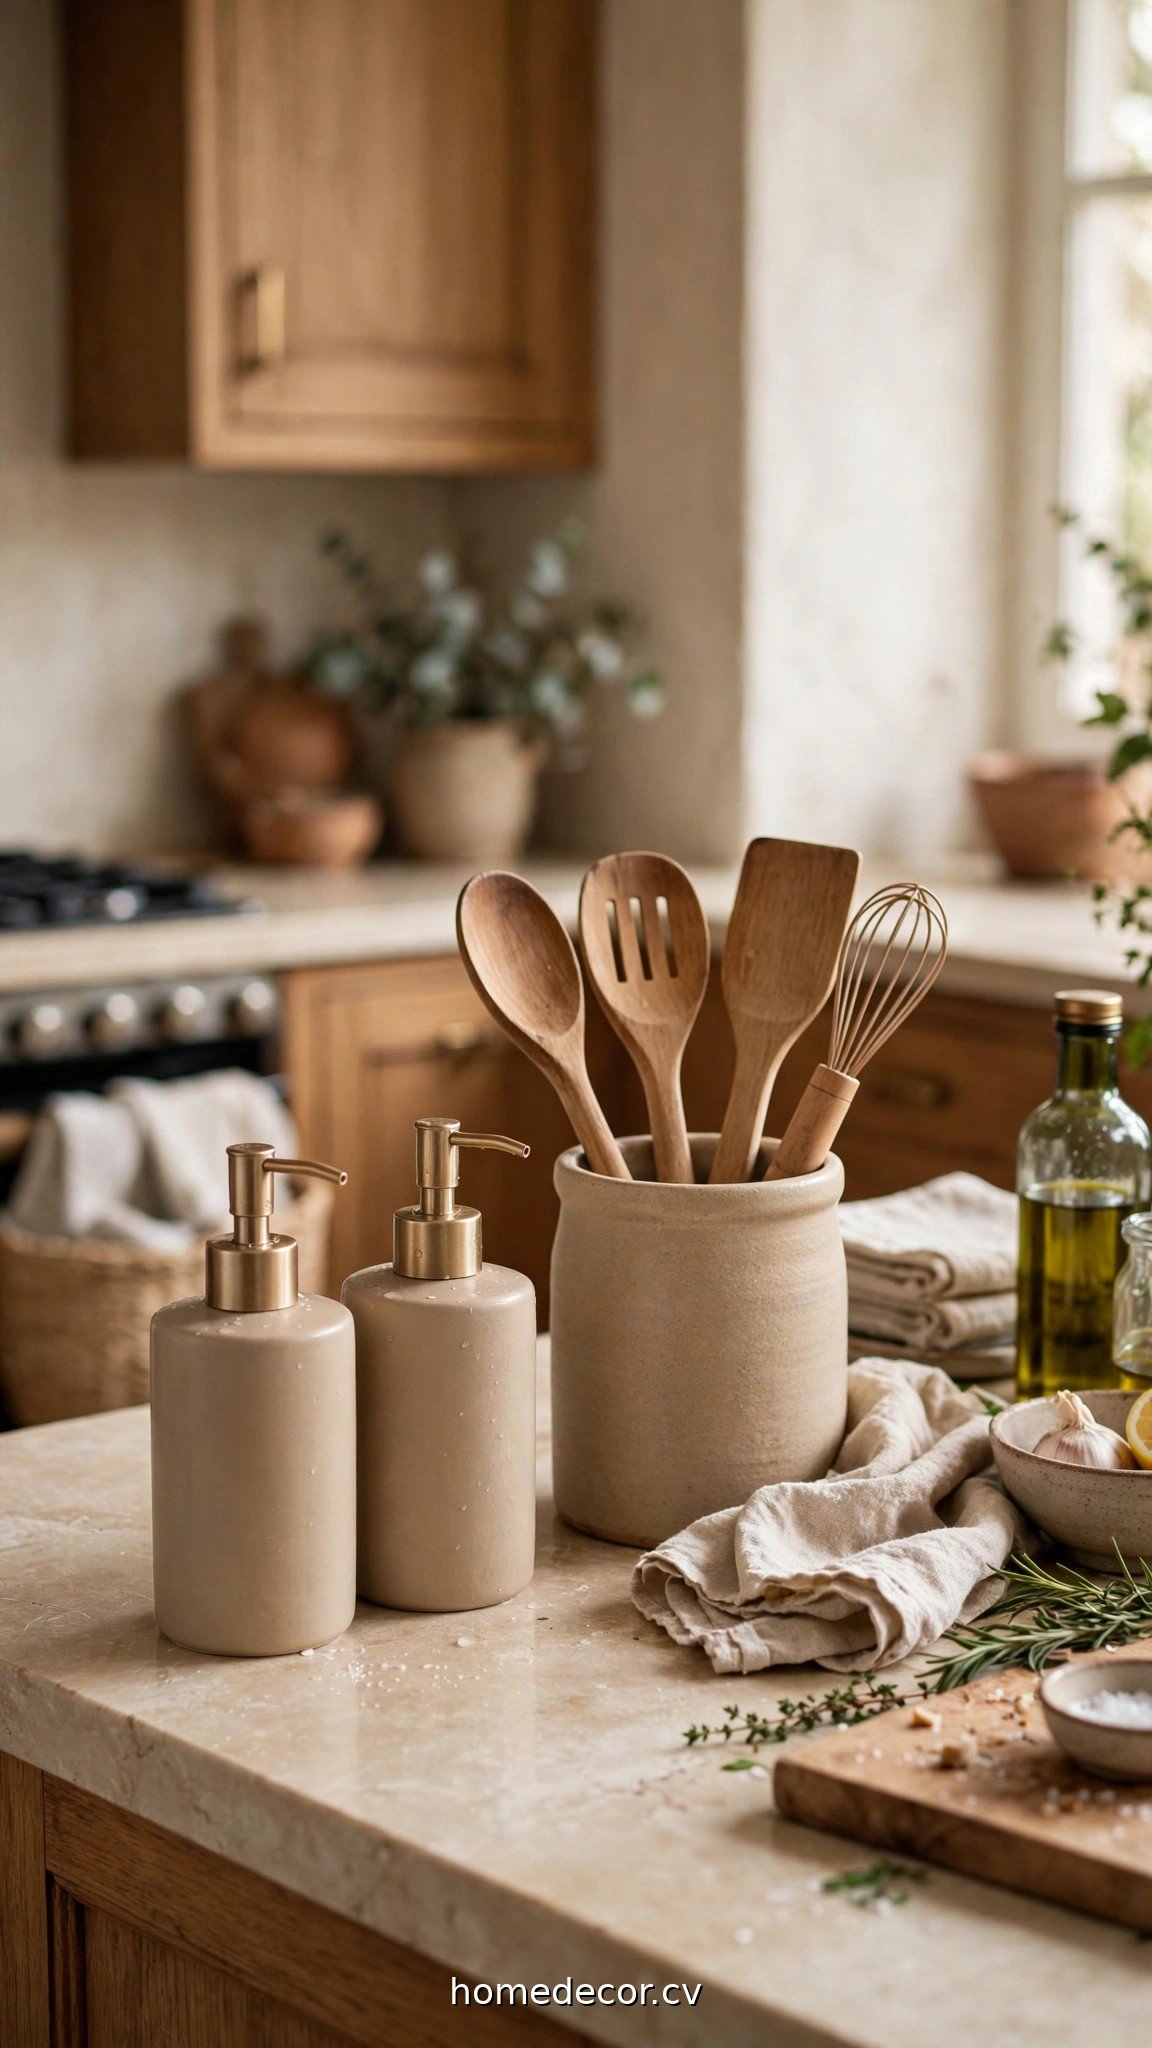
Pretty is pointless if you can’t cook. These ideas keep the workflow intact.
9. Decant dish soap and lotion into matching bottles
The single fastest upgrade: pour dish soap and hand lotion out of their branded plastic bottles into matching glass or ceramic dispensers by the sink. It costs little, takes two minutes, and removes the biggest visual clutter culprit in most kitchens.
Practical tip: Pick dispensers with pumps rated for thick soap, and mark the bottoms with a dot of nail polish (one dot for soap, two for lotion) so refills never get mixed up.
10. Choose a utensil crock that earns its counter space
If your spatulas and wooden spoons live on the counter anyway, house them in a crock worth looking at — stoneware, hammered metal, or woven seagrass. Keep it near the stove, and suddenly a necessity becomes decor.
Practical tip: Limit the crock to the six or seven tools you use weekly. Rarely-used gadgets can live in a drawer; an overstuffed crock looks messy no matter how pretty the container.
11. Move the pretty-but-rarely-used items to open shelving
That gorgeous stand mixer or copper pot you use monthly? If you have an open shelf, that’s its home — visible, accessible, and off the counter. Counters should hold daily tools; shelves hold the beautiful occasional ones.
Practical tip: No open shelves? The top of the fridge or a slim rolling cart can play the same role. The principle is the same: daily items on the counter, display items one step away.
12. Add one warm light source for the evening
A tiny rechargeable lamp, a candle in a hurricane holder, or a short string of fairy lights in a glass jar transforms the kitchen after dark. Overhead lighting says “chore”; a warm pool of light on the counter says “home.”
Practical tip: Battery-operated candles with built-in timers are the renter’s best friend — they glow every evening automatically, with zero fire risk near curtains or paper towels.
Keep Exploring
Love these ideas? Here are a few more you might enjoy:
- 12 Ideas for Kitchen Window Sills (Herbs, Plants & Cozy Displays)
- 15 Coffee Station Ideas for Small Kitchens That Stay Organized
- 11 Under Kitchen Sink Organization Ideas for a Clutter-Free Cabinet
Frequently Asked Questions
How do I style kitchen counters without making them look cluttered?
Follow the 70-percent-clear rule: keep most of the surface empty and style just one or two zones. Group small items on trays so they read as one intentional arrangement, and remove anything you haven’t used in a month. If a vignette feels busy, take one thing away — editing is styling.
What should I put on my kitchen counter for decoration?
Stick to the formula designers use: something flat (a tray or board), something tall (a plant, a vase, or a leaning board), and something living (herbs, fruit, or fresh stems). Add one functional upgrade like matching soap dispensers and you’re done — every object should be pretty, useful, or both.
How can renters style kitchen counters without damaging anything?
Everything in this list is renter-friendly: trays, boards, plants, and dispensers require zero drilling or adhesive. For dated counters you can’t replace, a large runner, marble slab, or washable mat visually covers the surface you don’t love without touching it.
How do I keep styled counters clean while cooking every day?
Build your styling around lift-and-wipe zones: trays that lift in one motion, boards that lean rather than lie flat, and dispensers instead of cluttered bottles. Keep a completely clear landing zone near the stove for hot pans, and confine styled vignettes to corners and sink edges where splatter rarely reaches.
A Counter That Works as Hard as It Looks
Great kitchen counter styling ideas aren’t about filling every inch — they’re about choosing a few beautiful, hardworking pieces and giving them room to shine. Start with one tray and one plant this weekend; you’ll be amazed how different the whole kitchen feels by Sunday night. And when you’re ready for the next surface, browse our Kitchen & Bathroom Decor ideas for more small upgrades with big impact.