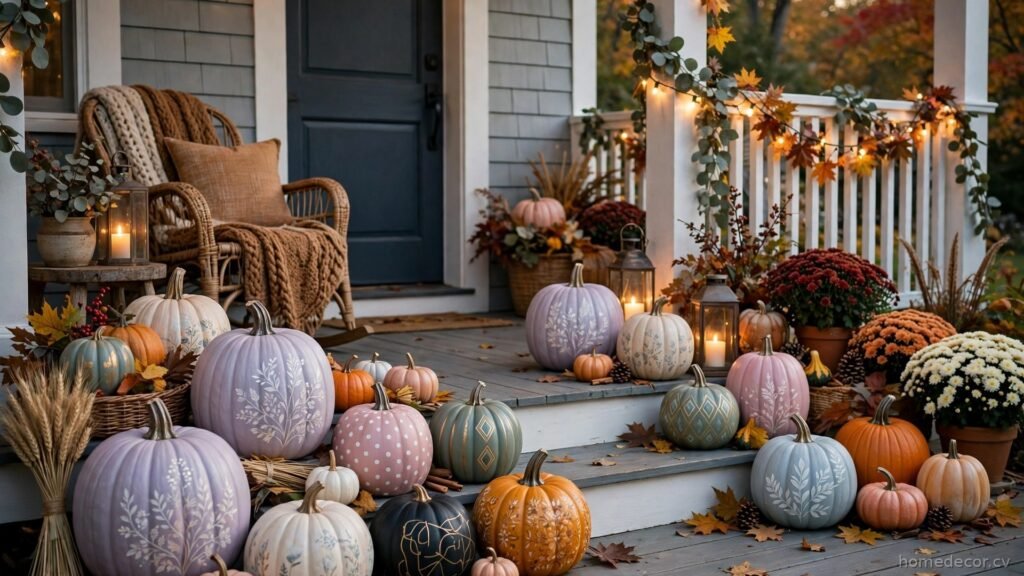

Carving pumpkins is messy, the designs rot in days, and sharp tools are not kid-friendly. Painting solves all of that. These pumpkin painting ideas let you create gorgeous fall decor that lasts for weeks, works for every skill level, and looks beautiful on your porch, mantel, or table. Grab some acrylic paint and a few pumpkins, and get ready to make the prettiest pumpkins on the block.
Classic Painted Jack-o’-Lantern Faces
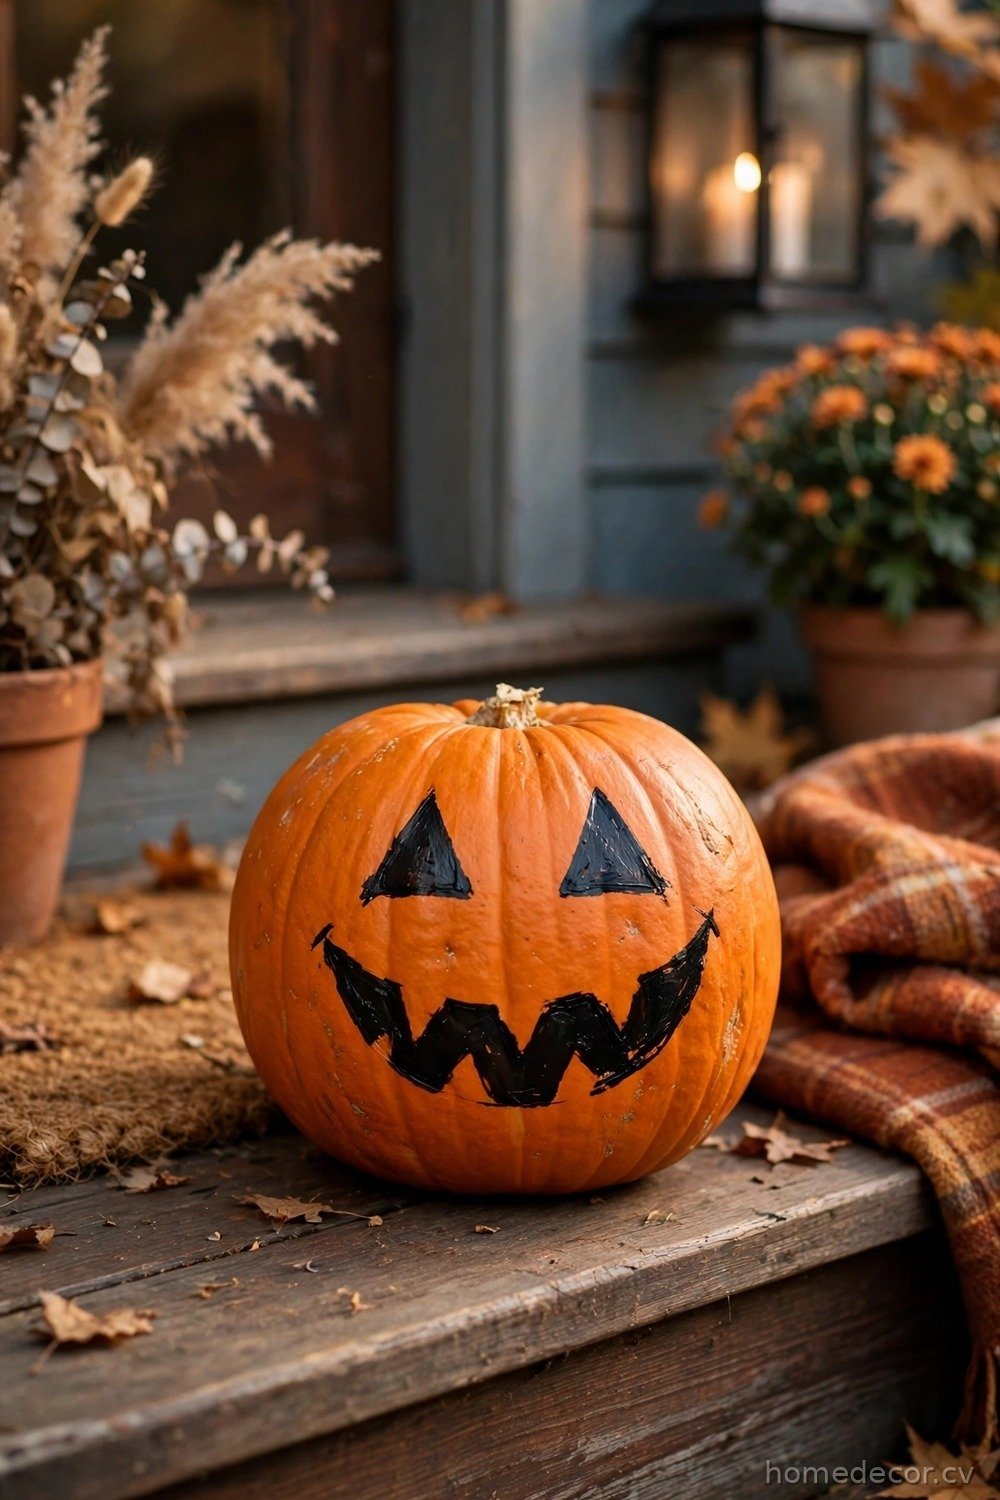
You do not need a knife to make a jack-o’-lantern, because painted faces look just as festive and last far longer than carved ones. Start with a clean, dry pumpkin and sketch your face lightly in pencil, then fill in triangle eyes, a nose, and a wide grin with black acrylic paint. Add a few white highlights in the eyes to make the face look lively, and use orange and yellow paint to shade the cheeks for extra dimension. The beauty of painted faces is that you can fix mistakes easily, try silly or spooky expressions, and let kids design their own faces without any sharp tools. A painted pumpkin can sit on your porch for weeks without rotting or collapsing.
I spend far too much time saving home ideas.
If you'd like the best ones, I'll send a short email once or twice a month.
To make your painted jack-o’-lanterns look professional, use a small detail brush for the outlines and a foam brush for filling in large areas. Seal the finished pumpkin with a clear acrylic spray so the paint survives rain and morning dew, and add a coat of glow-in-the-dark paint over the face for a fun surprise at night. You can also paint a whole family of pumpkins with different expressions, from grinning to goofy to surprised, creating a charming group display on your steps. If you want extra flair, add a painted witch hat or a bow tie directly onto the pumpkin above or below the face. Painted faces are the perfect starting point for beginners and a beloved tradition for families.
Boho Neutral Pumpkins

Boho neutral pumpkins are the answer if you love fall decorating but prefer a calm, elegant look over bright orange. Paint your pumpkins in soft shades of cream, beige, taupe, and sage green, using matte chalk paint for a velvety, ceramic-like finish. Add simple details like thin gold lines, delicate dots, or a single dried flower stem tucked into the top, and your pumpkins will look like expensive boutique decor. These neutral pumpkins blend beautifully with modern farmhouse and minimalist homes, and they work just as well indoors on a mantel as they do on a porch. The muted palette also means they transition perfectly from Halloween through Thanksgiving.
To create the boho look, start with two thin coats of chalk paint, letting each coat dry completely before adding the next. Use a dry-brush technique with a slightly darker shade to add subtle texture, and finish with a clear matte sealer to protect the paint. For a truly boho touch, wrap a few pumpkins in macrame cord or jute twine around the middle, and place them in woven baskets with dried pampas grass. You can also paint simple geometric patterns like arches, suns, or moons in a slightly darker neutral tone for a hand-crafted feel. These pumpkins are endlessly versatile, and because the colors are timeless, you will want to display them year after year.
Metallic Gold and Copper Pumpkins
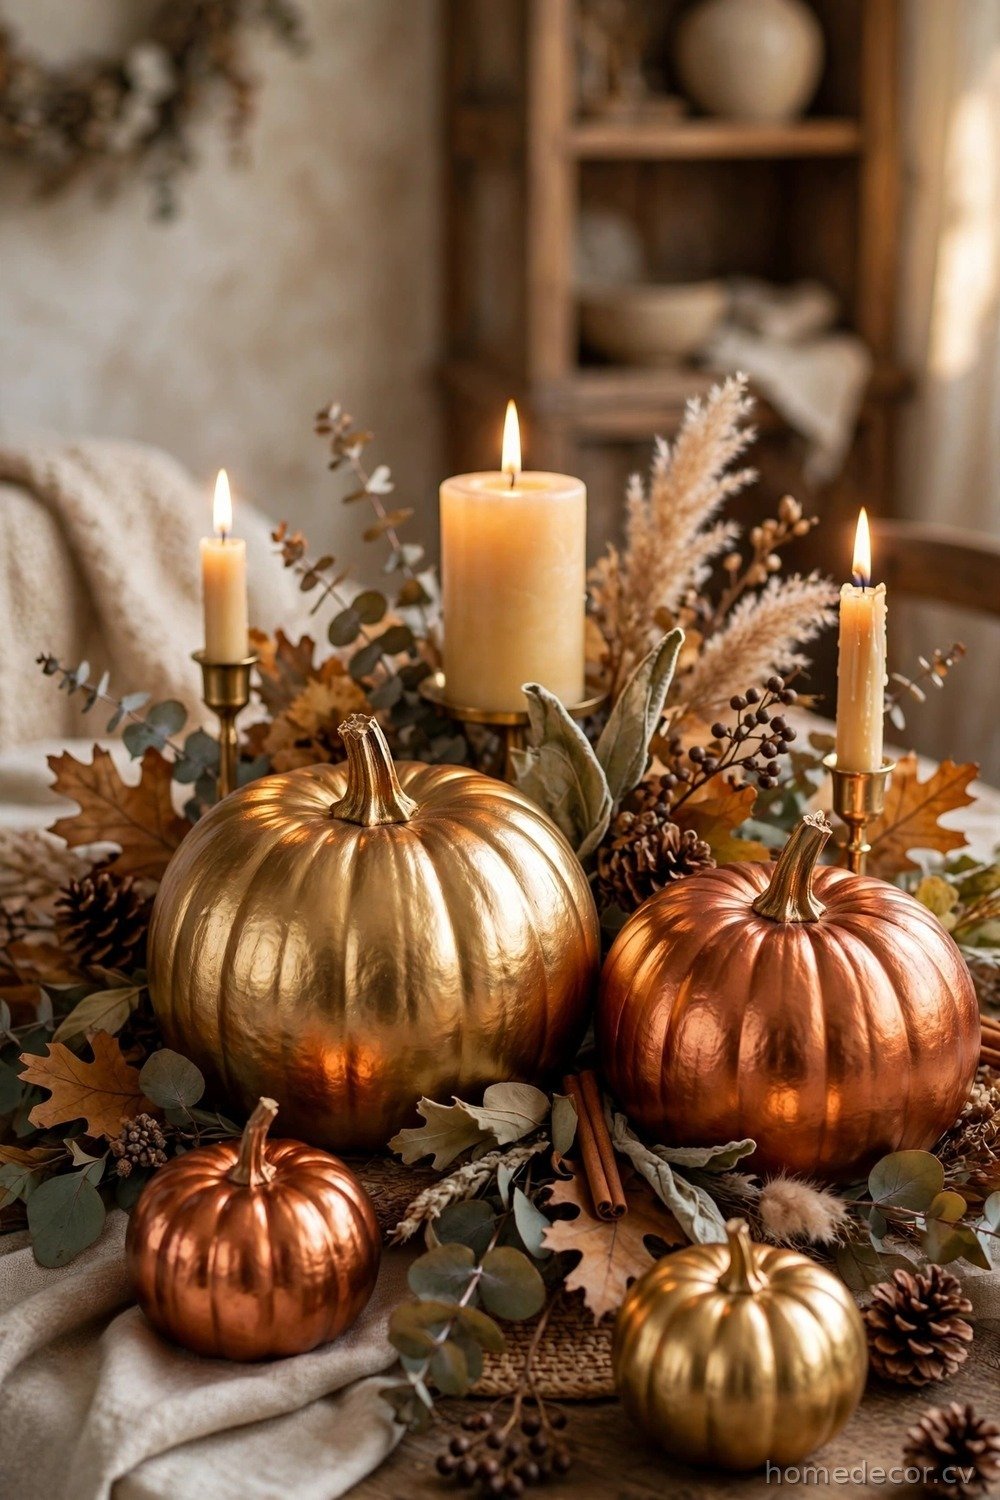
Metallic pumpkins add instant glamour to fall decorating, and they are surprisingly easy to paint. Choose a pumpkin with a smooth surface, real or faux, and apply metallic acrylic paint in gold, copper, or rose gold using a foam brush for an even, streak-free finish. Two thin coats give you rich, reflective coverage, and you can leave the stem natural for contrast or paint it dark bronze for a polished look. Metallic pumpkins catch candlelight and porch lights beautifully, making them perfect for elegant Halloween parties and Thanksgiving tables. They also pair wonderfully with neutral and jewel-toned decor.
For a more luxurious effect, try gold leaf sheets pressed onto the pumpkin with adhesive, which creates a stunning, slightly textured metallic finish that looks far more expensive than it is. You can also paint only half the pumpkin metallic and leave the other half in its natural orange for a modern, dipped look, or add metallic polka dots over a cream base for a playful twist. Use a clear gloss sealer to protect the metallic finish and boost the shine, especially for outdoor displays. Group metallic pumpkins in odd numbers with candles and autumn leaves for a centerpiece that looks straight out of a magazine. These glamorous pumpkins prove that fall decor can be both festive and sophisticated.
Galaxy Pumpkins

Galaxy pumpkins are out of this world, literally, and they are a huge hit with kids and teens. Paint your pumpkin black or deep navy as a base, then sponge on layers of purple, blue, and pink to create a swirling nebula effect. Flick white paint from a toothbrush across the surface to create stars, and add a few larger dots for bright constellations. The result is a cosmic pumpkin that glows under porch lights and looks completely different from every other pumpkin on the block. This design is forgiving, since there are no straight lines or perfect shapes required, which makes it ideal for beginners and young artists.
To make your galaxy pumpkin even more magical, add a coat of glow-in-the-dark paint over the stars so they shine at night, or mix fine glitter into your final clear coat for extra sparkle. Use a sea sponge for the nebula clouds, dabbing lightly and layering colors gradually rather than painting thick strokes, which keeps the effect soft and dreamy. You can also paint a crescent moon or a ringed planet on one side as a focal point, using a small round brush for the details. Display galaxy pumpkins with string lights and dark purple fabric for a space-themed Halloween display that stands out. This is one of the most creative pumpkin painting ideas, and every single one turns out unique.
Floral Painted Pumpkins
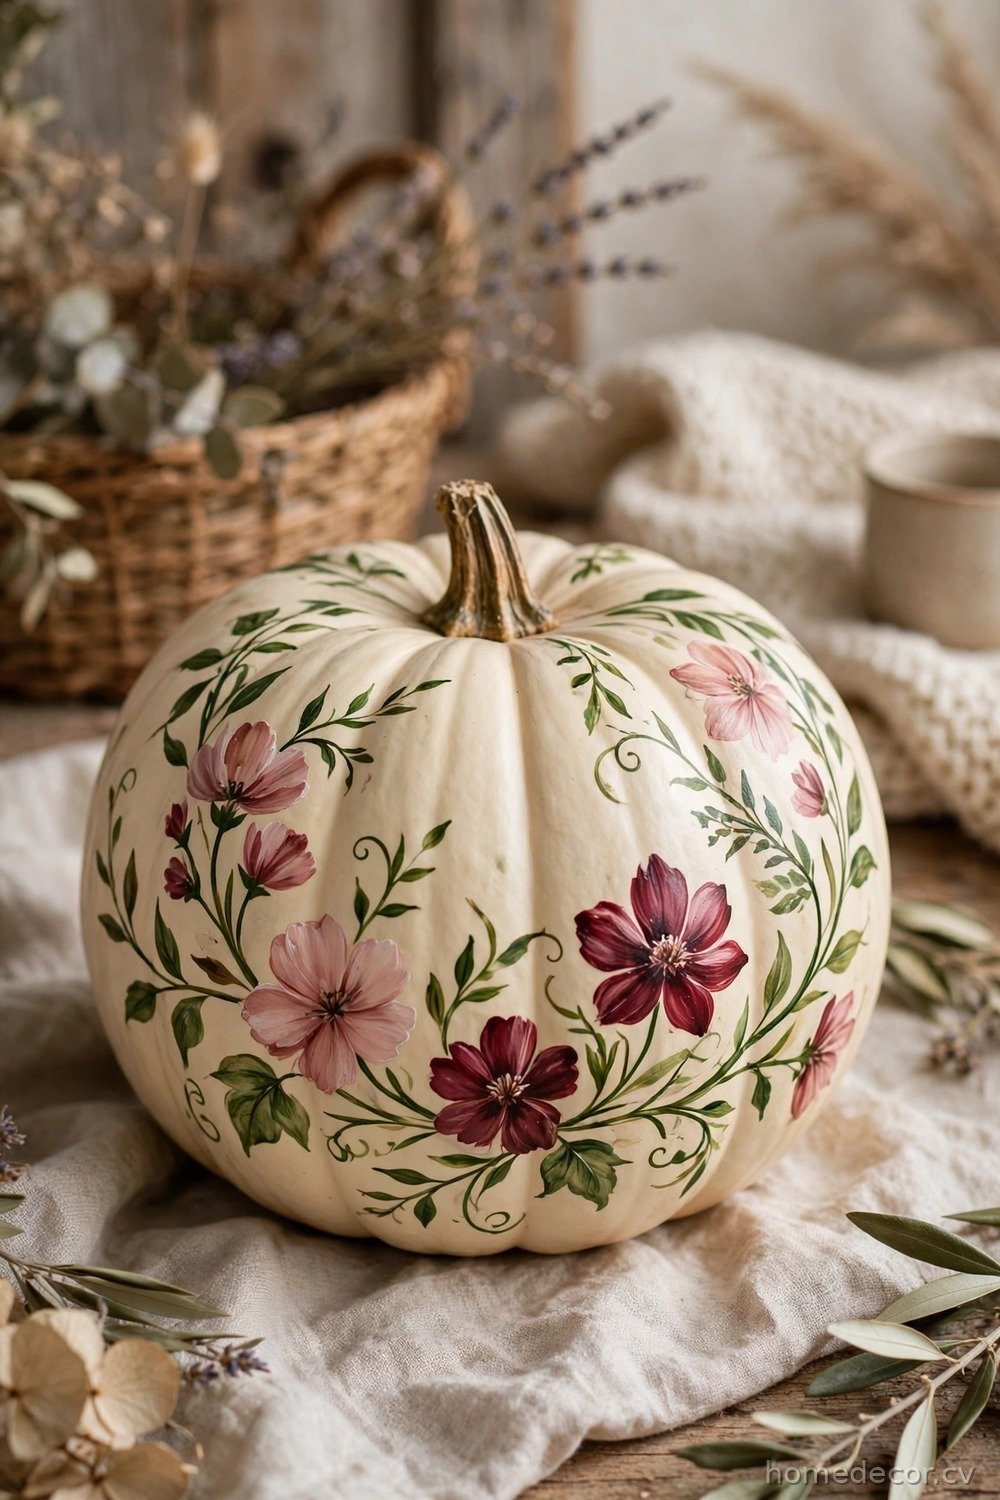
Floral pumpkins combine the best of fall and spring, turning an ordinary pumpkin into a blooming work of art. Paint your pumpkin in a soft base color like cream, blush, or sage, then add hand-painted flowers using a small round brush, starting with simple five-petal daisies and building up to roses and wildflowers. Use a variety of colors, from dusty pink and mustard yellow to deep burgundy, and add green leaves and curling vines to connect the blooms. The finished pumpkin looks like a vintage garden treasure and works beautifully as a table centerpiece or a gift. You do not need to be an expert painter, since simple flower shapes look charming and folk-art inspired.
If freehand painting feels intimidating, use flower stencils or stamps to get perfect shapes every time, then add small hand-painted details like dots and leaves to make the design your own. You can also glue real dried flowers onto a painted pumpkin for a mixed-media look, pressing them flat and sealing them with clear acrylic spray. For a coordinated display, paint a set of three pumpkins in different sizes with matching flowers in slightly different arrangements, creating a garden-like grouping on your porch or mantel. Add a coat of matte sealer to protect the artwork, and keep floral pumpkins in a sheltered spot outdoors so the delicate details last. These blooming pumpkins are perfect for anyone who loves cottage style and soft, romantic decor.
Polka Dot Pumpkins
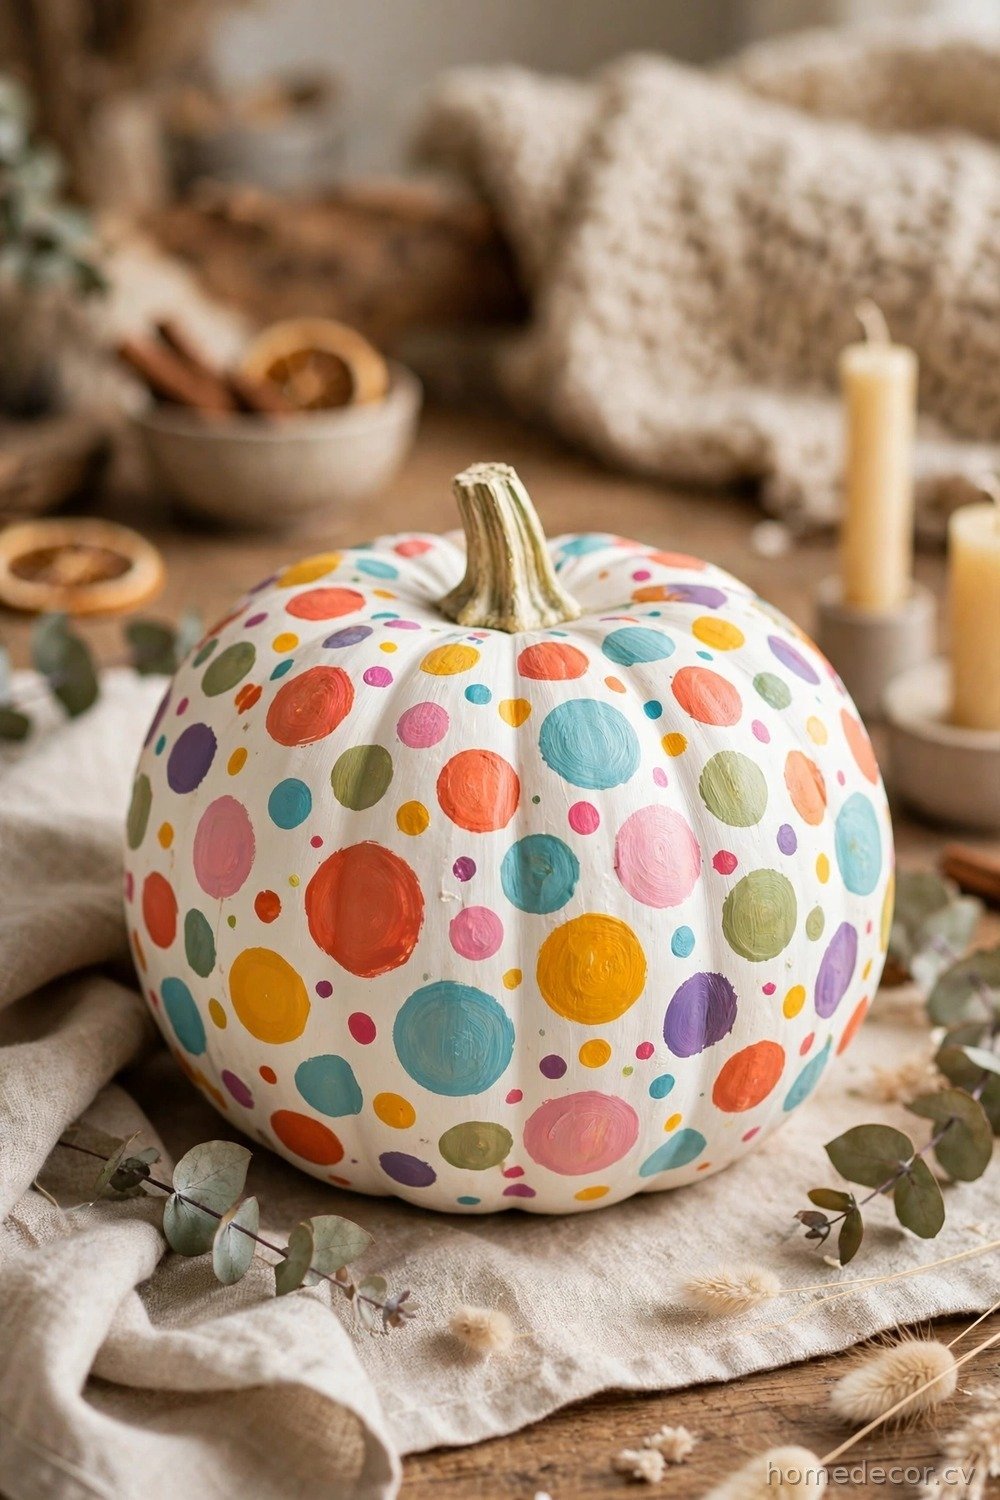
Polka dot pumpkins are cheerful, simple, and impossible to mess up, which makes them perfect for crafters of all ages. Paint your pumpkin in a solid base color, then add dots in contrasting colors using the eraser end of a pencil, a round sponge, or your fingertip. Vary the dot sizes for a playful look, or keep them uniform for a clean, modern pattern. You can use classic Halloween colors like black dots on orange, or go elegant with gold dots on white for a sophisticated fall display. The whole project takes less than thirty minutes per pumpkin, and the results always look intentional and fun.
To elevate the polka dot design, try metallic dots on a matte base, or add a single row of larger dots around the middle like a belt. You can also paint dots in a gradient, starting with dark dots at the bottom and fading to light dots at the top, which creates an ombre effect that looks surprisingly artistic. For kids, set out several dot tools in different sizes and let them cover the pumpkin however they like, since there is truly no wrong way to make polka dots. Seal the finished pumpkin with clear spray to keep the dots crisp, and display a group of polka dot pumpkins in different color combinations for a joyful, eye-catching arrangement. This is one of the easiest pumpkin painting ideas, and it never fails to make people smile.
Ombre Pumpkins
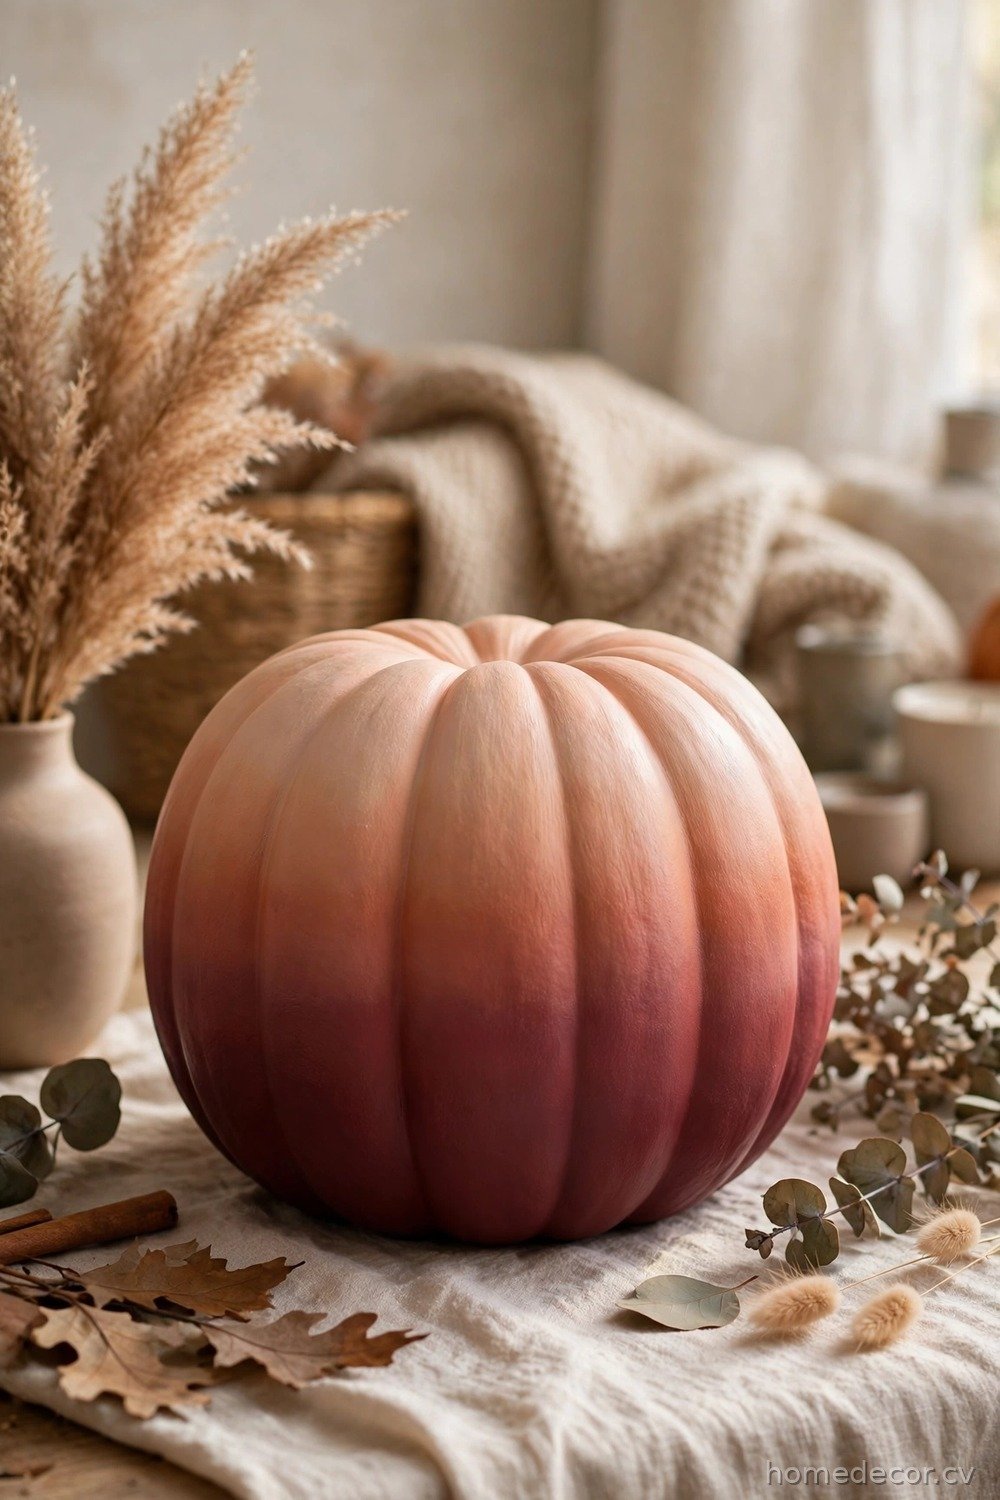
Ombre pumpkins bring a soft, dreamy gradient to your fall display, and they look far more advanced than they actually are. Choose three to five shades of one color, from light to dark, and paint horizontal bands around the pumpkin, blending each band into the next while the paint is still slightly wet. Start with the lightest shade at the top and move to the darkest at the bottom, or reverse the direction for a different effect. The smooth color transition looks elegant and modern, and it works beautifully with any color palette, from sunset oranges to moody purples. Ombre pumpkins are a wonderful choice for mantels and entryway tables where you want a subtle, artistic touch.
To blend the bands smoothly, use a damp sponge or a dry brush to soften the edges between colors, working quickly before the acrylic paint dries. You can also spray a light mist of water on the pumpkin to keep the paint workable for a few extra minutes, which makes blending much easier. For a more dramatic look, use a bold color family like teal to navy, or keep it soft with blush to burgundy for a romantic feel. Add a metallic stem or a coat of gloss sealer to finish the design, and group ombre pumpkins in a row from lightest to darkest for a stunning rainbow effect on your porch. This technique takes a little patience, but the gorgeous gradient result is absolutely worth the effort.
Chalkboard Pumpkins
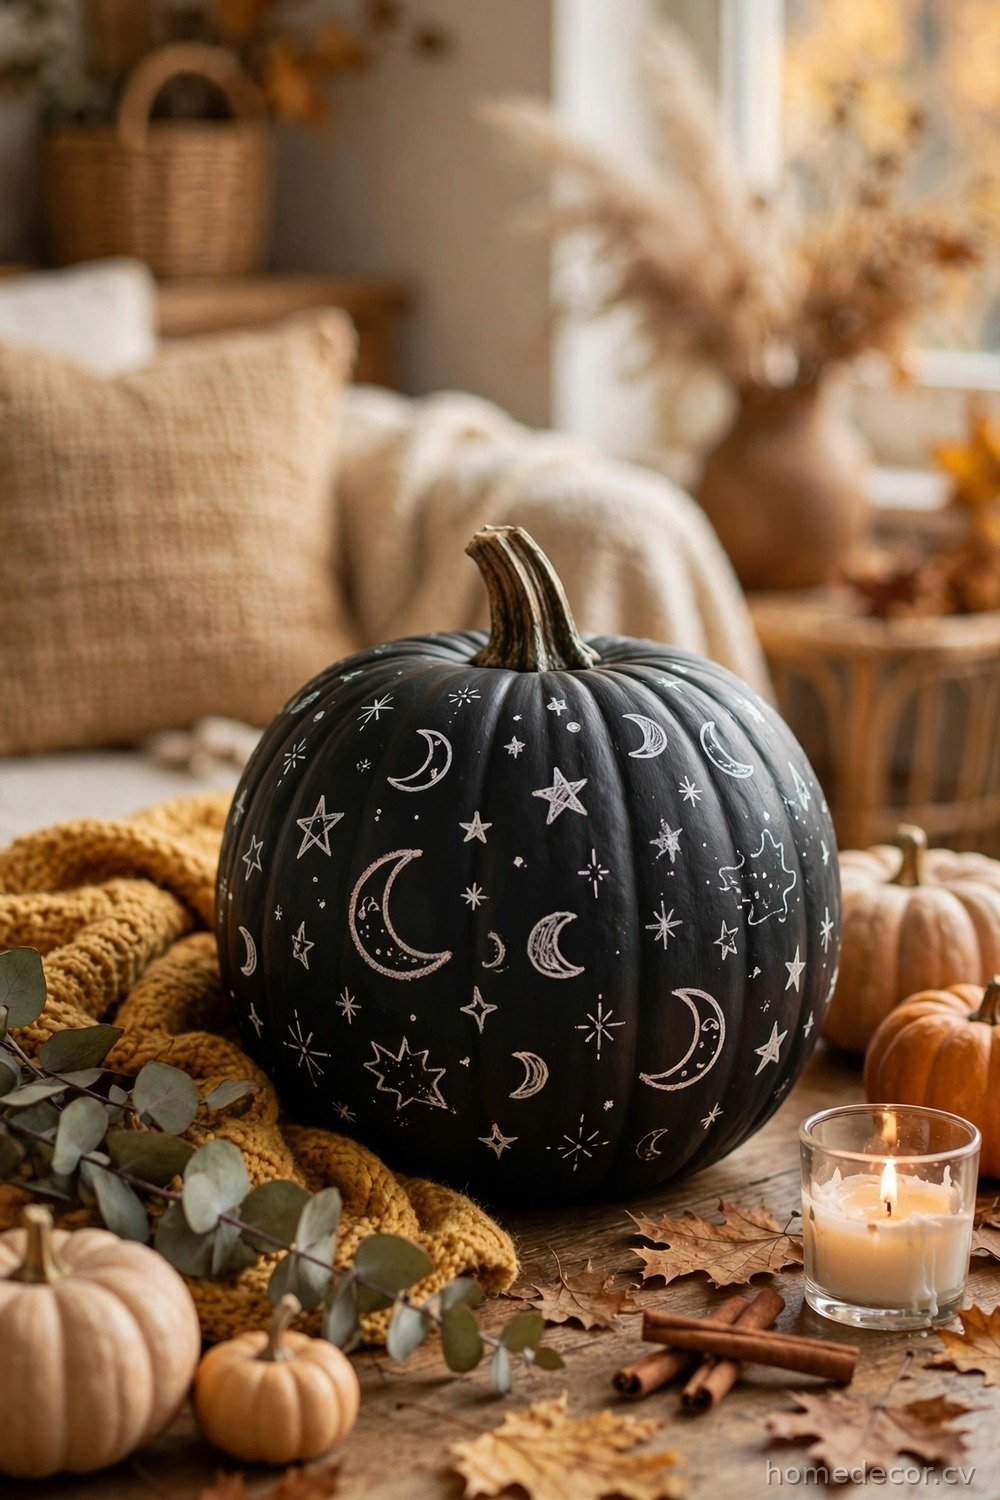
Chalkboard pumpkins are the most versatile pumpkins you will ever make, because you can change the design whenever you like. Paint your pumpkin with two or three coats of chalkboard paint, letting each coat dry completely, then season the surface by rubbing chalk all over it and wiping it off. Now you can draw anything you want with chalk, from spooky faces and Halloween greetings to your family’s name or a countdown to Halloween. When you want a new design, simply wipe the pumpkin clean with a damp cloth and start over. This idea is perfect for families, classrooms, and anyone who loves to change their decor often.
To make your chalkboard pumpkin look its best, use chalk markers instead of regular chalk for brighter, more precise lines that still wipe off with a damp cloth. You can also add a painted border or a decorative stem in a contrasting color to frame your chalk art. For a party, set out a chalkboard pumpkin with chalk markers and let guests leave messages or draw their own designs, turning the pumpkin into an interactive decoration. Keep a small damp cloth nearby for quick erasing, and store the pumpkin indoors between uses to protect the chalkboard surface. After Halloween, wipe the pumpkin clean and use it as a fall message board for Thanksgiving greetings or a simple autumn quote. It is functional, fun, and endlessly reusable.
Glitter Pumpkins

Glitter pumpkins are pure sparkle, and they turn an ordinary porch into a glamorous fall display. Paint your pumpkin with a base coat of acrylic paint in your chosen color, then brush on a layer of Mod Podge or craft glue and sprinkle fine glitter generously over the surface. Shake off the excess, let it dry, and repeat for full coverage, then seal with a clear glitter-friendly spray to lock everything in place. The result is a dazzling pumpkin that catches every ray of light and looks like a jewel among your other decorations. Glitter pumpkins are especially beautiful for evening displays, parties, and mantels where the sparkle can really shine.
To create different effects, use chunky glitter for a bold, disco-ball look, or fine glitter for a subtle, frosted shimmer. You can also glitter only part of the pumpkin, like the top half or a single stripe around the middle, for a modern dipped design that pairs well with plain pumpkins. For a Halloween twist, use black or orange glitter, or mix in glow-in-the-dark glitter for a pumpkin that sparkles by day and glows by night. Work over a tray or old newspaper to catch loose glitter, and wear an apron since glitter tends to travel everywhere. Display glitter pumpkins with candles and fairy lights to maximize the sparkle, and prepare for compliments, because these are the pumpkins everyone asks about.
Monogram Pumpkins

Monogram pumpkins add a personal, custom touch to your fall decor, and they make wonderful gifts and wedding decorations. Paint your pumpkin in a solid base color, then add a large initial letter in the center using a stencil, a steady hand, or vinyl letters as a guide. Choose a contrasting color for the letter so it stands out, and add small flourishes like dots, leaves, or a wreath shape around the initial for extra elegance. A monogram pumpkin on your porch welcomes guests with your family initial, while a set of monogram pumpkins spells out a word like “FALL” or “BOO” across your steps. This idea is simple, classy, and deeply personal.
To get a crisp letter, use adhesive stencils or print your initial in a large font, cut it out, and trace it lightly onto the pumpkin before painting. Fill in the letter with two thin coats of paint, using a small detail brush for clean edges, and seal the finished pumpkin with clear spray. For a more rustic look, paint the letter in white on a natural orange pumpkin and add a burlap bow at the stem. You can also use metallic paint for the initial on a dark base, which creates a luxurious, boutique-style finish. Monogram pumpkins are a thoughtful housewarming gift, a charming wedding favor, and a beautiful way to personalize your own porch for the whole fall season.
Animal Face Pumpkins
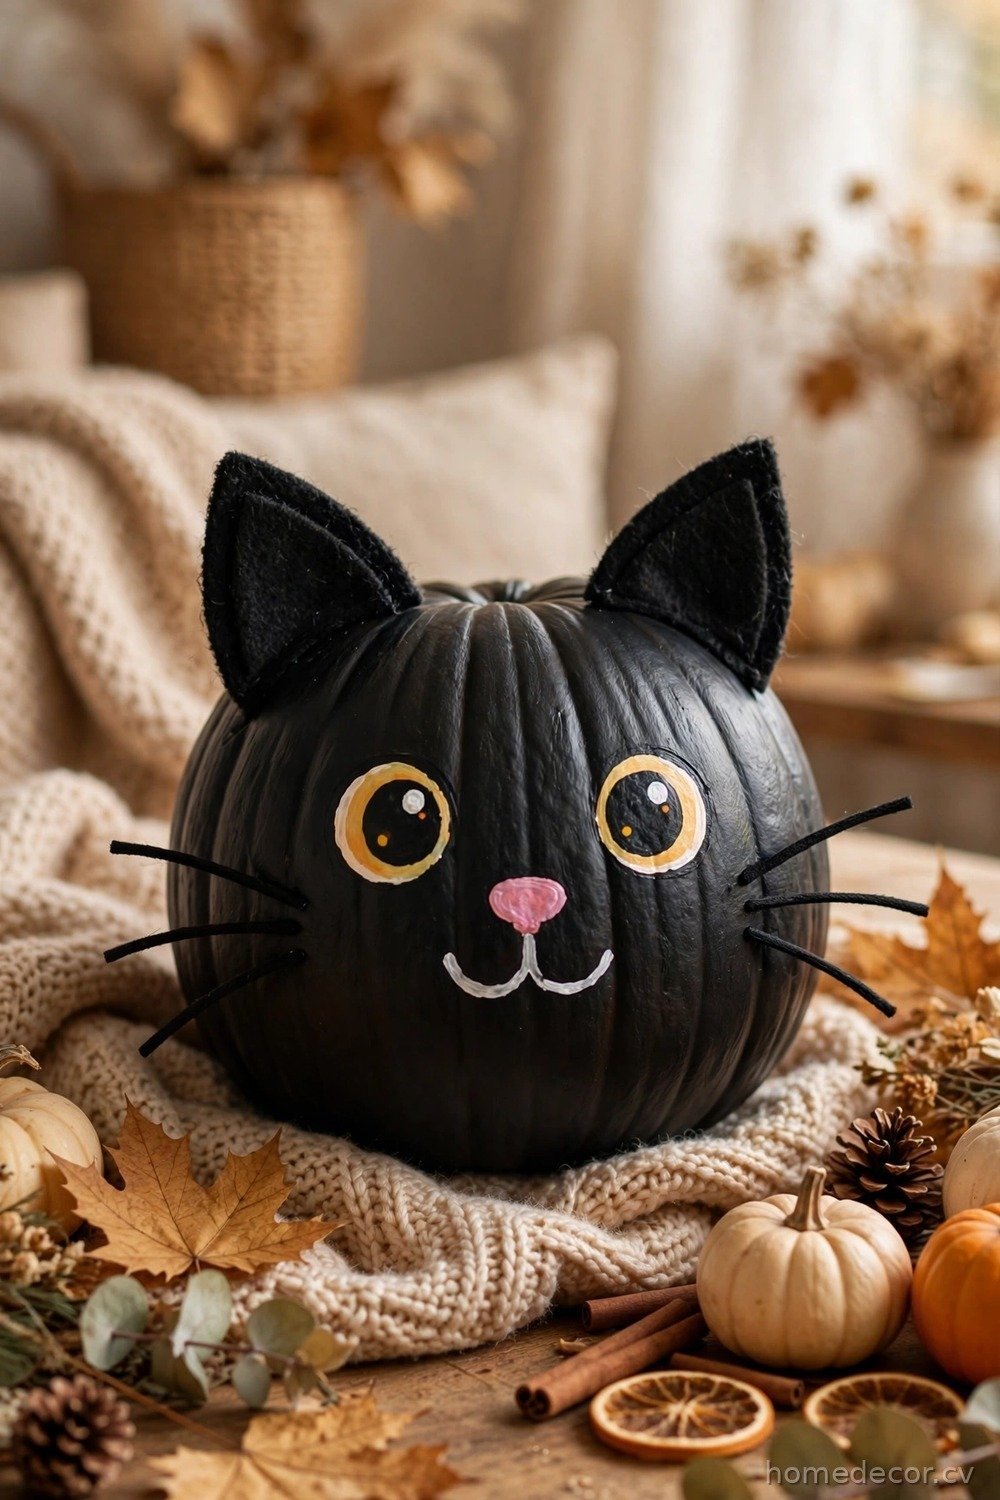
Animal face pumpkins are adorable, and they are a favorite with kids who want something cuter than scary. Paint your pumpkin to look like a cat, an owl, a fox, or even a unicorn, using the pumpkin’s round shape as the animal’s face. For a cat, add triangle ears cut from felt, painted whiskers, and big green eyes. For an owl, paint large round eyes, a small beak, and feather details in brown and cream. The key is to use the pumpkin’s natural shape to your advantage, letting its curves become cheeks and its stem become a tuft of hair or a horn. These pumpkins are charming on porches, and they make fantastic classroom or family craft projects.
To make your animal pumpkins look polished, sketch the face lightly in pencil first, then paint the largest shapes before adding small details like whiskers and highlights. Use felt, foam, or construction paper for ears and other three-dimensional features, attaching them with hot glue for a secure hold. For a unicorn pumpkin, paint the base white or pastel pink, add a gold horn made from a paper cone, and paint closed, sleeping eyes with long lashes for a dreamy look. You can also create a whole pumpkin zoo by painting several pumpkins as different animals and arranging them together on your steps. Animal face pumpkins prove that Halloween can be sweet as well as spooky, and they are guaranteed to make visitors smile.
Marble Swirl Pumpkins
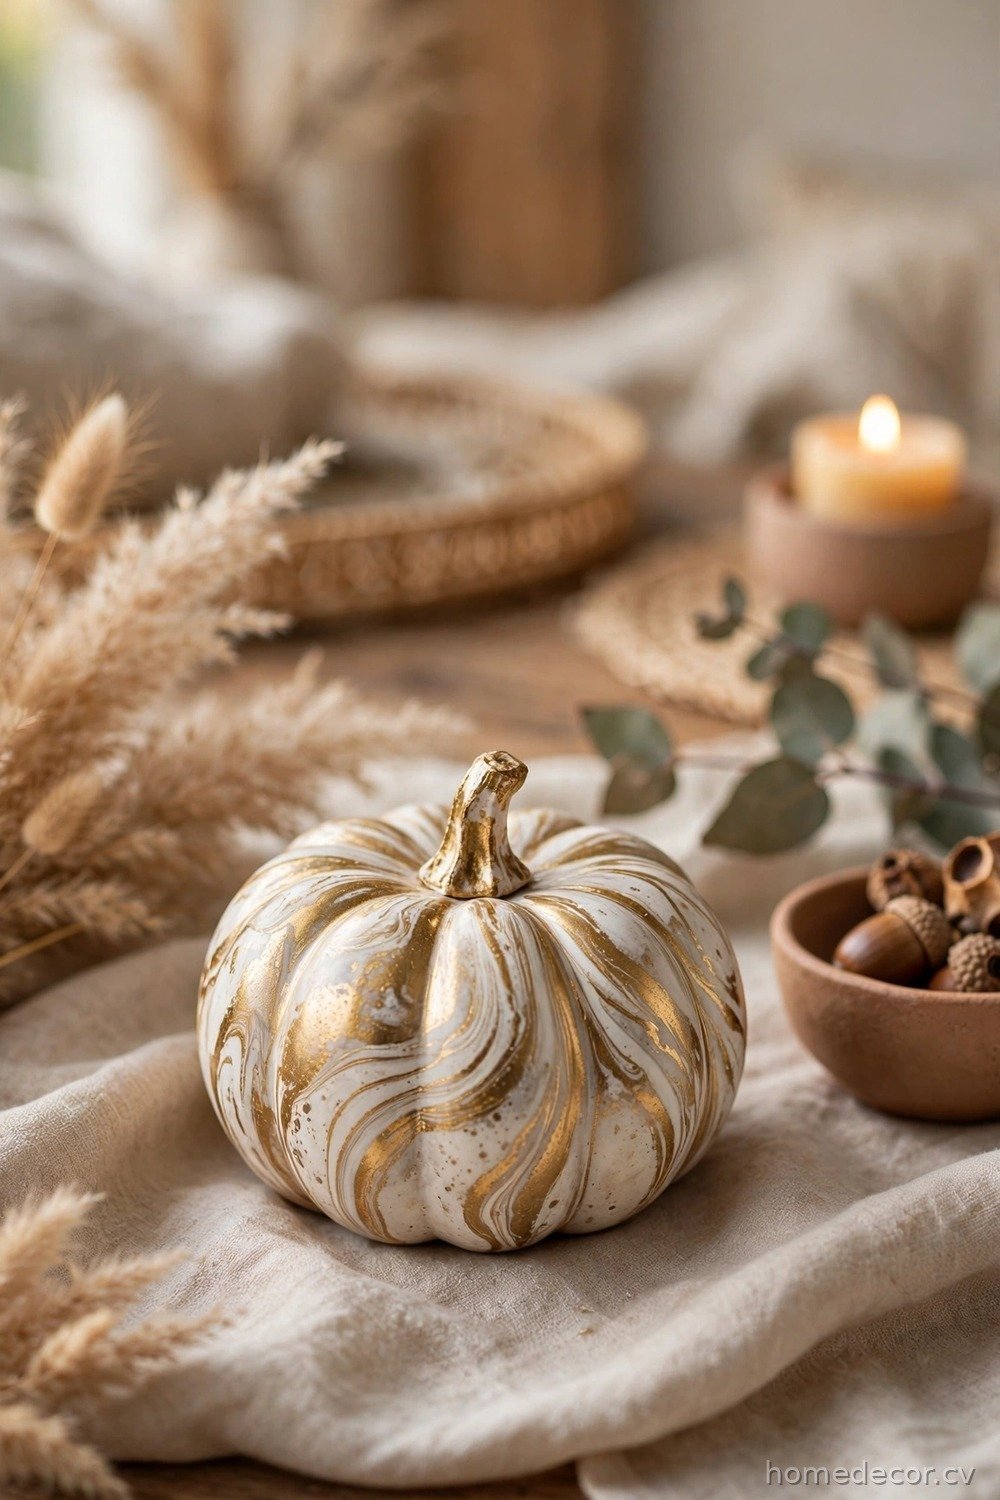
Marble swirl pumpkins look like expensive stone art, but they are made with a surprisingly simple water technique. Fill a bucket or large container with room-temperature water, drip nail polish or marbling paint onto the surface in your chosen colors, and swirl the colors gently with a toothpick. Then dip your pumpkin slowly into the water, letting the marbled paint wrap around it, and lift it out to dry. The result is a stunning, one-of-a-kind swirl pattern that looks like real marble, with no two pumpkins ever alike. This technique works best on small, smooth pumpkins, and it is a fun, slightly messy project that feels like magic.
To get the best marbling results, work quickly since nail polish dries fast on water, and use a container you do not mind staining. Choose two or three colors that complement each other, like white and gold for an elegant look, or black and orange for Halloween. If the first dip does not cover the whole pumpkin, you can dip a second time after the first layer dries, or touch up bare spots with a small brush. Seal the finished pumpkin with clear spray to protect the marbled finish, and display marble pumpkins with candles and metallic accents for a luxurious fall arrangement. This is one of the most impressive pumpkin painting ideas, and guests will never believe you made them yourself.
Buffalo Check Pumpkins
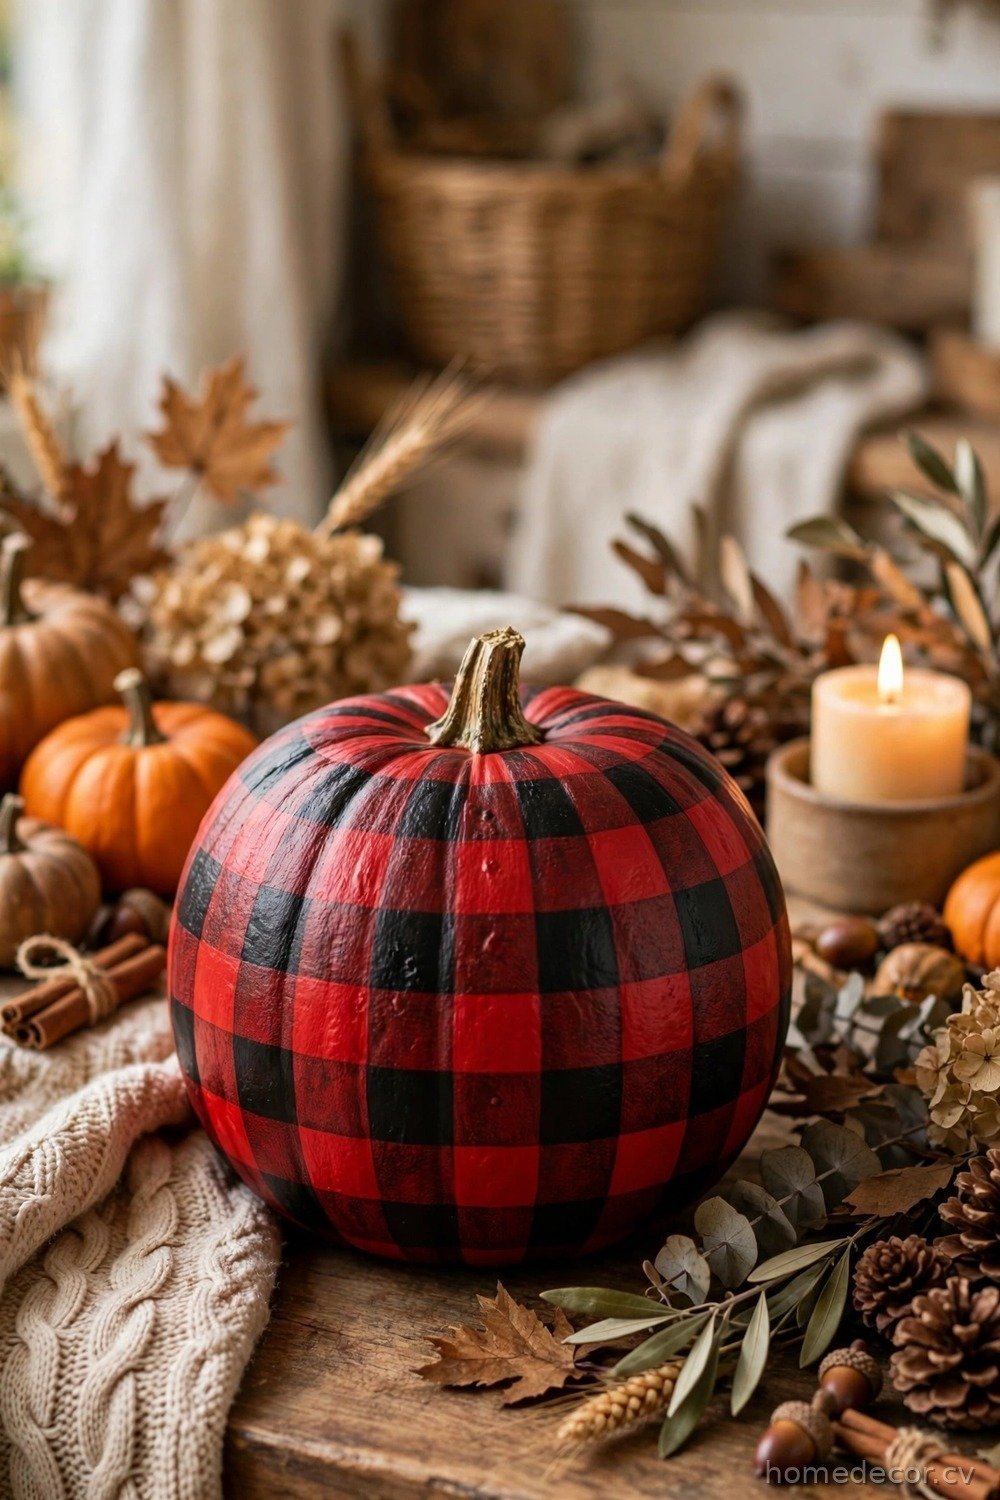
Buffalo check pumpkins bring cozy cabin charm to your fall decor, with their classic red and black plaid pattern. Paint your pumpkin white as a base, then add vertical and horizontal stripes in red and black, overlapping them to create the signature checkered effect. The trick is to let the stripes overlap in a grid, using a slightly transparent red over black to create the darker squares where they cross. You can paint the pattern freehand for a rustic look, or use painter’s tape to get crisp, even lines. Buffalo check pumpkins look wonderful with flannel blankets, wooden crates, and warm porch lights, making them perfect for farmhouse and cabin-style homes.
To make the check pattern easier, start by painting the whole pumpkin white and letting it dry completely. Then tape off vertical stripes, paint them red, remove the tape, and repeat with horizontal stripes, using a lighter red wash where the stripes overlap. For a more traditional look, use red and black on a white base, or try black and cream for a subtler, modern version. You can also paint only the middle band of the pumpkin in buffalo check and leave the top and bottom solid, which creates a charming belted effect. Add a plaid ribbon bow at the stem to complete the cozy look, and group buffalo check pumpkins with pinecones and plaid fabric for a display that feels like a warm autumn cabin.
Storybook Fairytale Pumpkins
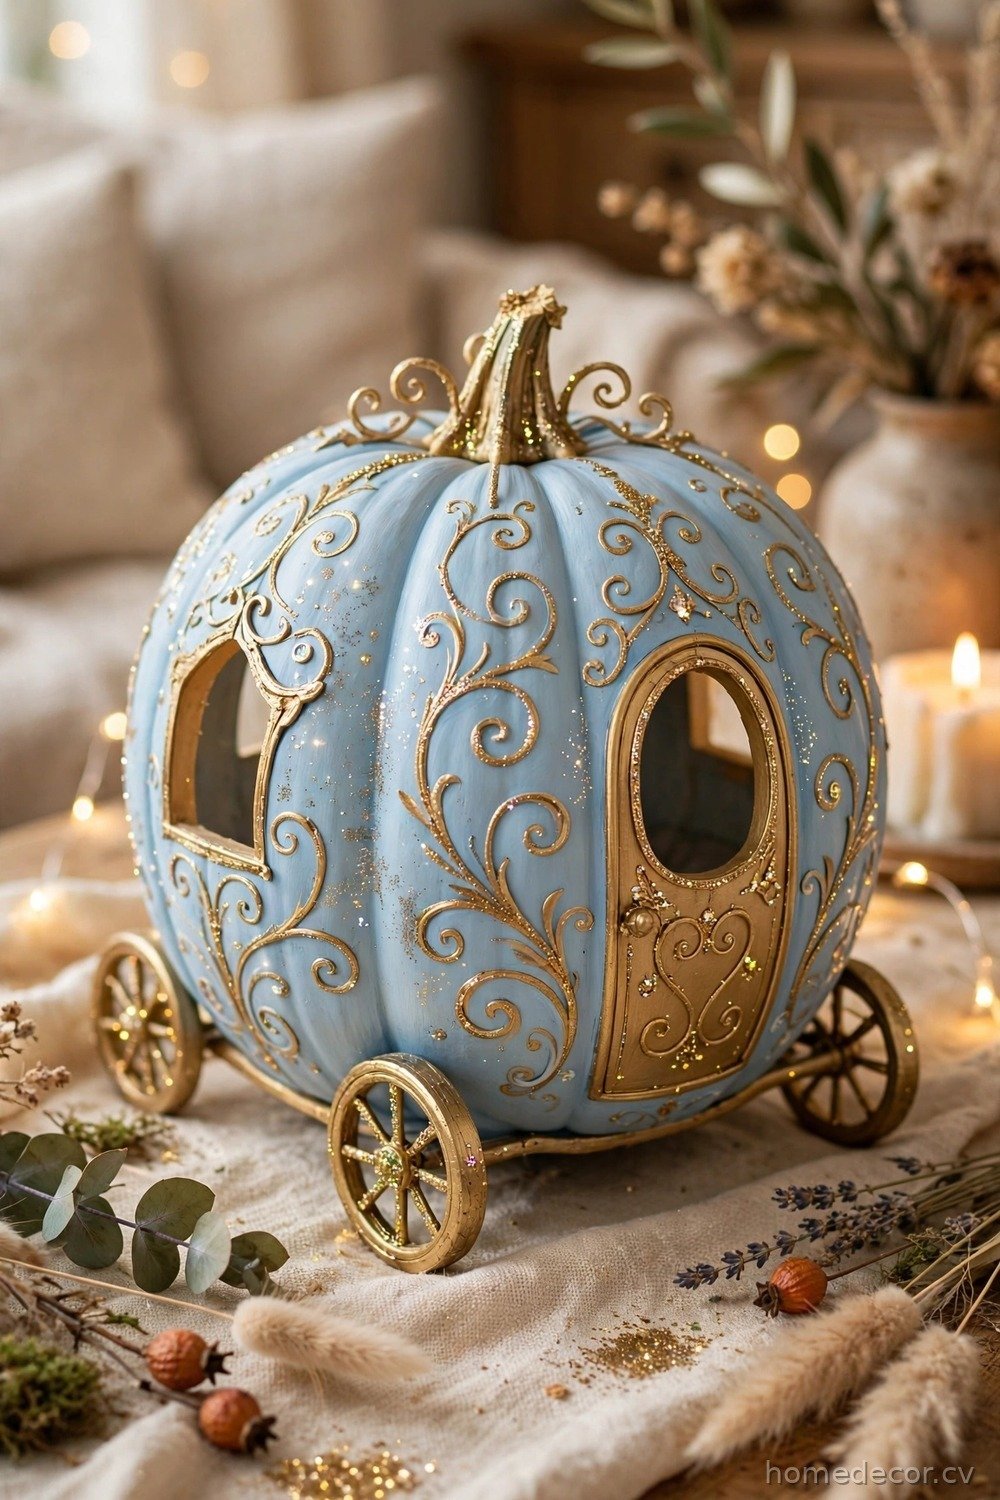
Storybook pumpkins turn your porch into a fairytale, inspired by tales like Cinderella, where the pumpkin itself is the magic. Paint your pumpkin in soft pastel colors like pale blue, blush pink, or lavender, then add delicate details like gold swirls, tiny stars, and a painted clock striking midnight. You can even paint a miniature carriage scene, complete with wheels and windows, directly onto the pumpkin’s surface. Add glitter for fairy dust, a small crown on top, and a few silk flowers around the base, and your pumpkin becomes a storybook centerpiece. This idea is perfect for princess-themed parties, little girls’ rooms, and anyone who loves a touch of whimsy.
To create the fairytale look, start with two coats of pastel paint and let them dry fully before adding details with a fine detail brush. Use metallic gold paint for swirls, crowns, and carriage wheels, since gold adds instant magic and elegance. If painting a full scene feels daunting, use gold vinyl stickers or small decals for the carriage and stars, then add hand-painted touches around them. Place your storybook pumpkin on a cake stand or a velvet cloth to elevate the display, and surround it with fairy lights and silk flowers for a truly enchanted effect. These pumpkins are beautiful long after Halloween, making them a lovely decoration all the way through fall.